Floating bathroom vanities are a popular choice for modern bathroom designs. They offer a sleek, space-saving solution that can transform your bathroom's aesthetics.
But how do you install a floating bathroom vanity? Is it a project you can tackle on your own?
In this comprehensive guide, we'll walk you through the process step-by-step. From gathering the necessary tools and materials to connecting the plumbing, we've got you covered.
Whether you're a seasoned DIY enthusiast or a homeowner looking to upgrade your bathroom, this guide is for you. We'll provide practical tips and insights to help you successfully install your floating vanity.
So, are you ready to give your bathroom a fresh, modern look with a floating vanity? Let's dive in!
Understanding Floating Bathroom Vanities

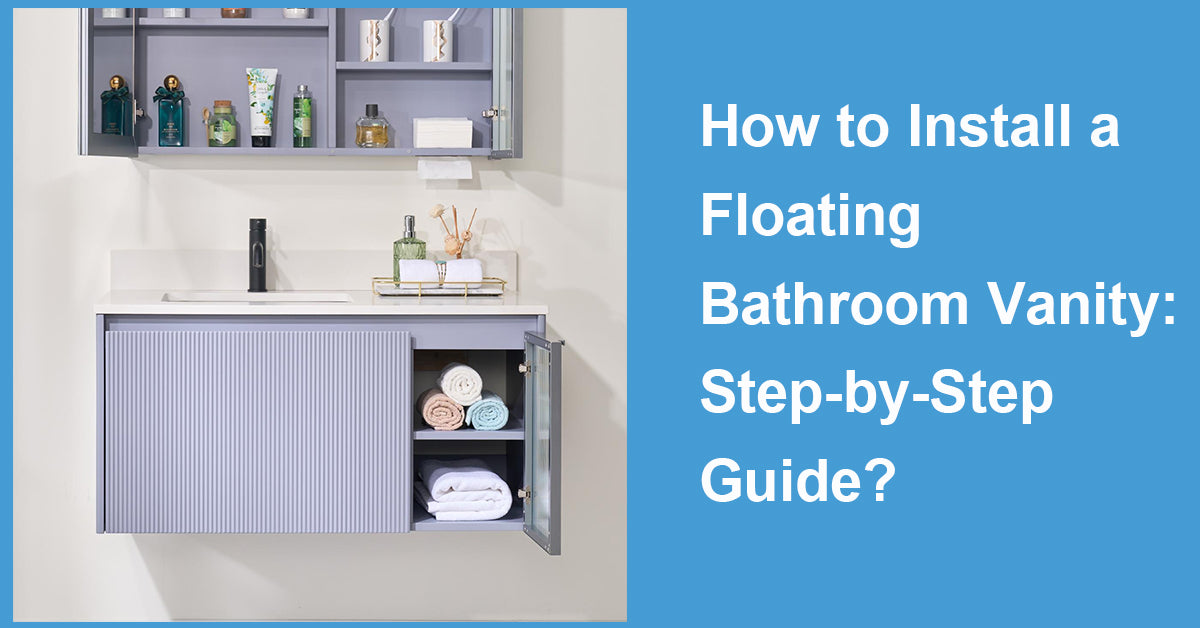
Floating bathroom vanities, also known as wall-mounted vanities, are attached directly to the wall. They do not rest on the floor like traditional vanities.
This design creates an illusion of space, making your bathroom appear larger. It also allows for easy cleaning underneath the vanity.
Floating vanities come in various styles and sizes. They can be customized to fit your bathroom's design and your personal taste.
Whether you're aiming for a minimalist look or a luxurious spa-like feel, a floating vanity can be a game-changer for your bathroom's aesthetics.
Tools and Materials You Will Need
Before you start the installation process, gather all the necessary tools and materials. Having everything at hand will make the process smoother and faster.
You will need a variety of tools, including a level, drill, stud finder, and tape measure. These tools will help ensure your vanity is installed correctly and securely.
In addition to tools, you'll also need some materials. These include the vanity itself, a mounting bracket, screws, and possibly a ledger board for extra support.
If your vanity doesn't come with a sink or faucet, you'll need to purchase these separately. Don't forget about the plumbing supplies as well, such as pipes and connectors.
Here's a comprehensive list of what you'll need:
- Floating bathroom vanity
- Mounting bracket
- Screws
- Ledger board (optional)
- Level
- Drill
- Stud finder
- Tape measure
- Sink and faucet (if not included with the vanity)
- Plumbing supplies (pipes, connectors)
Pre-Installation: Planning and Preparation
Before you start the actual installation, it's crucial to plan and prepare. This step can make the difference between a successful installation and a frustrating experience.
First, decide where you want to install the vanity. Consider the layout of your bathroom and the location of existing plumbing.
Next, think about the height of the vanity. It should be at a comfortable level for users. The standard height for a bathroom vanity is around 32 inches, but this can be adjusted to suit your needs.
Lastly, consider the size of the vanity. Make sure it fits in your space and doesn't obstruct any doors or other fixtures.
Checking Local Building Codes
Before you start drilling holes in your wall, check your local building codes. Some areas have specific regulations about plumbing and construction projects.
Failing to comply with these codes can lead to fines or problems when you try to sell your home. It's always better to be safe than sorry.
Measuring and Marking Your Space
Now it's time to measure and mark your space. Use a tape measure to determine the exact location of your vanity.
Mark the height, width, and depth on the wall. This will help you align the vanity correctly during installation.
Also, mark the location of the wall studs. You'll need to attach the vanity to these studs for stability.
Remember to double-check your measurements. A small mistake can lead to big problems later on.
Step-by-Step Floating Vanity Installation
Now that you've prepared your space, it's time to start the installation. Follow these steps carefully to ensure a successful project.
Remember, patience and precision are key. Don't rush the process.
Step 1: Locate and Mark the Wall Studs
The first step is to locate and mark the wall studs. These are the wooden beams behind your drywall.
You'll need to attach the vanity to these studs for stability. Use a stud finder to locate them.
Once you've found the studs, mark their location with a pencil. This will guide you when you're installing the mounting bracket.
Step 2: Install the Ledger Board (If Necessary)
Depending on the weight of your vanity, you might need to install a ledger board. This is a wooden board that provides extra support.
To install the ledger board, align it with the marked studs. Then, secure it with screws.
Make sure the ledger board is level. This is crucial for the proper installation of your vanity.
Step 3: Attach the Mounting Bracket
Next, attach the mounting bracket to the wall studs. Align the bracket with the marked studs and the ledger board.
Use a drill to secure the bracket with screws. Make sure the bracket is level before you proceed.
Step 4: Secure the Vanity to the Bracket
Now, it's time to secure the vanity to the bracket. Lift the vanity and align it with the bracket.
Use the provided screws to secure the vanity to the bracket. Check again to make sure the vanity is level.
Step 5: Install the Sink and Faucet
If your vanity didn't come with a pre-installed sink and faucet, you'll need to install them now. Follow the manufacturer's instructions for this step.
Once the sink and faucet are installed, check for any leaks. It's easier to fix these issues now than after the vanity is fully installed.
Step 6: Connect the Plumbing
Next, connect the plumbing. This includes the water supply lines and the drain.
Again, follow the manufacturer's instructions. If you're not comfortable with this step, consider hiring a professional.
Step 7: Apply Silicone Caulk for Finishing Touches
Once the plumbing is connected, apply silicone caulk around the edges of the vanity. This gives your vanity a finished look and prevents water from seeping behind it.
Use a caulk gun for this step. Smooth the caulk with a caulk smoothing tool or your finger.
Step 8: Attach Doors and Drawers
Finally, attach the doors and drawers to the vanity. Make sure they open and close smoothly.
If necessary, adjust the hinges for proper alignment. Now, your floating bathroom vanity is fully installed. Enjoy your new bathroom feature!
Post-Installation: Final Checklist and Maintenance Tips
After installing your floating bathroom vanity, there are a few final steps to take. These will ensure your vanity is ready for use and will last for years to come.
Final Inspection and Adjustments
Start by inspecting your work. Check that the vanity is secure and level.
Open and close the doors and drawers. Make any necessary adjustments to ensure they operate smoothly.
Maintenance and Care for Your Floating Vanity
Maintaining your floating vanity is crucial for its longevity. Regular cleaning will keep it looking new and prevent damage.
Use a mild, non-abrasive cleaner for the vanity surface. Avoid harsh chemicals that could damage the finish.
For the sink and faucet, follow the manufacturer's cleaning recommendations. This will prevent damage and keep them functioning properly.
Finally, inspect your vanity regularly for any signs of damage or wear. Address any issues promptly to prevent further problems.
When to Call a Professional for Your Vanity Installation
While installing a floating vanity can be a DIY project, there are times when professional help is needed. If you encounter complex plumbing issues or structural concerns, it's best to call a professional.
Remember, a well-installed vanity not only looks good but also functions properly and lasts longer.
Takeaway
Installing a floating bathroom vanity can transform your bathroom, adding a modern touch and optimizing space. With the right tools, careful planning, and attention to detail, you can successfully complete this project.
Share Your Experience
We'd love to hear about your experience installing a floating vanity. Did you encounter any challenges? What tips can you share with other DIY enthusiasts? Your insights could help others navigate their own installation projects.












Leave a comment
This site is protected by hCaptcha and the hCaptcha Privacy Policy and Terms of Service apply.