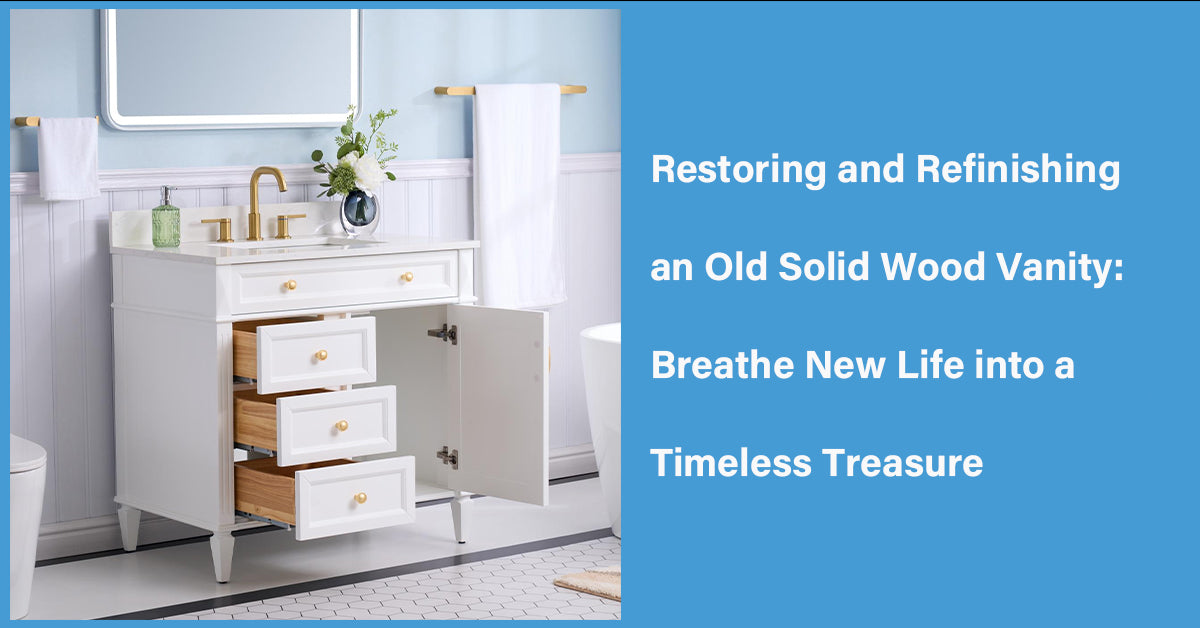
Solid wood vanities exude a timeless charm and unparalleled durability. But even the most well-crafted piece can succumb to the passage of time. Water damage, faded finishes, or outdated styles might leave you considering replacing your solid wood vanity. However, there's magic to be found in restoration! With a little elbow grease, the right tools, and this comprehensive guide, you can transform your old, tired vanity into a stunning focal point for your bathroom.
Unveiling the Potential: Why Restore Your Solid Wood Vanity?
Before diving into the restoration process, let's explore the compelling reasons to breathe new life into your solid wood vanity:
- Sustainable Choice:Restoration is an eco-friendly alternative to replacing a perfectly functional piece of furniture. You'll be diverting solid wood from landfills and giving a treasured piece a second chance.
- Cost-Effective:Restoration is often significantly cheaper than purchasing a brand new vanity.
- Unmatched Quality:Solid wood vanities are built to last. By restoring yours, you'll reclaim a piece crafted with superior materials and construction compared to many modern vanities.
- Unearth Hidden Beauty:Removing layers of old paint or stain can reveal the natural beauty of the wood grain, adding warmth and character to your bathroom.
- The Power of Upcycling:Restoration allows you to personalize your vanity. Choose a new paint color, update the hardware, or even modify the countertop to create a unique piece that reflects your style.
The Restoration Journey: A Step-by-Step Guide

Here's a breakdown of the restoration process to empower you to tackle this project with confidence:
- Gather Your Supplies:You'll need essential tools like a drop cloth, safety glasses, a dust mask, sandpaper in various grits (coarse, medium, fine), a putty knife, wood filler, rags, mineral spirits, primer, paint or stain of your choice, paint brushes or a roller, and a sealant.
- Prepare the Workspace:Clear the bathroom and protect the surrounding area with a drop cloth. Remove any hardware like drawer pulls or faucets.
- Assessment and Cleaning:Thoroughly examine the vanity for any water damage or structural issues. If necessary, address minor repairs before proceeding. Clean the entire surface with a damp cloth to remove dust and grime.
- Stripping Away the Old:For painted vanities, use mineral spirits and a rag to remove layers of old paint. Be mindful of proper ventilation and wear gloves for protection. For stained vanities, sanding may be sufficient unless the stain is particularly stubborn. Start with coarse sandpaper to remove the top layer and gradually progress to finer grits for a smooth finish.
- Filling and Smoothing:Use wood filler to address any cracks, dents, or imperfections in the wood. Allow the filler to dry completely and then sand it smooth.
- Prime Time:Apply a high-quality primer to ensure the new paint or stain adheres properly. Opt for a primer specifically designed for the type of paint or stain you'll be using.
- Embrace Your Color Choice:Now comes the fun part! Choose a paint or stain color that complements your bathroom's décor. Apply the paint or stain in even coats, following the manufacturer's instructions for drying times and recommended number of coats.
- Sealing the Deal:Once the paint or stain is completely dry, apply a sealant to protect the finish from moisture and wear and tear. Choose a sealant appropriate for the type of paint or stain used.
- Hardware Refresh:Reinstall the original hardware if it's in good condition. If not, consider replacing it with new hardware that complements the vanity's new look.
- Reassemble and Admire:Reattach the drawers, faucets, and any other hardware you removed during the process. Step back and admire your handiwork! You've successfully restored a beautiful and functional piece of furniture.
Beyond the Basics: Tips and Tricks for a Flawless Restoration
- Work in a well-ventilated area.
- Test paint or stain colors on a hidden area of the vanity first.
- Take your time and work in sections.
- For intricate details, consider using a paintbrush instead of a roller.
- Don't skimp on the quality of your paint, stain, and sealant.
- If you're unsure about any step, consult a professional for guidance.
Takeaway
By restoring your solid wood vanity, you'll not only save money and the environment, but you'll also gain a sense of accomplishment and the satisfaction of breathing new life into a timeless treasure. Your restored vanity won't just be functional; it will become a conversation starter, a testament to your resourcefulness, and a unique piece that reflects your personal style. Imagine stepping into your bathroom and taking pride in the beautiful vanity that stands as a symbol of your handiwork.
The journey of restoration might require some effort, but the rewards are plentiful. You'll have a vanity built with superior craftsmanship that will stand the test of time, a renewed sense of appreciation for quality materials, and the satisfaction of knowing you diverted a perfectly good piece of furniture from ending up in a landfill. So, roll up your sleeves, gather your supplies, and embark on the rewarding adventure of restoring your solid wood vanity. You might be surprised at the hidden gem waiting to be unveiled within!






Leave a comment
This site is protected by hCaptcha and the hCaptcha Privacy Policy and Terms of Service apply.