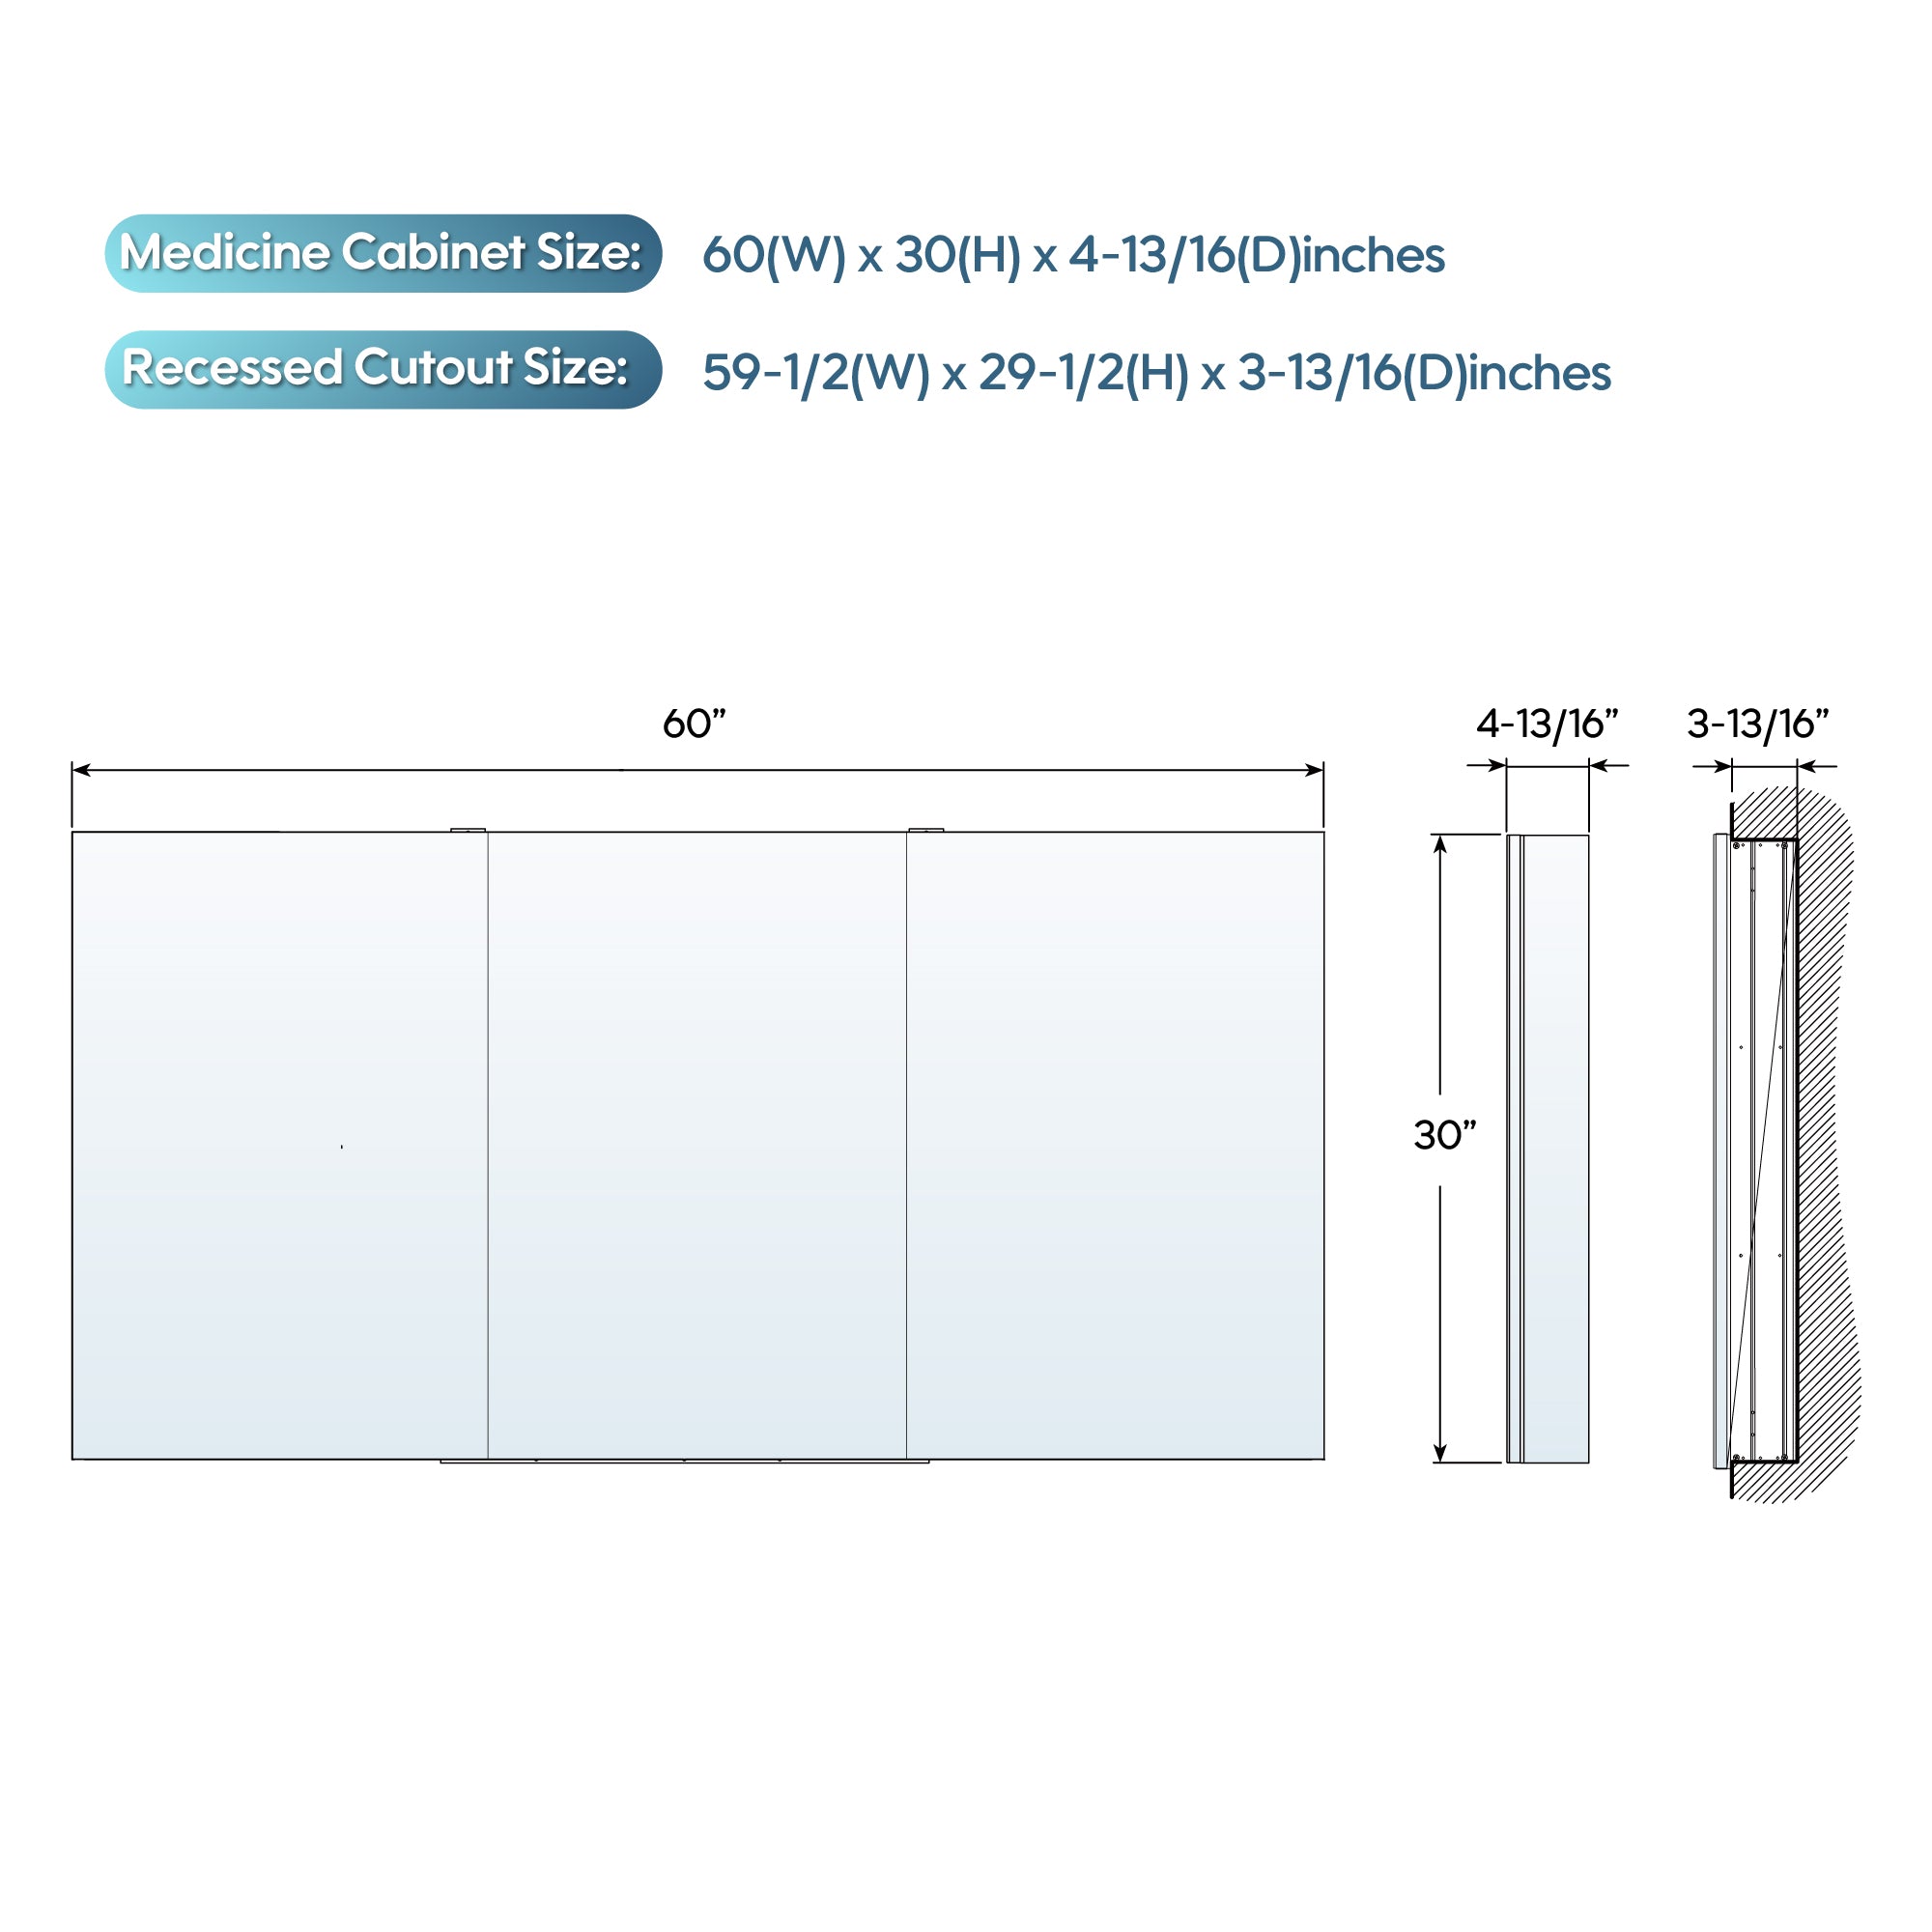
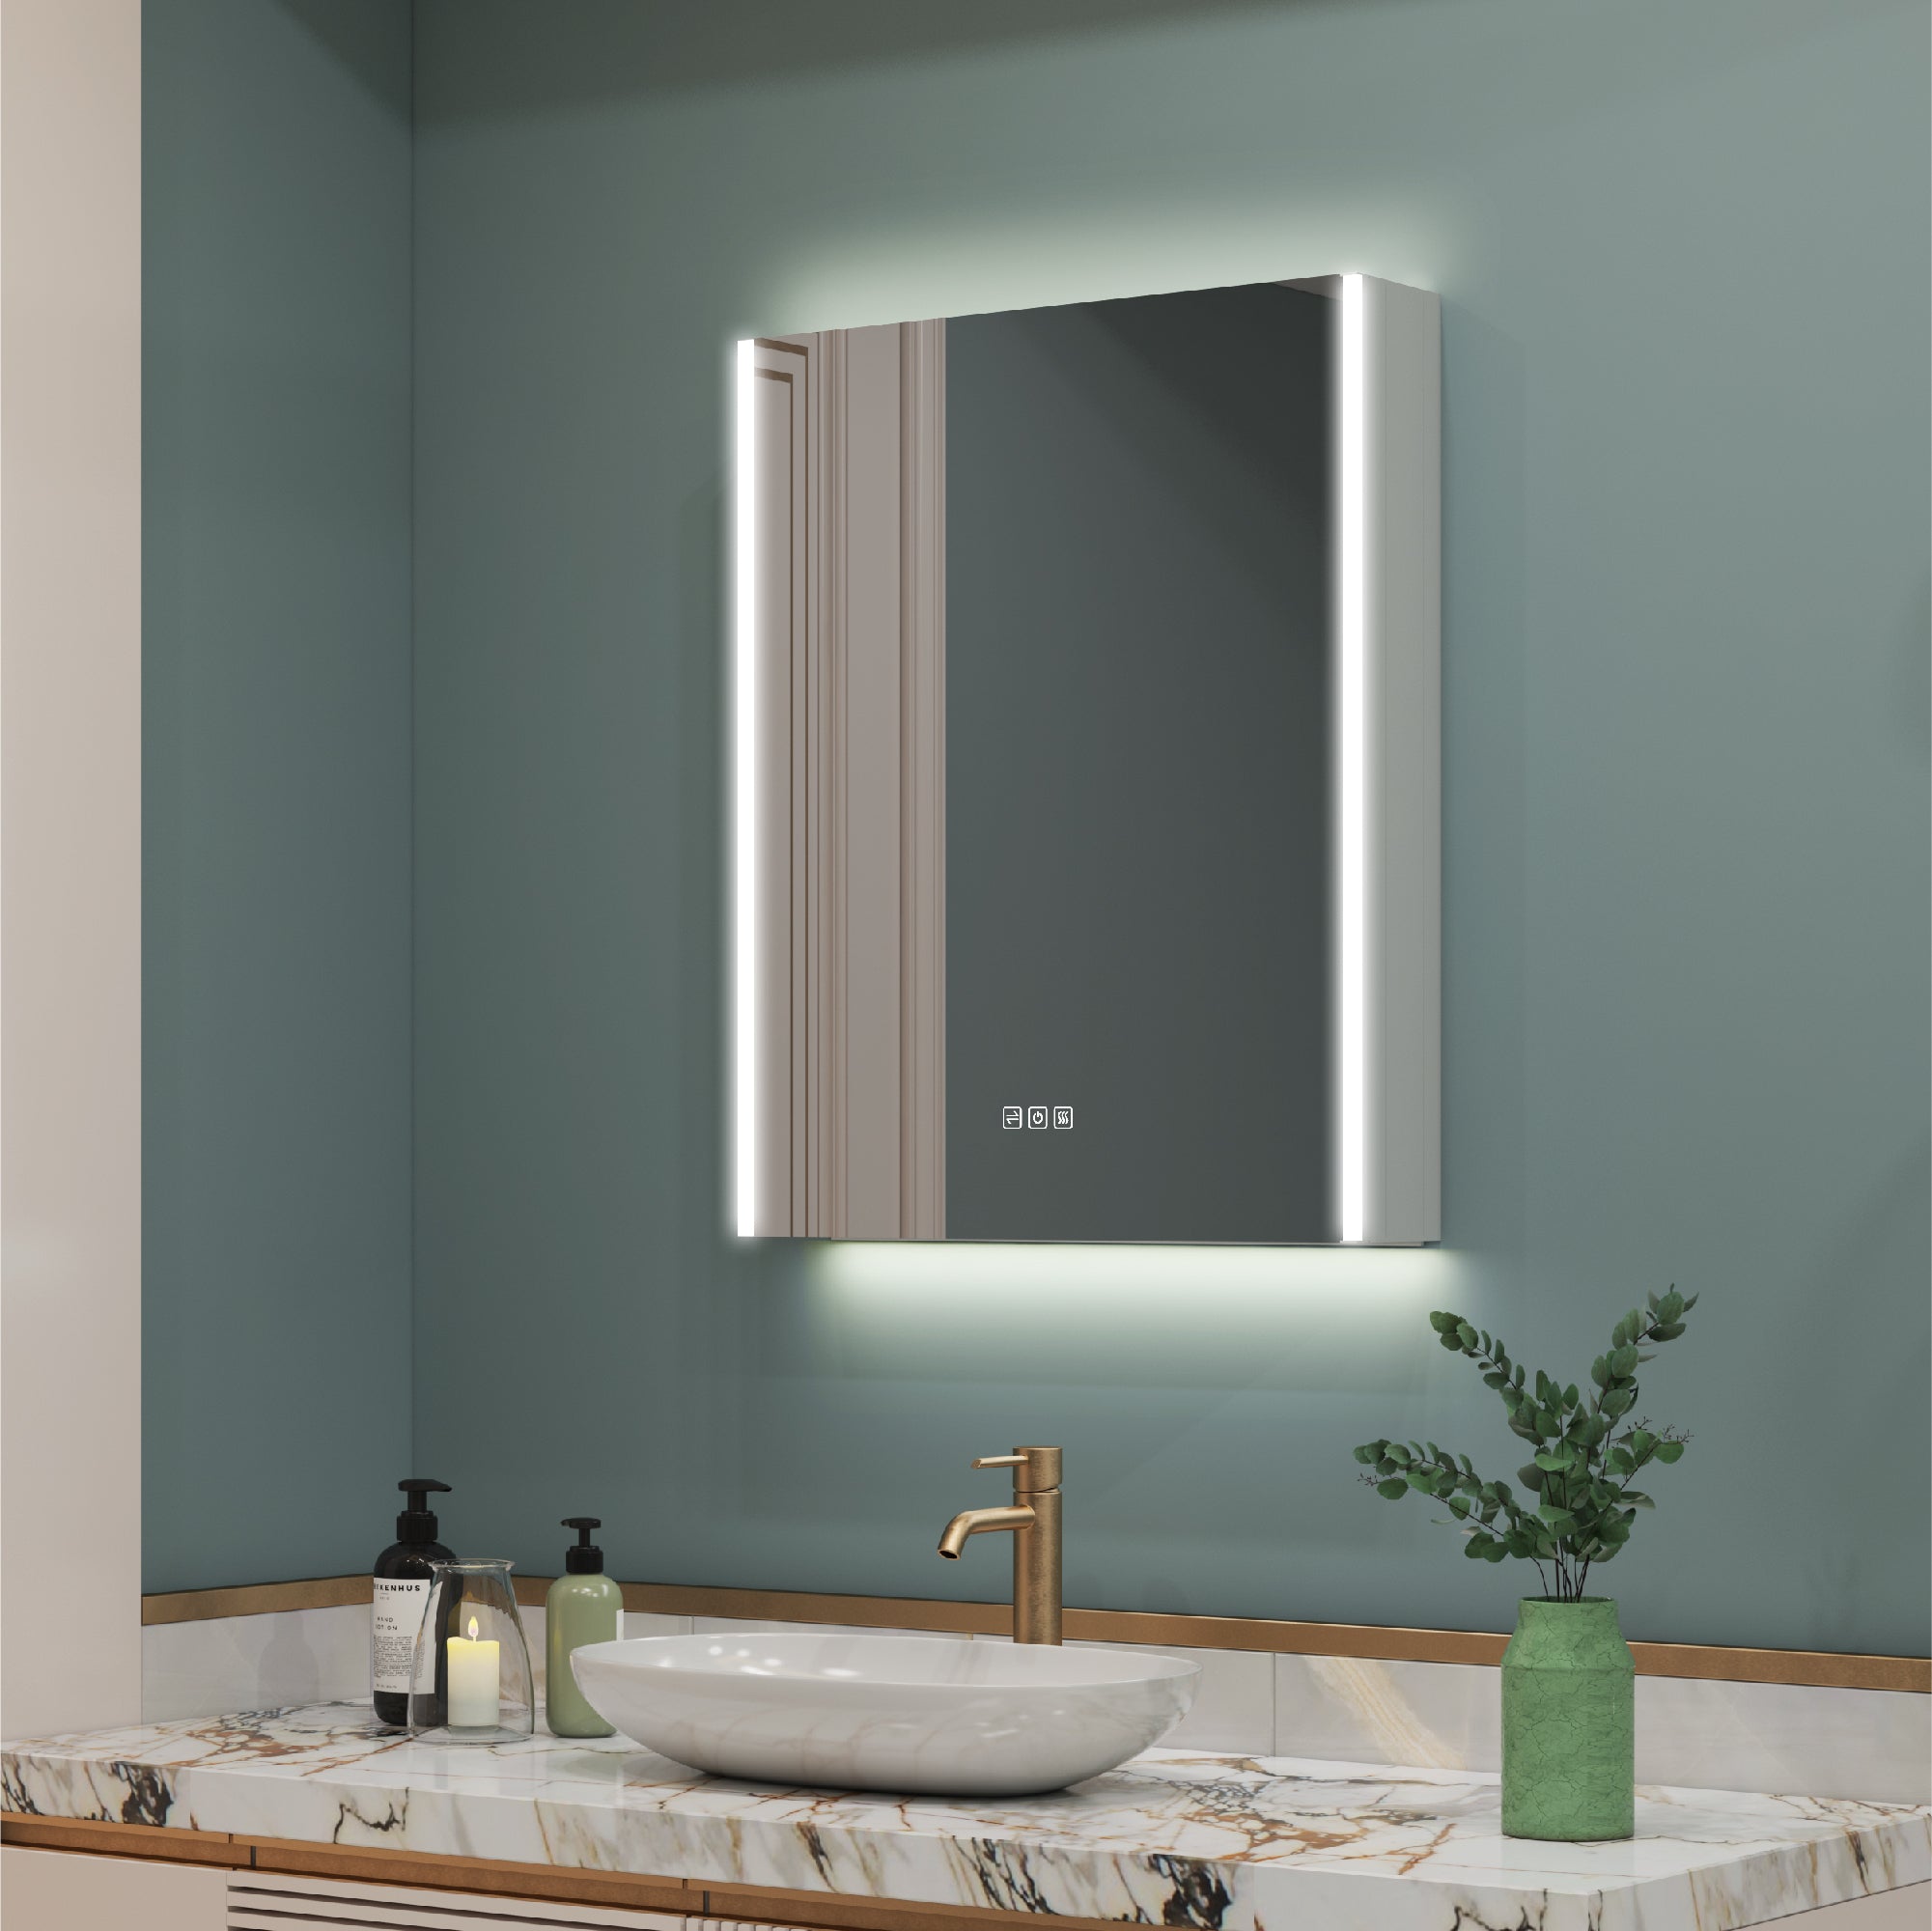
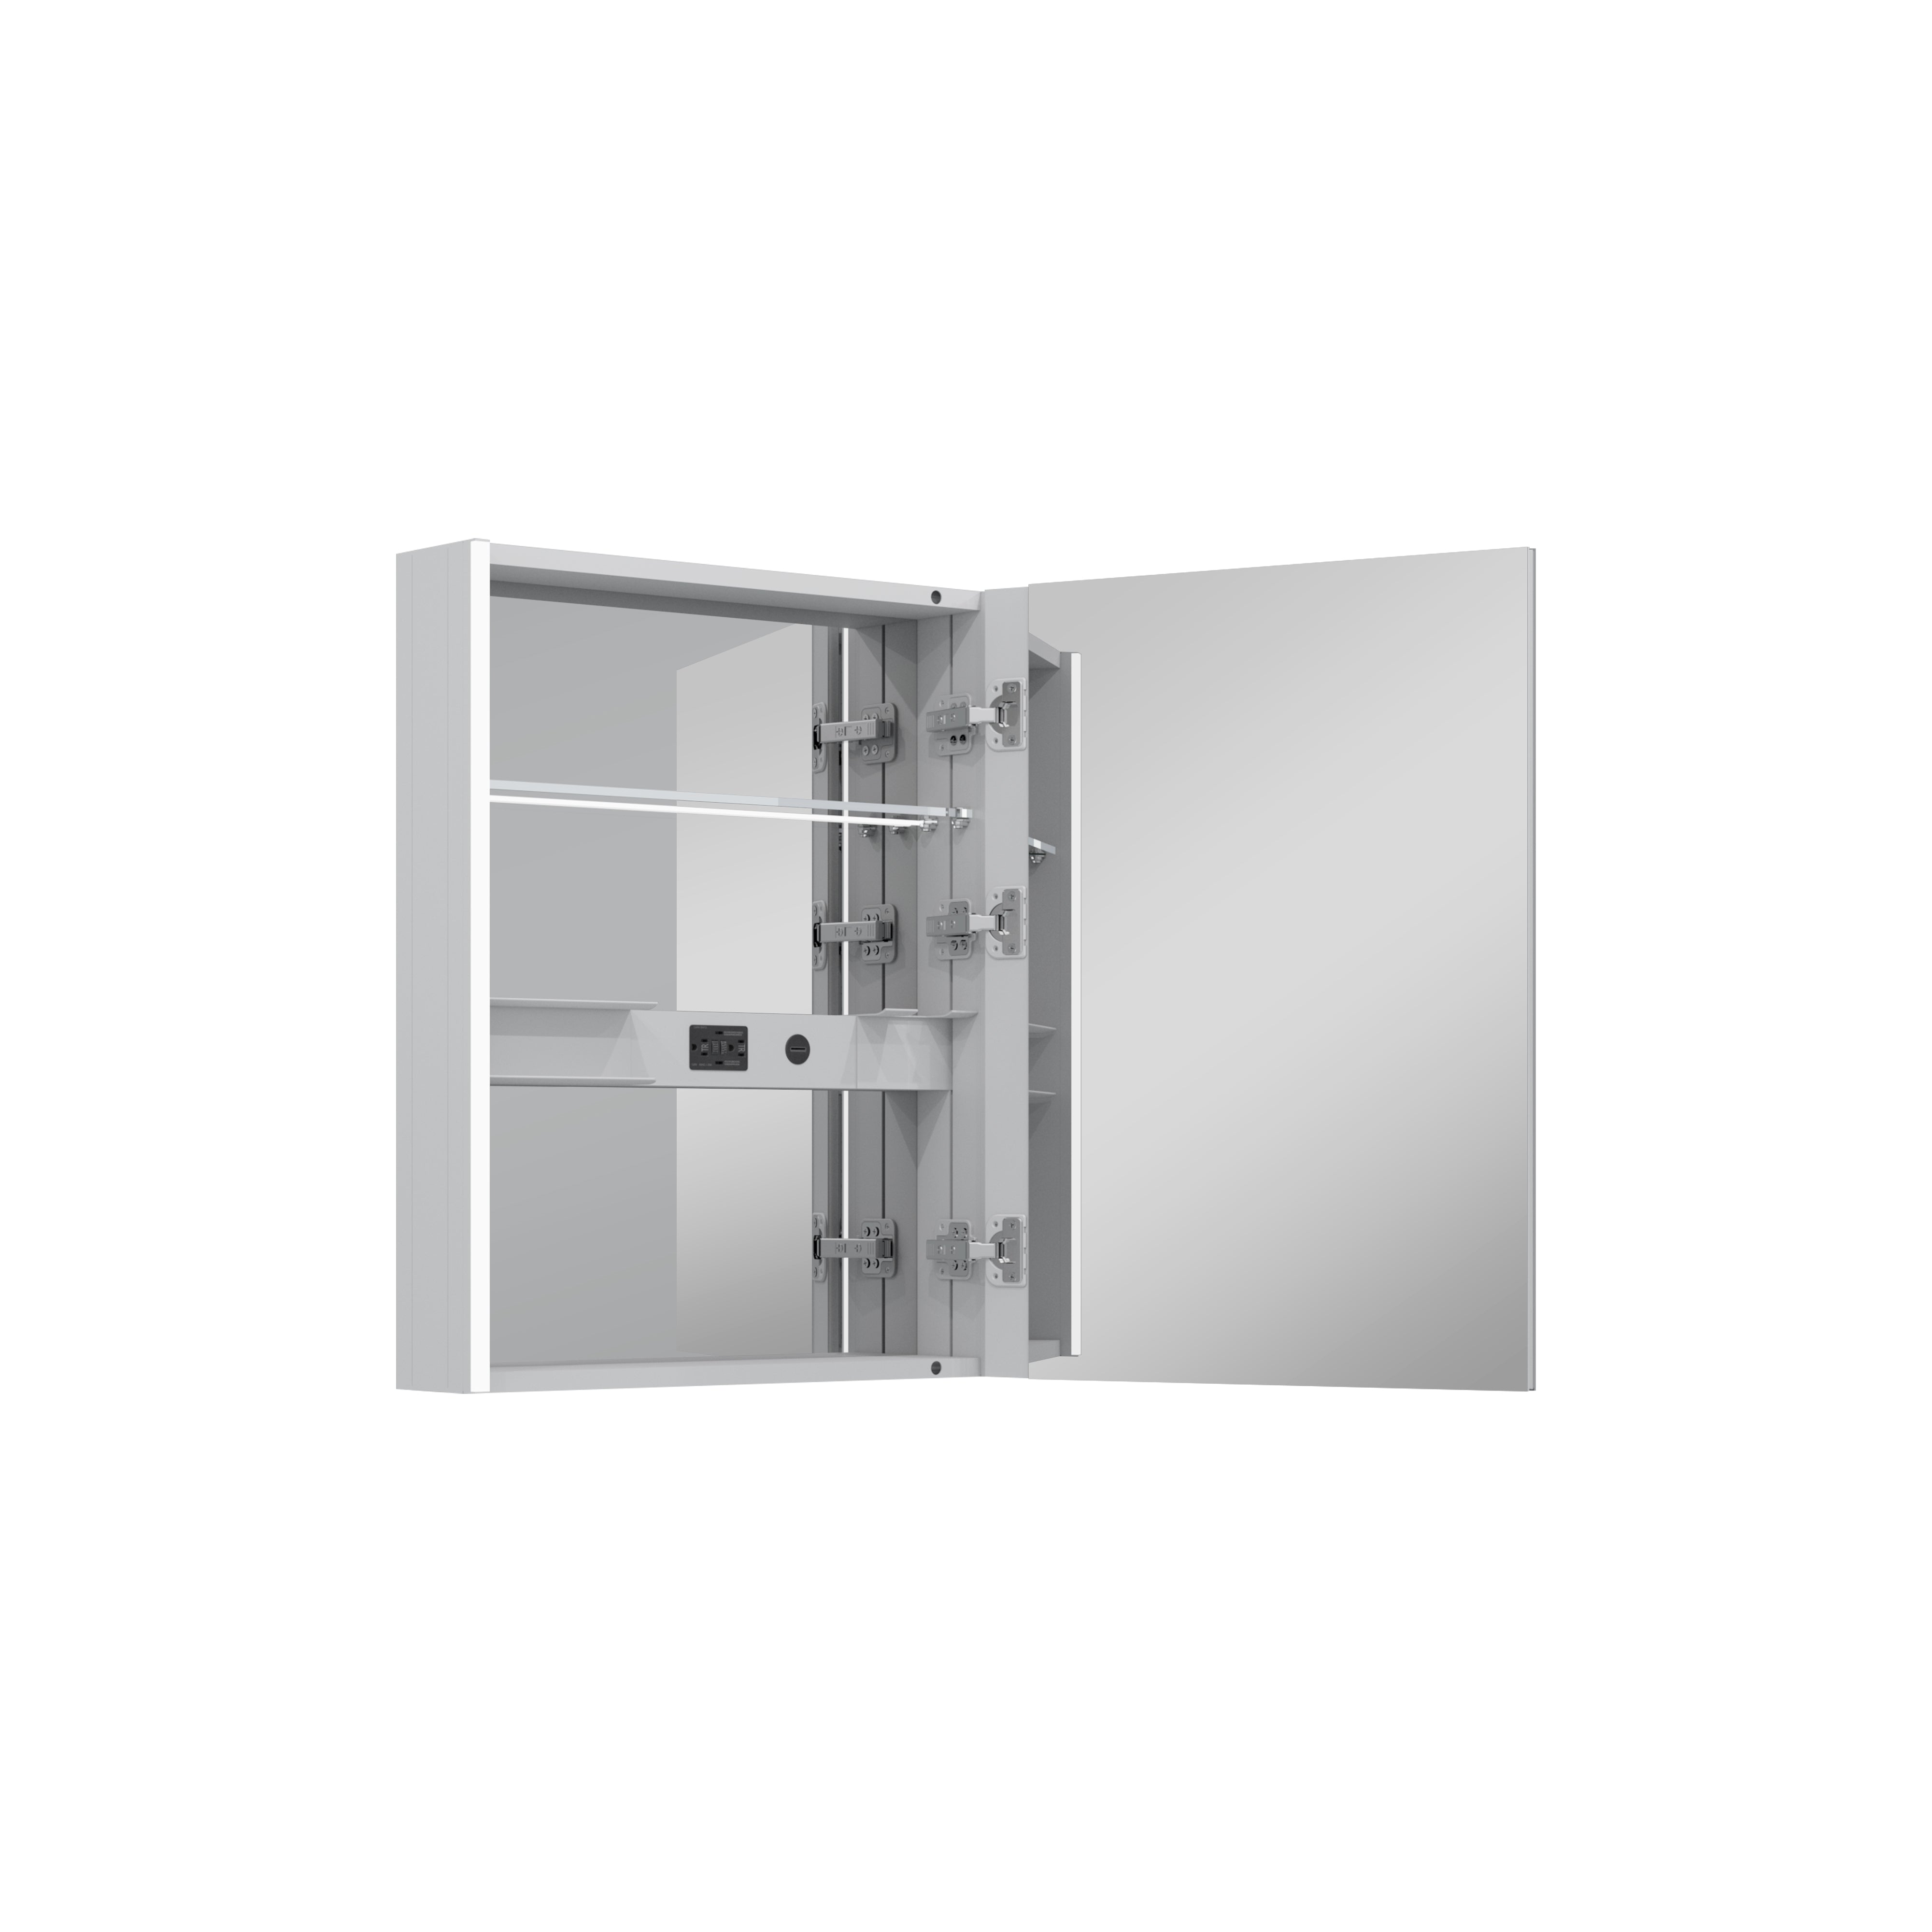
A bathroom medicine cabinet is a convenient and functional addition to any bathroom. It provides storage space for toiletries and medications, and some even come equipped with outlets for charging electric toothbrushes or razors. However, there may come a time when you need to remove your medicine cabinet, whether it's for a bathroom renovation or to replace it with a new one. In this article, we'll guide you through the steps of removing a bathroom medicine cabinet safely and efficiently.

Why Remove a Bathroom Medicine Cabinet?
There are several reasons why you may need to remove a bathroom medicine cabinet. Some common reasons include:
- Renovating your bathroom and replacing the medicine cabinet with a new one
- Upgrading to a larger or more modern medicine cabinet
- Repairing or replacing the wall behind the medicine cabinet
- Removing the cabinet to access plumbing or electrical work behind it
No matter the reason, it's important to follow the proper steps to ensure a smooth and successful removal process.
Tools and Materials You'll Need
Before you begin, gather the necessary tools and materials to make the process easier and more efficient. Here's what you'll need:
- Screwdriver (Phillips or flathead, depending on the type of screws used)
- Hammer
- Putty knife
- Utility knife
- Safety glasses
- Gloves
- Drop cloth or old towel
- Painter's tape (optional)
- Patching compound (if repairing the wall)
- Sandpaper (if repairing the wall)
Step 1: Prepare the Area
Before you start removing the medicine cabinet with outlet, it's important to prepare the area to avoid any damage or mess. Lay down a drop cloth or old towel on the floor to catch any debris that may fall during the removal process. If you have a mirror on the front of your medicine cabinet, you may want to use painter's tape to cover it and prevent it from shattering.
Step 2: Remove the Shelves and Contents
If your medicine cabinet has shelves, remove them first. Carefully take out any items stored in the cabinet and set them aside. This will make the cabinet lighter and easier to handle during the removal process.
Step 3: Remove the Cabinet Doors
If your medicine cabinet has doors, remove them next. Use a screwdriver to unscrew the hinges from the cabinet frame. Once the doors are removed, set them aside in a safe place.
Step 4: Remove the Cabinet from the Wall
Now it's time to remove the cabinet from the wall. Most medicine cabinets are attached to the wall with screws, so you'll need to locate and remove them. Use a screwdriver to unscrew the screws and set them aside. If your cabinet is attached with nails, use a hammer to gently pry it away from the wall.
Step 5: Remove the Cabinet from the Wall Cavity
Once the cabinet is detached from the wall, you'll need to remove it from the wall cavity. This may require some maneuvering, especially if the cabinet is large or heavy. Carefully pull the cabinet out of the wall cavity and set it aside.
Step 6: Patch and Repair the Wall (Optional)
If you're removing the medicine cabinet to access plumbing or electrical work, you may need to patch and repair the wall once the cabinet is removed. Use a putty knife to apply patching compound to any holes or damage caused by removing the cabinet. Once the compound is dry, sand it down to create a smooth surface.
Step 7: Clean and Dispose of the Cabinet
Before you dispose of the cabinet, make sure to clean it thoroughly. Use a damp cloth to wipe down the inside and outside of the cabinet, as well as the shelves and doors. If you plan on reusing the cabinet, you may want to store it in a safe place until you're ready to install it again.
Step 8: Install a New Medicine Cabinet (Optional)
If you're replacing your old medicine cabinet with a new one, now is the time to install it. Follow the manufacturer's instructions for installation, and make sure to secure it properly to the wall.
Safety Tips
- Always wear safety glasses and gloves when removing a medicine cabinet to protect your eyes and hands from any debris or sharp edges.
- Use caution when removing the cabinet from the wall cavity, as it may be heavy and difficult to maneuver.
- If you're unsure about any electrical or plumbing work behind the cabinet, consult a professional before attempting to remove it.
Removing a bathroom medicine cabinet with outlet may seem like a daunting task, but with the right tools and techniques, it can be done safely and efficiently. Whether you're renovating your bathroom or simply upgrading to a new medicine cabinet, following these steps will help you remove the cabinet without any damage or hassle. Remember to always prioritize safety and consult a professional if you're unsure about any aspect of the removal process.





Leave a comment
All comments are moderated before being published.
This site is protected by hCaptcha and the hCaptcha Privacy Policy and Terms of Service apply.