
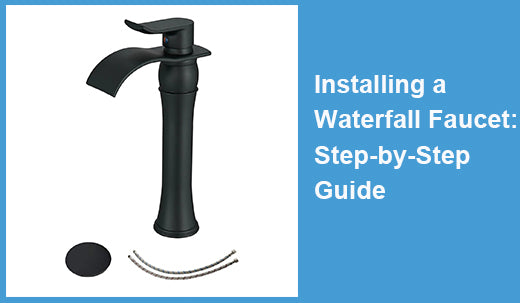
Waterfall faucets have become a symbol of elegance and modernity in contemporary homes. Their unique design adds a touch of sophistication to bathrooms and kitchens, making them a sought-after choice for those who want both style and functionality. In this comprehensive guide, we will take you through the entire process of installing a waterfall faucet in your space.

Understanding Waterfall Faucets
Before we dive into the installation process, let's understand what makes waterfall faucets special. These faucets feature a wide, open spout that mimics the gentle flow of a waterfall. This design not only adds aesthetic appeal but also transforms your space into a modern oasis. Waterfall faucets come in various styles, including wall-mounted, deck-mounted, and vessel faucets, allowing you to choose the one that suits your preferences and space.
Preparing for Waterfall Faucets Installation
Gather Your Tools and Materials:
Before starting the installation, ensure you have all the necessary tools and materials. You will need a wrench, pliers, a screwdriver, plumber's tape, silicone sealant, the waterfall faucet, mounting hardware, and water supply lines.
Turn Off the Water Supply:
Locate the shut-off valves under the sink and turn off the water supply. This step is crucial to prevent any water leakage during the installation process.
Remove the Old Faucet:
If there's an existing faucet, remove it carefully. Use a wrench and pliers to disconnect the water supply lines and unscrew the mounting nut holding the old faucet in place.
Clean the Installation Area:
Clean the sink surface thoroughly where the new waterfall faucet will be installed. Remove any debris or residue to ensure a clean and secure fit.
Step-by-Step Installation Guide
1. Install the Mounting Hardware:
Follow the manufacturer's instructions to install the mounting hardware. Typically, this involves placing a rubber gasket and a mounting nut on the bottom of the faucet and securing it to the sink with a wrench.
2. Connect the Water Supply Lines:
Using pliers, connect the water supply lines to the corresponding hot and cold water valves. Wrap plumber's tape around the threaded ends to ensure a tight and leak-free seal.
3. Apply Silicone Sealant:
Before placing the faucet on the sink, apply a thin layer of silicone sealant around the base of the faucet. This creates a watertight seal, preventing leaks and ensuring a secure fit.
4. Secure the Faucet:
Carefully place the waterfall faucet on the sink and secure it in place with the mounting nut. Use a wrench to tighten the nut, but avoid over-tightening, as it could damage the faucet.
Connecting the Water Supply Lines
Once the faucet is securely in place, the next step is to connect the water supply lines. Use pliers to attach the supply lines to the corresponding hot and cold water valves under the sink. Ensure a snug fit, and double-check for any signs of leaks.
Testing and Adjusting the Waterfall Effect
With the installation complete, it's time to test the functionality of your waterfall faucet. Turn on the water supply and observe the flow. Check for any leaks and ensure that the water cascades smoothly from the spout, creating the desired waterfall effect.
If adjustments are needed, use the wrench to fine-tune the water flow. Some waterfall faucets come with adjustable features, allowing you to customize the intensity of the waterfall effect to your liking.
Maintenance and Care
To ensure your waterfall faucet maintains its elegance and functionality, follow these maintenance tips:
- Regular Cleaning: Wipe the faucet regularly with a mild soap and water solution to remove any dirt or water spots.
- Avoid Harsh Cleaners: Refrain from using abrasive or harsh cleaners, as they can damage the faucet's finish.
- Check for Leaks: Periodically check for leaks around the base and the water supply connections. Address any issues promptly to prevent water damage.
Installing a waterfall faucet is a manageable task with the right tools and guidance. This step-by-step guide is designed to help you through the process, ensuring a seamless installation and a stunning addition to your bathroom or kitchen. By understanding the nuances of waterfall faucets and following these instructions, you can enjoy the modern elegance and functionality they bring to your space. If you have any tips or questions about installing a waterfall faucet, feel free to share them in the comments below.
Leave a comment
All comments are moderated before being published.
This site is protected by hCaptcha and the hCaptcha Privacy Policy and Terms of Service apply.