
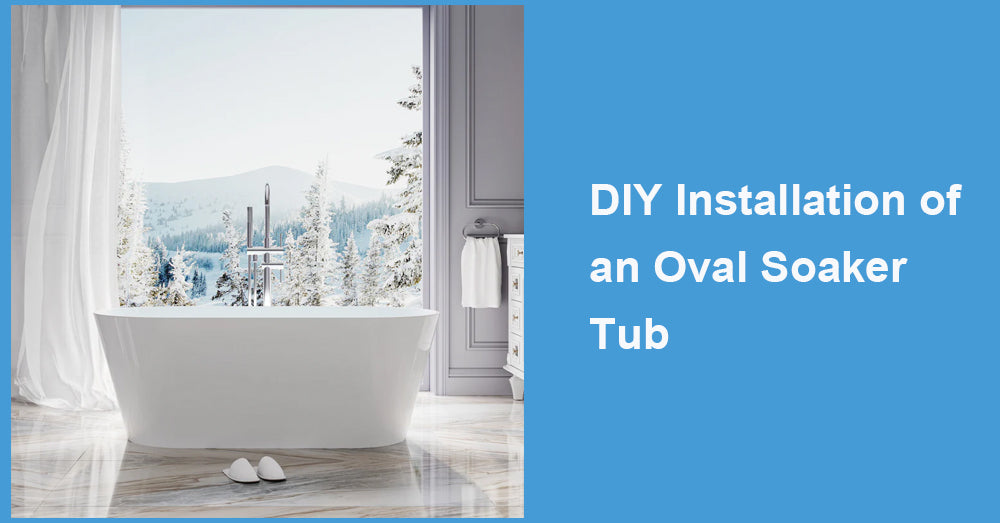
But all the amenities of a spa are just a dream away (and much more affordable), so if you have ever dreamed of having an oval soaking tub in your home, it may be just what you need. There's nothing quite better than soaking in a deep, warm bath at the end of a long day. But you might not know that you can add one on your own. With a little planning, the right tools, and a couple of free weekends, you'll have your opulent oval soaking tub primed for use.
Here's a step-by-step guide to properly installing an oval soaking tub, whether you're remodeling the bathroom or upgrading your current tub. Don't worry—it's achievable, and you don't need to be a pro plumber.
What are the Benefits of an Oval Soaking Tub?
Before we discuss how to install one, let's explore why an oval soaking tub is such a nice addition to your home.
l Soothing Design: Soothing curved lines from an oval-shaped soaking tub gives your bathroom a focal point.
l Space Efficiency: Oval tubs can look gorgeous in compact homes thanks to their compact but spacious design. They add a touch of luxury without being overbearing in a room.
l Unmatched Comfort: Oval tubs are deep, so you can fully submerge your body and enjoy a bath that's way more relaxing than the standard tub.
l Enhances Resale Value: A well-installed oval soaking tub enhances the aesthetic of your bathroom and can even increase resale value.
Now that you're sold on this stunning tub style, it's time to roll up your sleeves and get to work.
What tools and materials are needed?
Preparation is key, as it always is before a DIY project. For setting up an oval soaking tub, here are the supplies you will need:
Tools:
l Tape measure
l Level
l Adjustable wrench
l Power drill and drive bits
l Pipe wrench
l Reciprocating saw if you need to remove an old tub
l Caulk gun
l Utility knife
Materials:

l OVAL SOAKING TUB (check dimensions to ensure it'll fit your space and shape preferences)
l Tub drain assembly kit
l Flexi-plumbing connectors
l Plumber's putty
l Silicone sealant
l 2x4 lumber to make a tub frame (if needed)
l Drywall or cement board (for areas around)
Preparing everything beforehand will save you time (and trips to the hardware store).
How to Install Your Oval Soaking Tub: A Step-by-Step Guide
Plan and Prepare the Space
First up, where's your oval soaking tub gonna go? Determine whether it will take the place of an existing tub, or fit into a new, dedicated space.
l Measure the Area: Grab a tape measure to ensure enough room for the tub and room for fittings and plumbing and to place the tub.
l Run Shut Off River: Make sure you turn off the main river supply so you don't end up with any unwanted leaks or mess when you start taking plumbing out or put it;
l Demolish Safely (if applicable): If you're replacing an old tub, cut it out gently using a reciprocating saw. Remember to don gloves and goggles for safety.
Pro Tip: Ensure the floor will support the tub's weight right out of the gate with water. For larger tubs, that tends to mean reinforced flooring.
Build the Tub Frame (If Necessary)
Will need a custom frame to support most built-in oval soaking tubs.
l Build a robust frame using 2x4 lumber that matches the tub's dimensions perfectly.
l Be sure to verify your measurements. It should support the tub's sides evenly but allow for the plumbing underneath.
l A level helps to check if the frame is even—it ensures water isn't going to flow to one side when the tub is in use.
Freestanding Tubs: If you've chosen a freestanding oval soaking tub, you can forgo this step, as these models do not require a built-in frame.
Install Plumbing Fittings
l Assemble the tub drain and overflow fittings per the manufacturer's instructions. Apply the Plumber's putty around the fittings so they are watertight.
l Between the tub's fittings and the main drain pipe, use flexible plumbing connectors so you can adjust.
Pro Tip: Ensure all plumbing connections align before setting the tub in place. Small misalignments lead to leaks later on.
Place the Tub
l When installing a built-in tub, lower it gently into the frame. Check it with a level to ensure it's sitting dead Level.
l set the tub in the desired location for stand-alone tubs, aligning the drain with your floor's plumbing.
Be sure to reposition as required before continuing.
Secure and Seal
l Attach the tub rim to the frame with screws or brackets for built-in tubs.
l Install silicone sealant along the tub's edges, which touches the surrounding wall or tiles to ensure a watertight seal.
l Use a utility knife or finger to smooth the sealant for a clean line.
Test the Tub
l Restore the water supply and confirm hot and cold water lines.
l Look for leaks at all plumbing joints and connections. If needed, tighten fittings.
l Get a few deep cleans — fill the tub to see that the drain holds water and that there aren't any barriers.
You made it through — your oval soaking tub is finally installed! The tub can be used after the sealant has completely cured (typically a few hours or more).
How to Make the Most Out of Your Oval Tub
l Install a Handheld Showerhead: No More Shower Rinsing: Add a handheld showerhead for low reach.
l Splurge on Tiling: Full enclosure tiling around a built-in tub creates a more high-end, waterproof configuration.
l Install Mood Lighting: Adding soft, adjustable light can do wonders if you want your home bath experience to be next-level relaxation.
l Use a bath tray, waterproof cushions, or your favorite bath salts and candles.
Frequently Asked Questions
Can I install an oval soaking tub myself?
Absolutely! With the right tools and patience, you can install an oval tub. But if plumbing tasks seem too intimidating, it's best to call a pro.
Installation: how long does it take?
Such a process usually takes about 1-3 days, depending on readiness and possible barriers (e.g. , an old tub). If you factor in drying time for sealants, allow a weekend.
Do I need a permit to install an oval soaking tub?
A permit might be required depending on the project's scope and local building codes. Check with your local municipality to be sure.
Final Thoughts
An oval soaking tub is more than just a bathroom upgrade—it's an investment in relaxation and luxury. It's more than doable to install it yourself, and with the right prep work, you'll end up with a lovely addition to your home that you can be proud of.
If you've been dreaming of relaxing in your spa-like retreat, the time to move is now.
Follow this guide to make your bathroom a personal retreat. It will all be worth it after the bubbles flow and you're neck-deep in warm, comforting water!


Leave a comment
This site is protected by hCaptcha and the hCaptcha Privacy Policy and Terms of Service apply.