
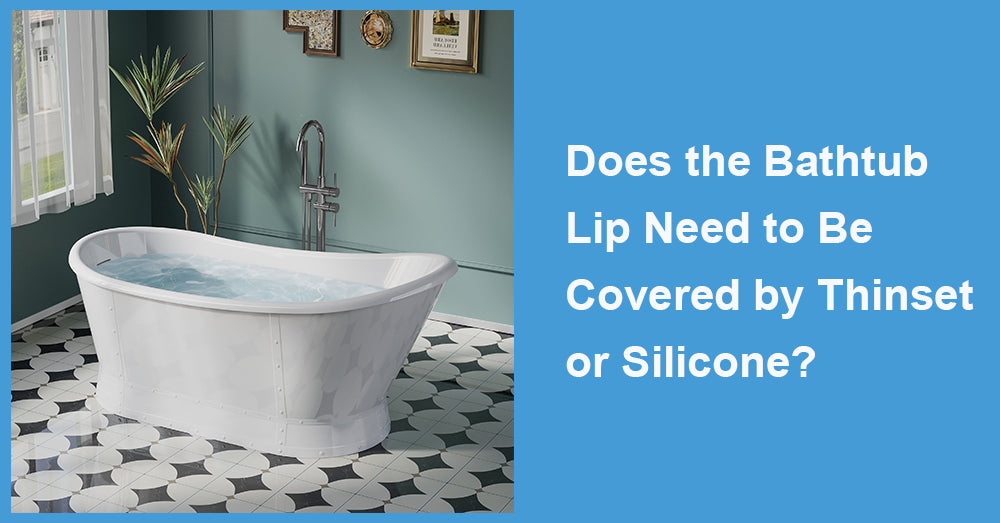
When remodeling or installing an acrylic bathtub, knowing how to properly seal and secure the bathtub lip is a crucial step. After all, nobody wants water seeping where it doesn’t belong, leading to mold, structural damage, or costly repairs. But the question stands—does the bathtub lip need to be covered by thinset or silicone? This comprehensive guide unpacks the topic, offering insights to help you make the right decision for your bathroom project.
Whether you’re a DIY enthusiast or a homeowner working with a professional, understanding the role of thinset and silicone in bathtub installation will ensure a watertight and durable result.
What Is a Bathtub Lip?
Before we jump into covering it, it’s essential to understand what the bathtub lip is. The bathtub lip, also known as the flange, is the slightly raised edge along the perimeter of your acrylic bathtub. This lip is designed to abut the wall studs and is typically concealed behind the tile or wall paneling.
The purpose of the bathtub lip is to prevent water from making its way behind the bathtub and into the walls—a feature that’s absolutely essential for maintaining a waterproof seal.
Thinset vs. Silicone: What Are They and How Do They Work?
To determine the best material for sealing the bathtub lip, we need to explore what thinset and silicone are and their respective roles in construction.
Thinset
Thinset mortar is a type of adhesive made from cement, fine sand, and a water-retention agent. It’s frequently used to set tiles onto various surfaces, offering a strong, durable bond. Thinset is not flexible, making it ideal for surfaces that do not expand or contract over time.
When to Use Thinset:
· Installing tiles on walls or floors.
· Areas requiring high bonding strength, like shower walls or backsplashes.
Silicone
Silicone is a flexible, waterproof sealant commonly used in bathrooms, especially for fixtures exposed to moisture. Its elasticity allows it to expand and contract without breaking the seal, making it perfect for areas prone to movement or water exposure.
When to Use Silicone:
· Sealing edges and joints around bathtubs, sinks, or toilets.
· Waterproofing surfaces prone to regular contact with water.
Should You Use Thinset or Silicone for the Bathtub Lip?
The short answer is no, the bathtub lip should not be covered with thinset. Instead, silicone is the recommended material for sealing the tub lip. Here’s why:
Why Not Thinset?
While thinset is excellent for securing tiles and providing a rigid bond, it’s not designed to serve as a waterproof barrier. Applying thinset over the bathtub lip can lead to issues like:
· Cracking: Thinset is brittle and susceptible to cracking if the bathtub shifts or flexes slightly over time (a common characteristic of acrylic bathtubs).
· Water Seepage: Since thinset isn’t inherently waterproof, water can infiltrate through cracks or gaps, causing damage to the underlying structure.
Why Silicone Is the Right Choice
Silicone, on the other hand, is highly flexible, making it ideal for sealing areas where expansion, contraction, and movement occur. When applied properly, silicone ensures a watertight seal along the bathtub lip, preventing water from escaping into areas it shouldn’t.
Benefits of using silicone include:
· Waterproof Protection: Silicone prevents water from seeping behind the wall or beneath the tub.
· Flexibility: Acrylic bathtubs often experience slight movements due to weight and thermal expansion, and silicone can absorb this movement without breaking the seal.
· Easy Application: Silicone is easier to apply and smooth out than thinset, making it suitable for DIY projects.
Step-by-Step Guide to Sealing the Bathtub Lip with Silicone

To ensure you properly seal the bathtub lip, follow these steps:
1. Gather Your Materials
You’ll need the following tools and materials:
· High-quality silicone sealant (preferably mold-resistant)
· Caulking gun
· Painter’s tape
· Utility knife or scraper
· Cleaning solution (soap and water or isopropyl alcohol)
· Clean cloth or paper towels
2. Prep the Area
Before applying silicone, make sure the area is clean and dry:
· Remove any debris or dust from the bathtub lip.
· Wipe down the lip with a cleaning solution and allow it to dry completely.
· Use a scraper to remove any old caulk or adhesive if this is a replacement project.
3. Protect Surrounding Surfaces
Apply painter’s tape along the edges of the bathtub lip to create clean, straight lines and prevent silicone from getting onto unintended surfaces.
4. Apply the Silicone
· Cut the nozzle of the silicone tube at a 45-degree angle to ensure an even application.
· Insert the tube into the caulking gun and gently squeeze a continuous bead of silicone along the bathtub lip where it meets the wall.
5. Smooth It Out
· Use a gloved finger or a caulking tool to smooth out the silicone for a clean finish. This helps ensure a tight seal.
· Wipe away excess silicone with a damp cloth before it cures.
6. Remove the Tape
Carefully peel away the painter’s tape before the silicone dries to prevent pulling away any of the sealant.
7. Allow to Cure
Follow the silicone manufacturer’s instructions for curing time (typically 24–48 hours) before exposing the area to moisture.
Additional Tips for Efficient Sealing
· Choose the Right Silicone: Look for a silicone sealant labeled as “kitchen and bath,” as these are specifically designed to resist mold and mildew.
· Use Clear or Matching Silicone: Clear silicone works well in most cases, but if you prefer seamless integration with the surrounding tile or wall, use a color-matching option.
· Avoid Overapplying: Too much silicone can lead to a messy finish, so apply a consistent, moderate bead along the bathtub lip.
Bonus Advice for Installing Acrylic Bathtubs
· Check for Support: Ensure the acrylic bathtub is properly supported underneath to minimize movement that could break the silicone seal over time.
· Waterproof the Surrounding Wall: Use a waterproof membrane or backer board behind tiles to add an extra layer of protection against moisture.
· Inspect Annually: Check the silicone seal for any signs of wear or gaps. Reapply as needed to maintain a waterproof barrier.
Final Thoughts
When it comes to sealing the bathtub lip, silicone is the clear winner. Its flexibility, waterproofing capabilities, and ease of use make it the best material for ensuring a durable and watertight seal. Thinset, though excellent for installing tiles, simply cannot provide the same level of protection or adaptability, especially for the movement-prone nature of acrylic bathtubs.
A well-sealed bathtub lip is essential not just for preventing water damage but also for extending the lifespan of your bathroom surfaces. By following the steps above and opting for silicone, you’ll ensure your bathroom remains a functional and beautiful space for years to come.
If you’re feeling hesitant about tackling this project yourself, consider consulting with a professional to guarantee a flawless finish!


Leave a comment
This site is protected by hCaptcha and the hCaptcha Privacy Policy and Terms of Service apply.