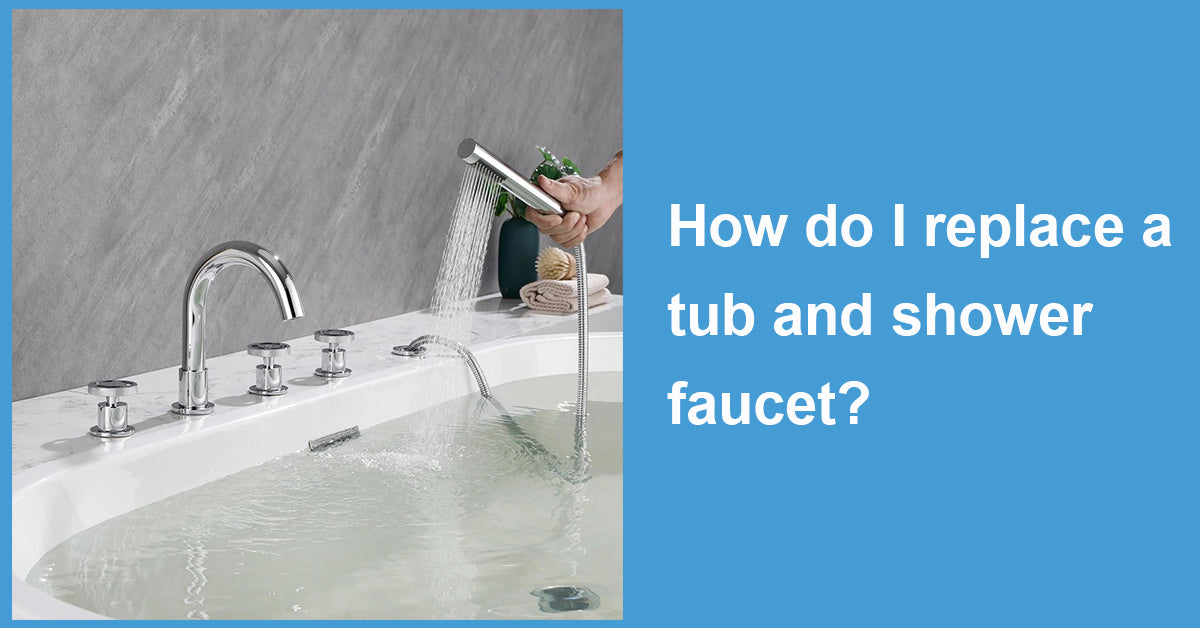
Replacing a tub and shower faucet can be a daunting task for many homeowners.
However, with the right tools and a bit of patience, it's a project that can be tackled over a weekend. Whether you're dealing with a persistent leak or just looking to update the look of your bathroom.
This guide will walk you through the steps to replace a bath tub faucet, including wall mount faucets, and provide you with tips on using a faucet repair kit to ensure a successful installation.
Understanding Faucet Types
Before you begin, it's essential to understand the type of faucet you're working with. Bath tub faucets come in various styles, such as single-handle, two-handle, and those that come with a shower diverter. Wall mount faucets are attached through the wall and require a different approach than deck-mounted faucets. Make sure to purchase the correct type of faucet and repair kit for your specific setup.
Identifying Your Faucet Type
To determine the type of faucet you need to replace, check the current setup:
- Single-handle faucets control both water temperature and flow with one lever.
- Two-handle faucets have separate handles for hot and cold water.
- Faucets with a diverter have a knob or lever that directs water to the showerhead when pulled or turned.
Preparing for Replacement
Before you get started, you need to gather the necessary tools and materials. This will typically include:
- Adjustable wrenches
- Screwdrivers (flathead and Phillips)
- Plumber's tape
- A cloth or towel
- A new faucet or faucet repair kit
- Silicone caulk (for wall mount faucets)
Shutting Off the Water Supply
Always start by shutting off the water supply to your bathroom. This can usually be done by turning off the valves under the sink or behind the shower panel. If you can't find the local shut-off valves, you may need to turn off the main water supply to your home.
Step-by-Step Replacement Process

Removing the Old Faucet
- Access the Faucet: Depending on your tub's setup, you may need to remove a panel or tile to access the faucet's mounting hardware.
- Detach the Faucet: Use an adjustable wrench to loosen and remove any nuts or bolts holding the faucet in place. Be careful not to damage the surrounding wall or tile.
- Clean the Area: Once the old faucet is out, clean any residue or old caulk from the wall or tub surface.
Installing the New Faucet
- Prep the Area: If you're installing a wall mount faucet, apply silicone caulk around the holes in the wall to prevent water from getting behind the wall.
- Attach the New Faucet: Place the new faucet into position, ensuring the plumber's tape is applied to any threaded connections to prevent leaks.
- Secure the Faucet: Tighten any nuts or bolts to secure the faucet in place. Be sure not to overtighten, as this can damage the faucet or the tub.
- Reconnect Water Lines: Reattach the water supply lines to the new faucet, using plumber's tape on threaded connections.
Testing for Leaks
Once everything is in place, slowly turn the water supply back on and check for any leaks around the new faucet. If you find any, tighten the connections slightly more or apply additional plumber's tape as needed.
Using a Faucet Repair Kit
If you're not replacing the entire faucet but rather fixing a leak or other issue, a faucet repair kit can be a practical solution.
Identifying the Problem
Determine the source of the leak or malfunction. Common problems include worn-out seals, O-rings, or a faulty valve stem.
Selecting the Right Repair Kit
Purchase a repair kit that is designed for the make and model of your faucet. These kits typically include all the necessary parts and instructions for making repairs.
Repairing the Faucet
Follow the instructions included with the repair kit to replace the damaged parts. This often involves disassembling the faucet, removing the old parts, and installing the new ones.
Finishing Touches
Once your new faucet is installed or your old one is repaired, it's time to put the finishing touches on your project.
Sealing and Caulking
For wall mount faucets, apply a bead of silicone caulk around the base of the faucet where it meets the wall to ensure a waterproof seal.
Cleaning Up
Wipe down the area to remove any fingerprints, excess caulk, or debris. This will leave your bathroom looking clean and refreshed.
Maintenance Tips
To prolong the life of your new or repaired faucet, consider the following maintenance tips:
- Regularly clean your faucet to prevent mineral buildup.
- Periodically check for leaks and address them promptly.
- Replace worn parts as needed to avoid more significant issues down the line.
Takeaway
Replacing or repairing a tub and shower faucet can seem like a complex task, but with the right approach and preparation, it's an achievable DIY project. By following these detailed steps, using the appropriate tools and materials, and taking the time to do the job correctly, you can ensure a successful faucet installation that will serve you well for years to come. Don't be afraid to tackle this home improvement task—your newly functioning faucet will be worth the effort.
Remember, when in doubt or if you encounter any unexpected complications, it's always best to consult a professional plumber to ensure the job is done safely and effectively.








Leave a comment
This site is protected by hCaptcha and the hCaptcha Privacy Policy and Terms of Service apply.