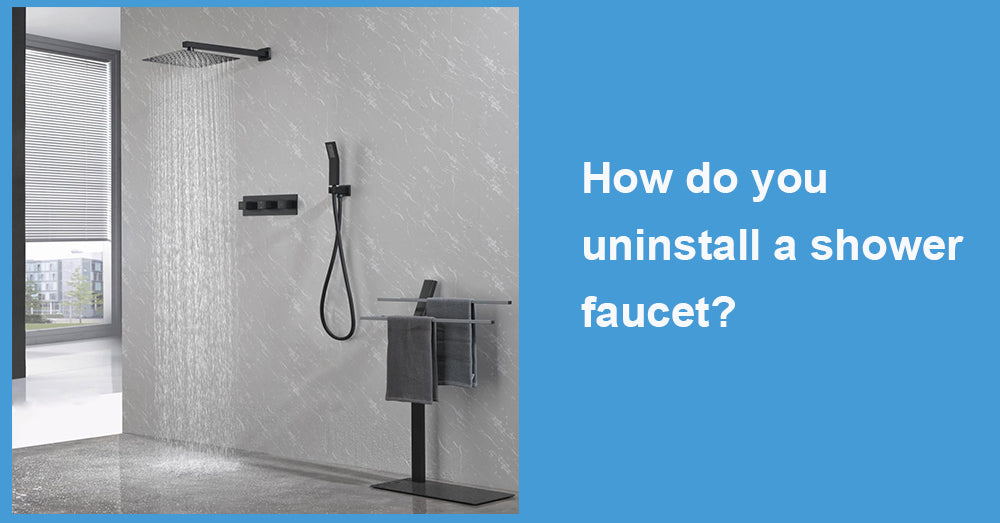
Before discussing the process, it's essential to understand the type of shower faucet you have. Shower faucets come in various styles and finishes, such as the famous black shower faucet, and understanding your specific type will help you source the correct replacement parts or a new faucet. Identifying whether your faucet is a single-handle, dual-handle, or thermostatic model is vital because each type has distinct mechanisms and removal procedures. Moreover, knowing the brand and model of your existing faucet can significantly ease the search for compatible parts or a suitable replacement.
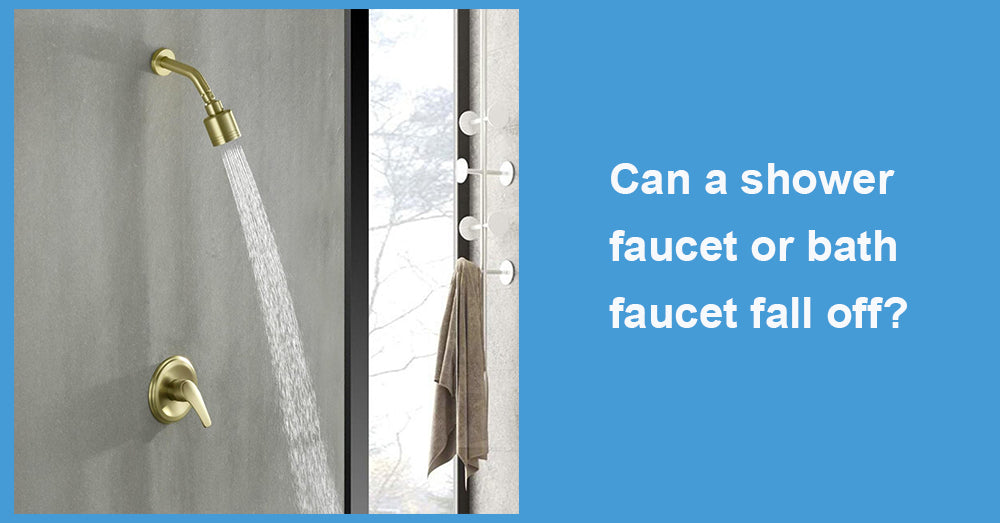
Additionally, the finish of your faucet, whether chrome, brass, or matte black, can affect the aesthetic outcome of your bathroom renovation. Understanding these details ensures the new faucet functions well and complements your bathroom's decor. By familiarizing yourself with these elements, you can make informed decisions that enhance your bathroom's functionality and style.
Tools You Will Need
To successfully uninstall your shower faucet, gather the following tools:
-
Adjustable wrench
-
Screwdriver set
-
Pliers
-
Plumber's tape
-
Bucket or towel (to catch any water drips)
The right tools are essential for any DIY project, especially plumbing. An adjustable wrench is crucial for loosening nuts and bolts, while a versatile screwdriver set will help with various screw types you may encounter. Pliers can provide extra grip and leverage, especially if parts are rusted or stuck due to mineral buildup. Plumber's tape is a handy tool to ensure a tight seal when reassembling parts, preventing leaks in your new setup. A bucket or towel is indispensable for catching residual water and keeping your workspace clean and dry.
Step-by-Step Guide to Uninstalling a Shower Faucet
Step 1: Turn Off the Water Supply

The first and most crucial step is to turn off the water supply to your shower. This can typically be done at the main water valve or a dedicated valve for your bathroom. It's essential to ensure no water flows while working on the faucet. Not only does this prevent water from spilling out during the process, but it also ensures your safety while working with plumbing fixtures.
After shutting off the water supply, double-check by turning on the shower to see if any water comes out. If water continues to flow, you may need to check other valves in your home or consult a professional plumber to avoid any potential flooding or water damage.
Step 2: Drain the Remaining Water
After turning off the water supply, open the shower faucet to drain the remaining water from the pipeline. This will minimize confusion during the uninstallation process to the greatest extent possible. Let the water flow until it completely stops, indicating that the pipeline has been emptied and is ready to start working.
It's also a good idea to have a bucket or towel ready to catch any drips, as some water may still be left in the system. This simple preparation step can save you from unnecessary clean-up later on.
Step 3: Remove the Faucet Handle
The handle is often secured with a screw located under a decorative cap. Use a flat-head screwdriver to pry off the cap, revealing the screw gently. Use a screwdriver to remove the screw, and then carefully pull off the handle. If the handle is particularly resistant, applying a bit of lubricant can help loosen it without causing damage.
Once the handle is removed, inspect it for wear and tear. Understanding its condition can provide insights into the longevity of your plumbing system and may influence your choice of replacement parts.
Step 4: Detach the Escutcheon Plate
The escutcheon plate is the flat, round plate that covers the shower valve. It is usually held in place with screws. Remove these screws with a screwdriver and gently pull the plate away from the wall. Suppose it's sealed with caulk; carefully cut through it with a utility knife to avoid damaging the wall. Be patient and precise during this step, as rushing can lead to unsightly wall damage that may require additional repairs.
Removing the escutcheon plate provides a clearer view of the internal components, allowing you to assess potential issues, such as rust or mineral deposits. This inspection can inform decisions about further maintenance or upgrades needed for your plumbing system.
Step 5: Unscrew the Valve Stem
You'll have access to the valve stem with the escutcheon plate removed. Use an adjustable wrench to unscrew the valve stem from the wall. Be cautious, as some residual water may still drip out. It's essential to handle the valve stem with care to avoid stripping the threads, which could complicate the installation of your new faucet.
Once removed, examine the valve stem for signs of wear or corrosion. This is an opportunity to replace old or damaged components, ensuring your new faucet functions optimally and prolongs the overall lifespan of your plumbing system.
Step 6: Remove the Old Faucet
Finally, remove the old faucet by unscrewing it from the plumbing. This step may require strength, mainly if the faucet has existed for many years. If it's stuck, try using pliers for additional leverage. Be gentle to avoid damaging the surrounding pipes, which could lead to costly repairs.
Once the faucet is detached, thoroughly clean the exposed plumbing connections. This will create a clean surface for installing your new faucet and help ensure a secure fit and optimal performance.
Preparing for a New Faucet Installation
Once the old shower faucet is removed, inspect the plumbing for damage or corrosion. This is also an excellent time to clean the area and ensure everything is ready to install your new shower faucet, whether it's another classic model or a sleek matte black one. Use this opportunity to make necessary repairs or upgrades to your plumbing system, such as replacing worn-out washers or tightening loose connections.
Preparing the installation site involves more than just cleaning. Consider the alignment of your new faucet and check if additional modifications are necessary to accommodate any differences in design or size. Planning these adjustments can save time and prevent frustration during the installation process.
Check for Replacement Parts
Before installing the new faucet, ensure you have all the replacement parts for the shower faucet. These include washers, O-rings, and mounting hardware, providing the installation goes on without hitches. Make sure to confirm compatibility with the model of your new faucet to avoid last-minute problems.
If your new faucet has a warranty, familiarize yourself with its terms. That may make all the difference should some defect or malfunction occur, and it can save you money on repairs.
Tips for Choosing a New Shower Faucet
Also, a high priority is choosing between style and functionality. A matte black shower faucet is modern and adds elegance to a bathroom. The bold finish can make quite a striking statement and will raise the overall aesthetic of your space.
Consider what type of user experience you'll be able to design valuable features such as adjustable spray patterns and easy temperature control to an ergonomic design to make everyday use a little more unique, a touch of luxury in your bathroom routine.
Consider Water Efficiency
When remodeling or replacing your shower faucet, selecting models that integrate water-saving capabilities is a good idea, as it could also help save utility bills over time. Typically, water-efficient faucets provide adequate pressure with less water usage, which is beneficial to nature and economically.
Plus, many water-efficient models qualify for rebates or incentives from local utility companies. Do some research to determine whether these options exist where you live and might help defray the cost of your new faucet as you work toward a more sustainable lifestyle.
Match Your Bathroom Decor
Choose your faucet finish according to your bathroom style. A black shower faucet against an all-light-colored bathroom can be a bold contrasting piece. Chrome or brushed nickel could give a more classic look. Consider the overall theme in the bathroom, including the color scheme, fixtures, and accessories, to ensure harmony in the design.
Clean-lined, contemporary designs reflect modern sophistication, while the traditional style, with ornate details, speaks to a more classical or vintage bathroom. The bathroom should balance functionality and fashion to be cohesive and inviting, reflecting your taste.
Takeaway
Removing a shower faucet is a doable DIY project if you have the right tools and at least some guidance. Follow these steps to remove your old faucet and prepare for a natural style upgrade. Whether you've chosen a matte black shower faucet or another design, ensure the replacement parts and tools are at your fingertips for an easy installation.
Remember that when you are less sure or when problems arise, it makes a lot of sense to consult with a professional plumber who can ensure that the work is done correctly and safely. Professional advice is worth its weight in gold, especially during the process if some complications arise.
Knowing the basics and some preparation will help you feel confident about uninstalling and replacing your shower faucet. Take this opportunity to enhance the functionality and aesthetic of your bathroom, too, in a way that makes the space flow well and be visually appealing. In this regard, thorough planning and a well-executed strategy have resulted in one of the more satisfying and successful projects one might embark on.






Leave a comment
This site is protected by hCaptcha and the hCaptcha Privacy Policy and Terms of Service apply.