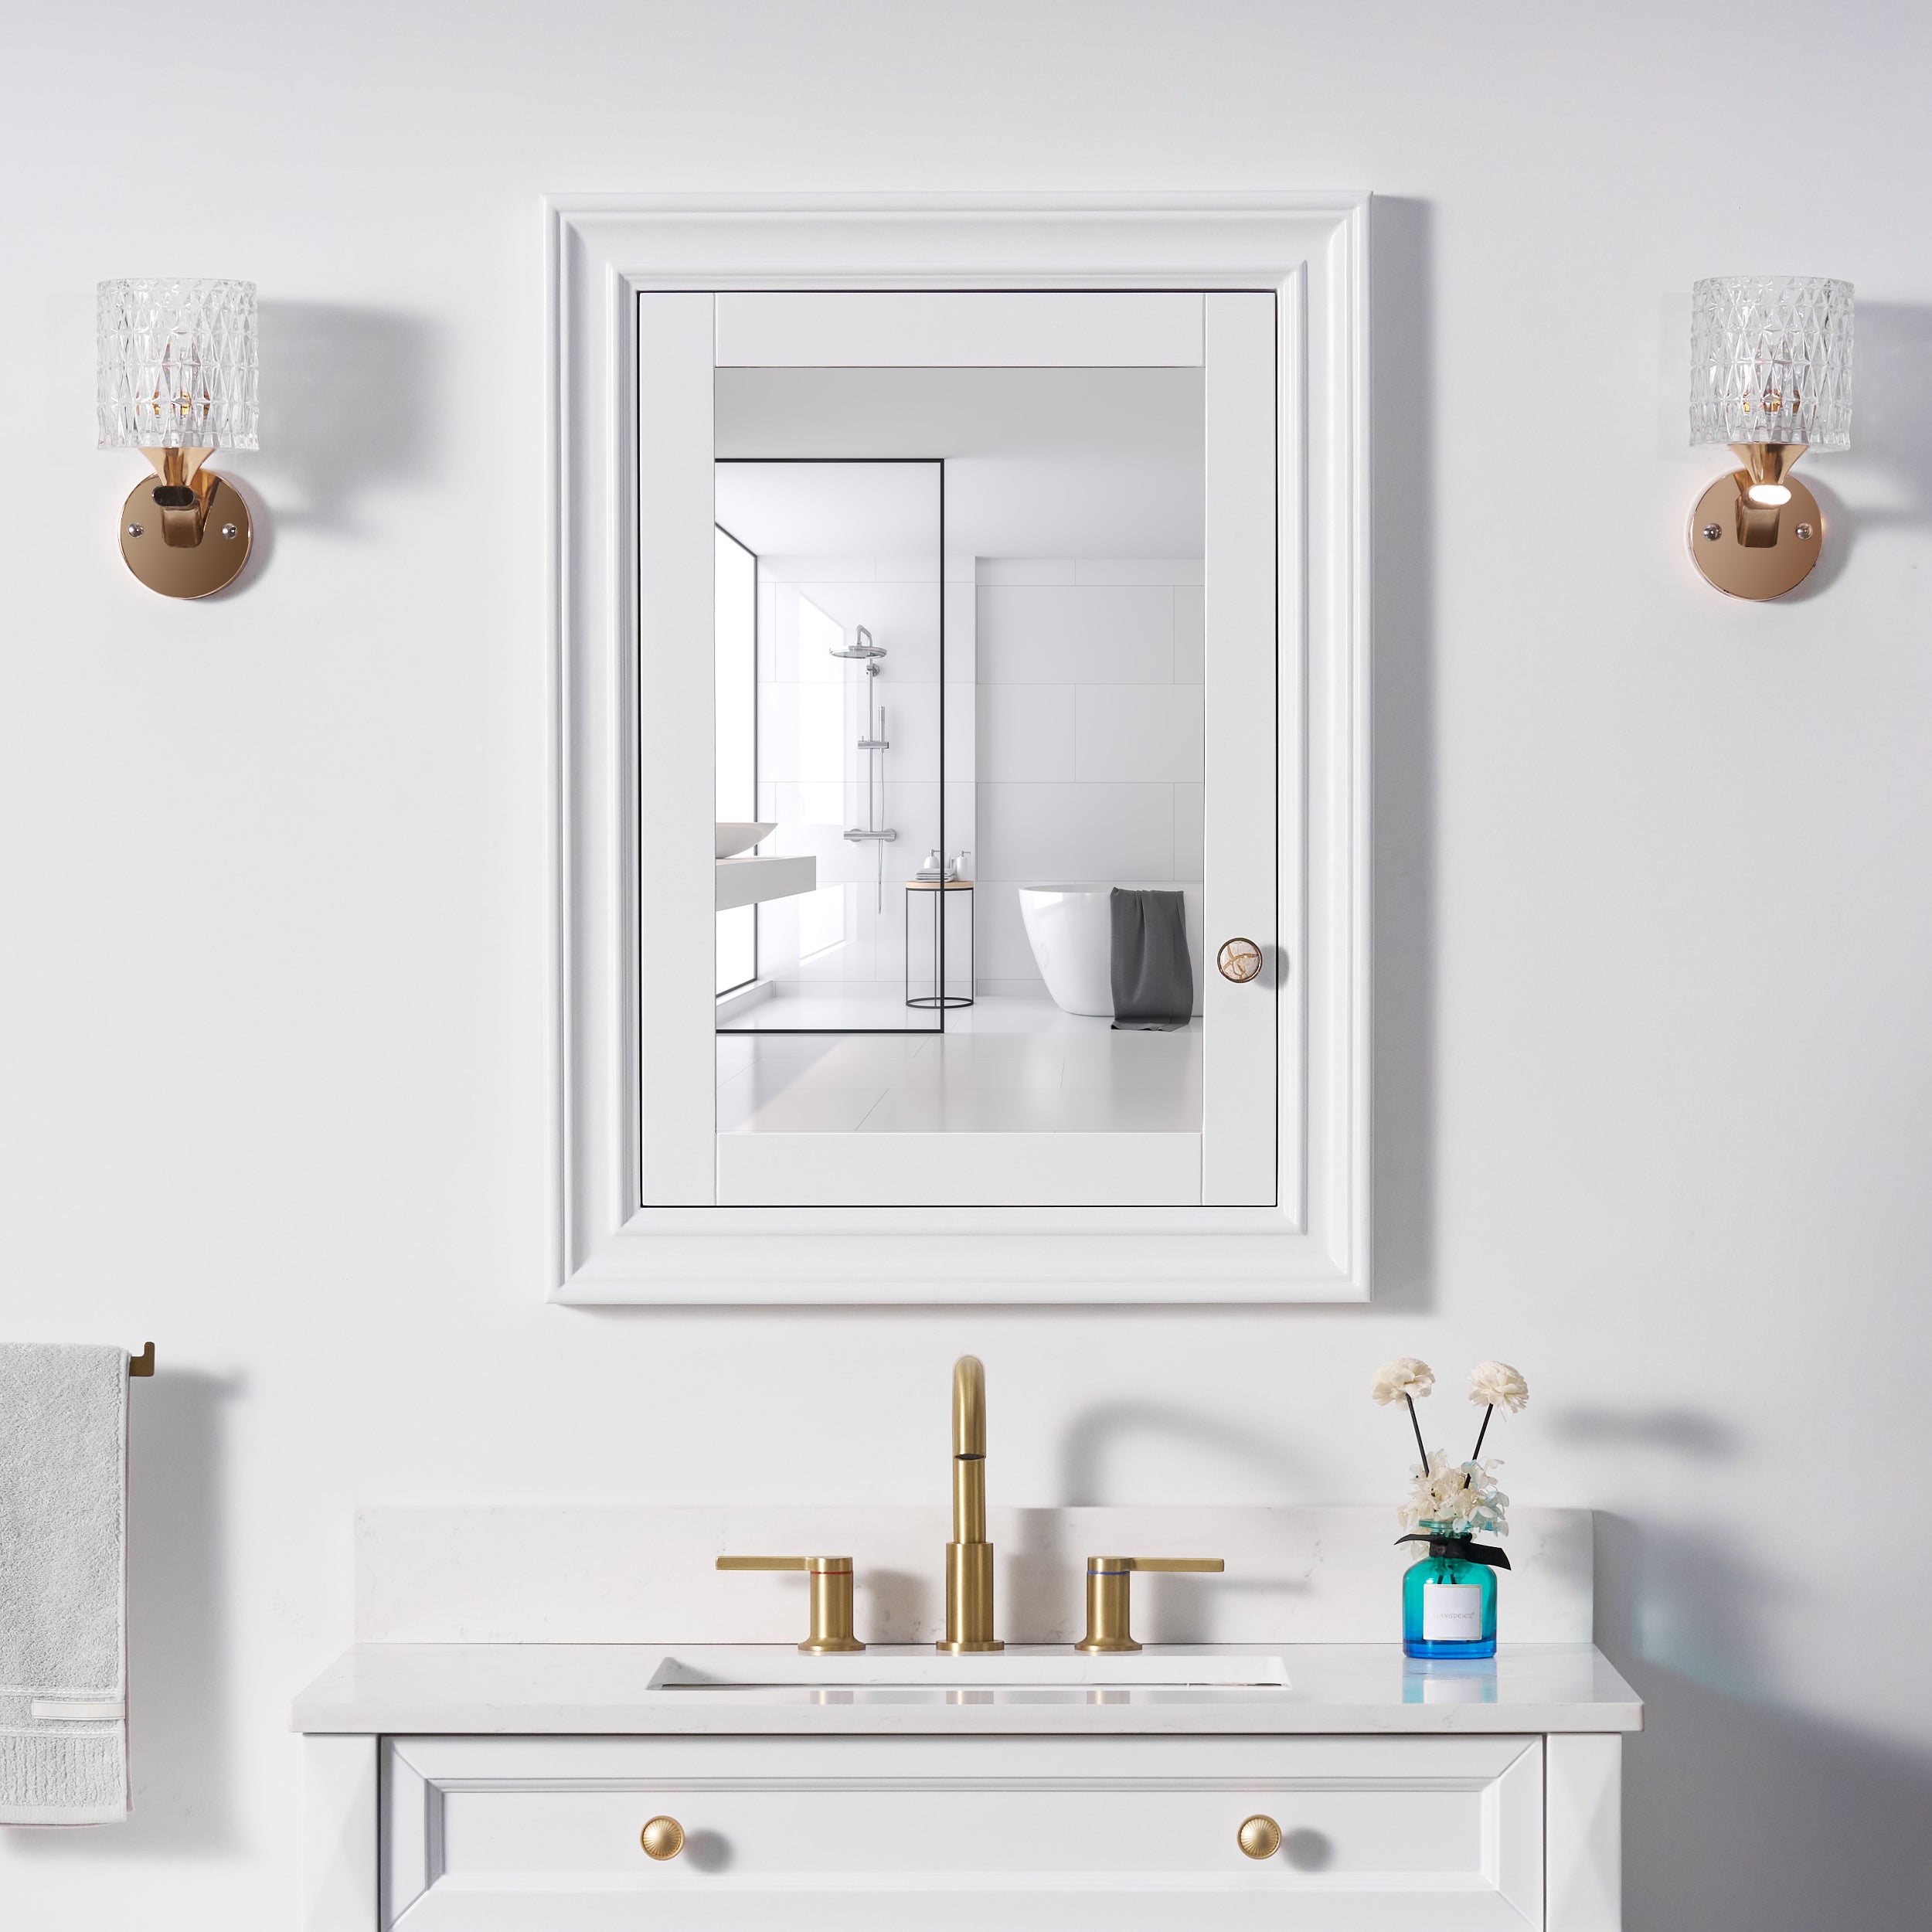
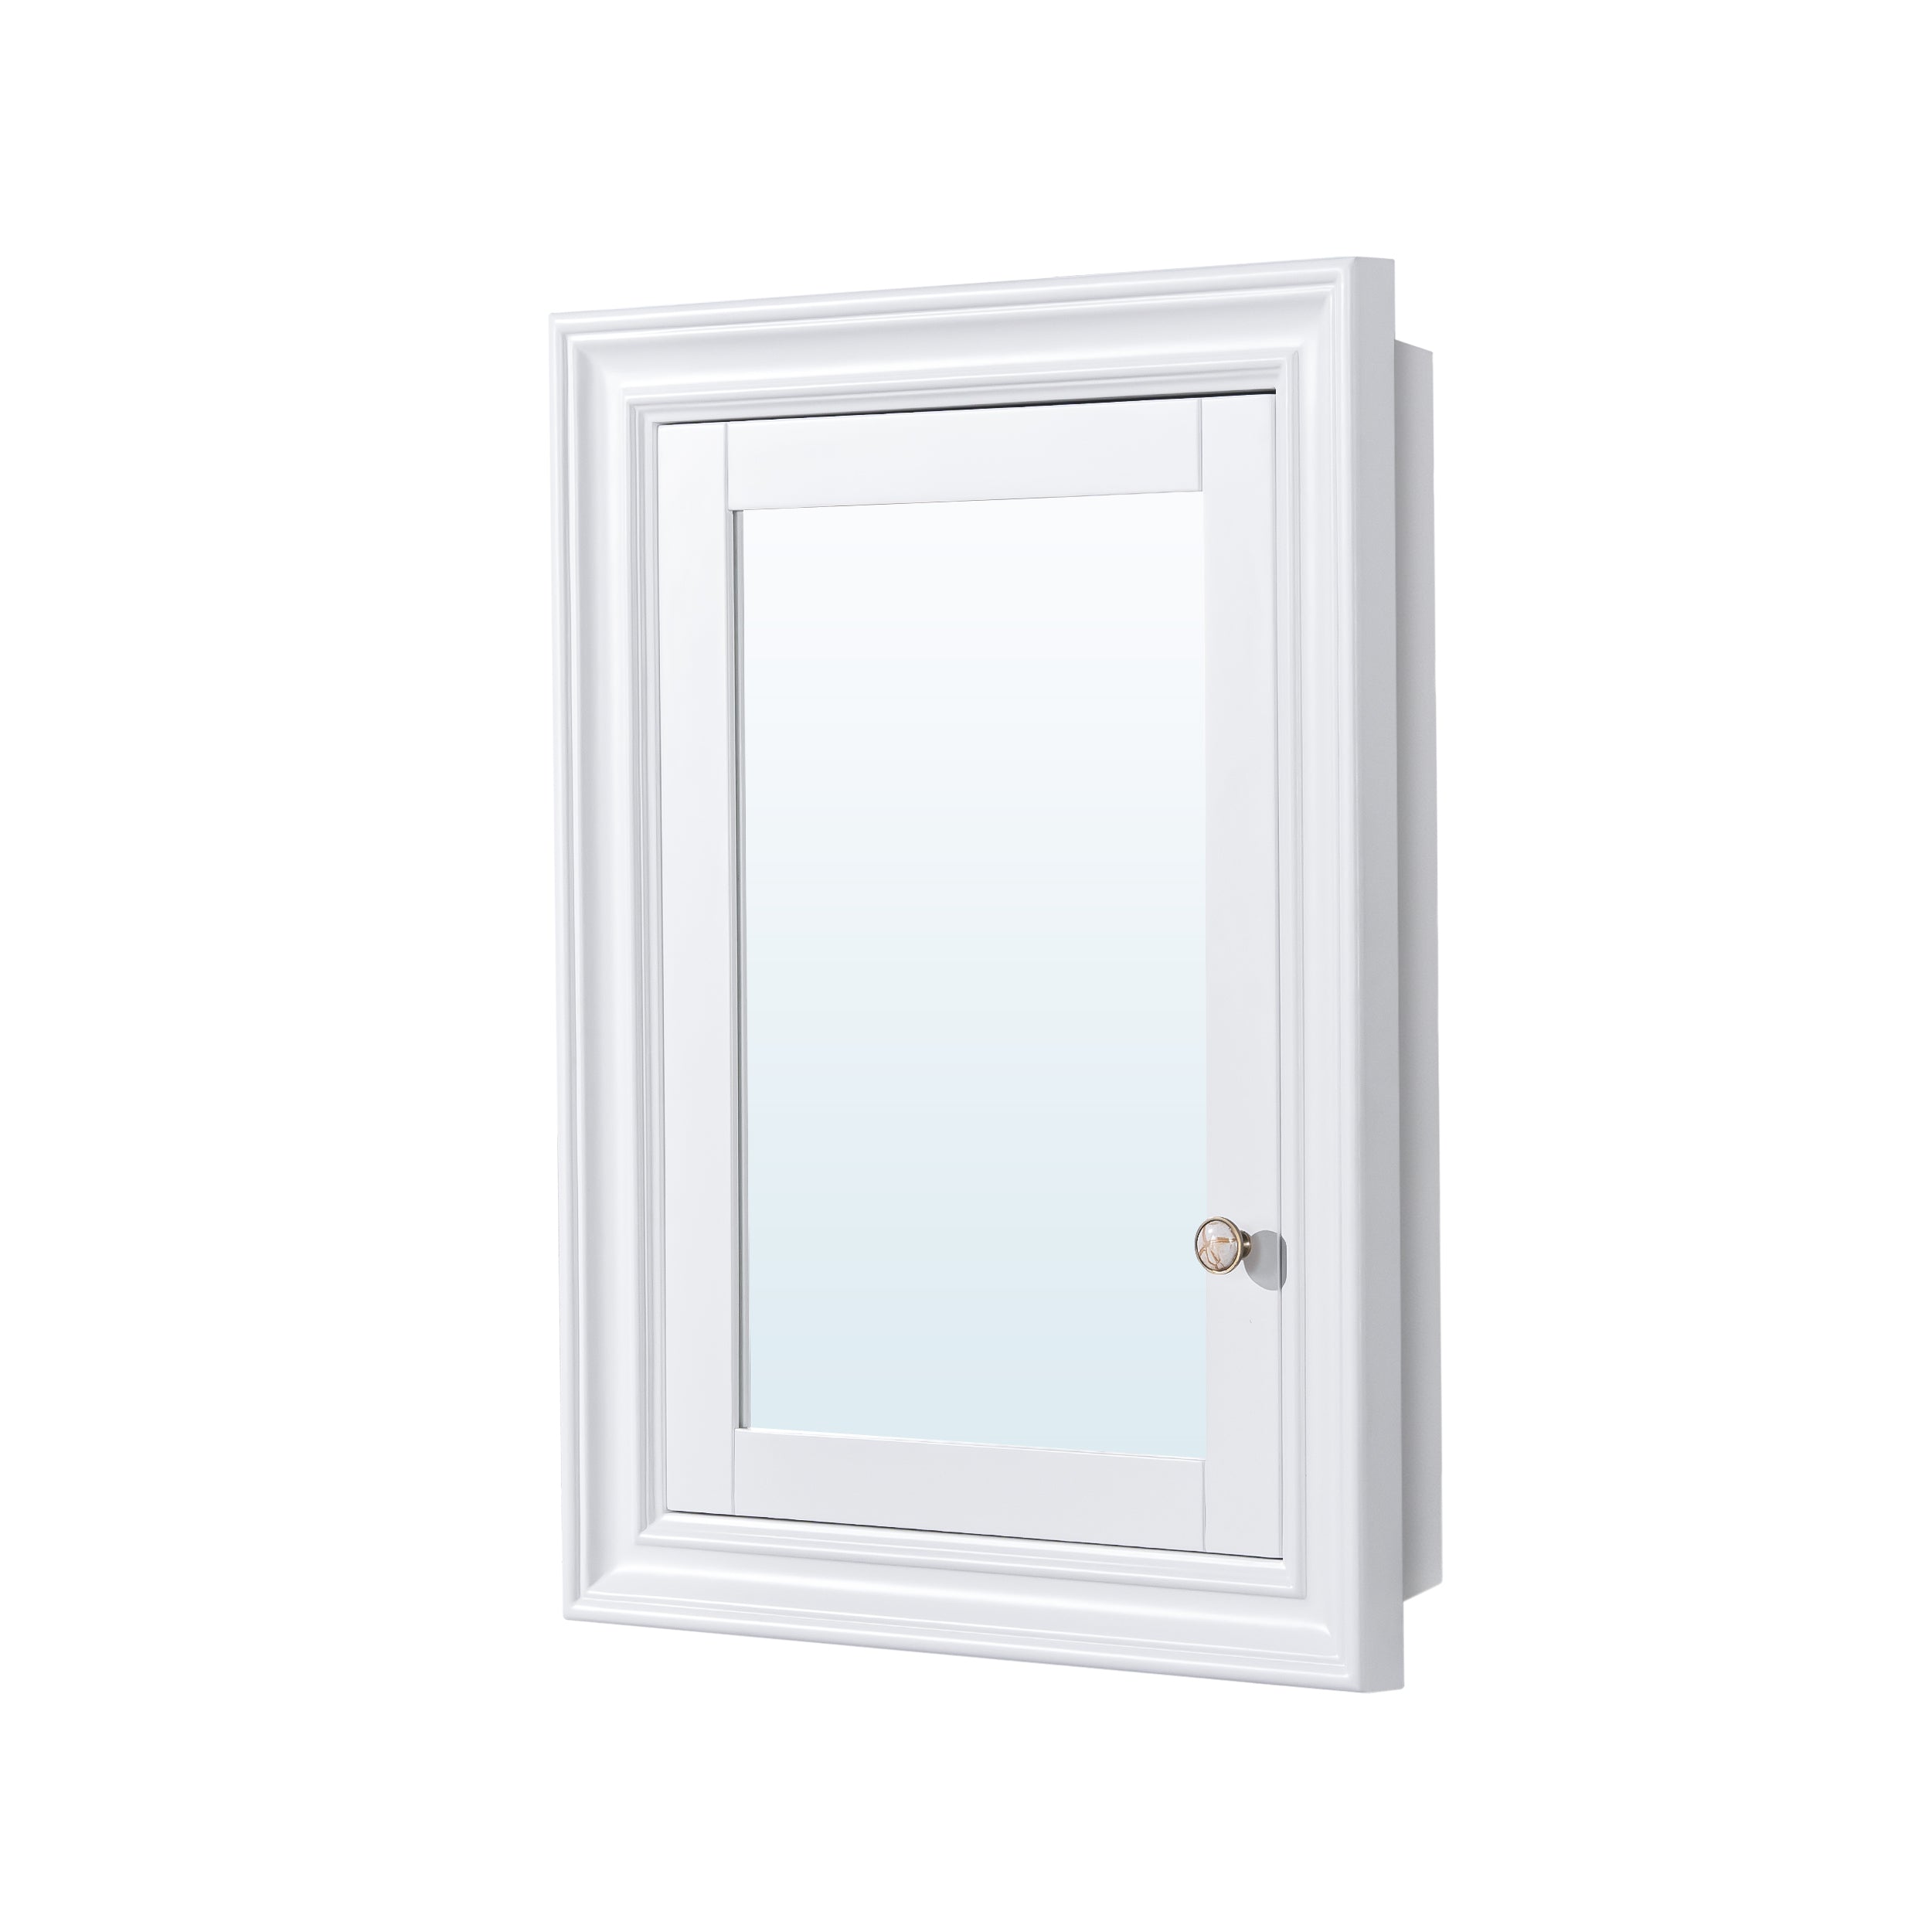
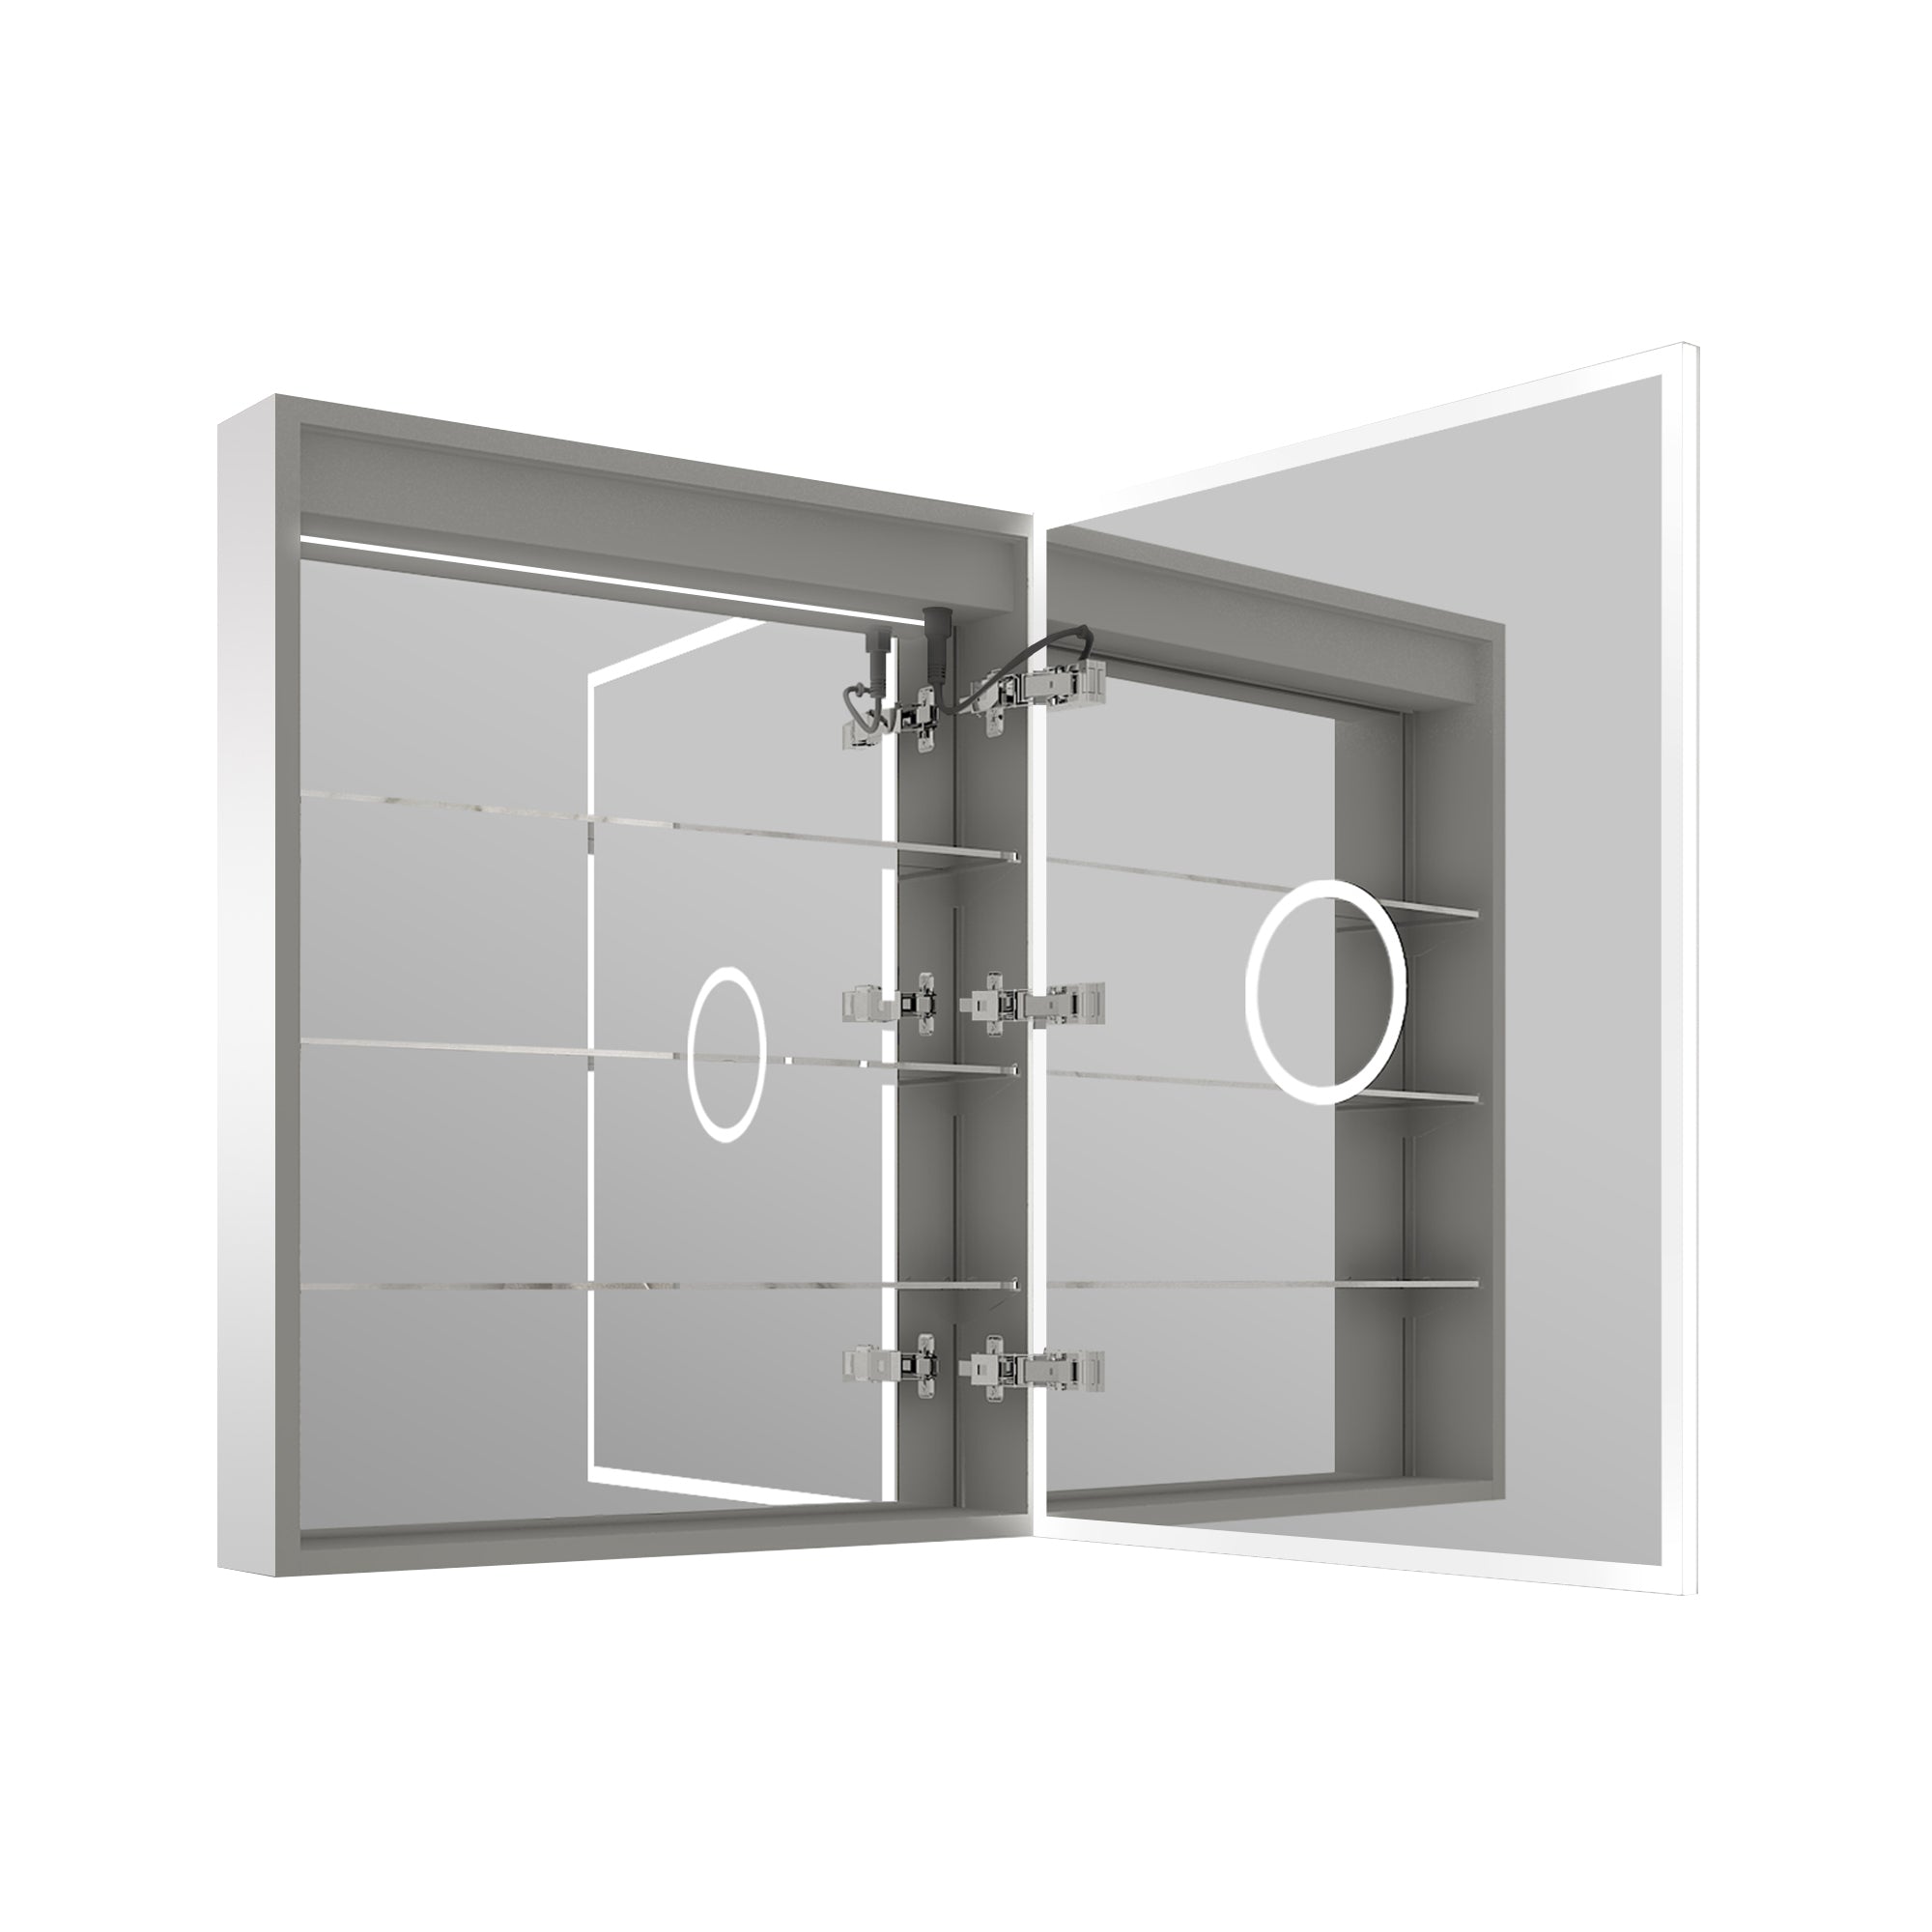
Mirrored medicine cabinets are a popular choice for bathrooms, offering storage and a sleek, reflective surface for grooming. However, these cabinets often face wear and tear due to humidity, frequent use, and accidental impact. Learning how to repair a mirrored medicine cabinet can save you from purchasing a replacement and keep your bathroom looking pristine. This guide will help you address common issues, provide a list of essential tools, and walk you through each repair step.
Common Issues with Mirrored Medicine Cabinets
1. Cracked or Broken Mirrors
Mirrors can crack due to accidental impact or gradual stress over time. Even small cracks can worsen, so it’s essential to address this promptly.
2. Loose or Broken Hinges
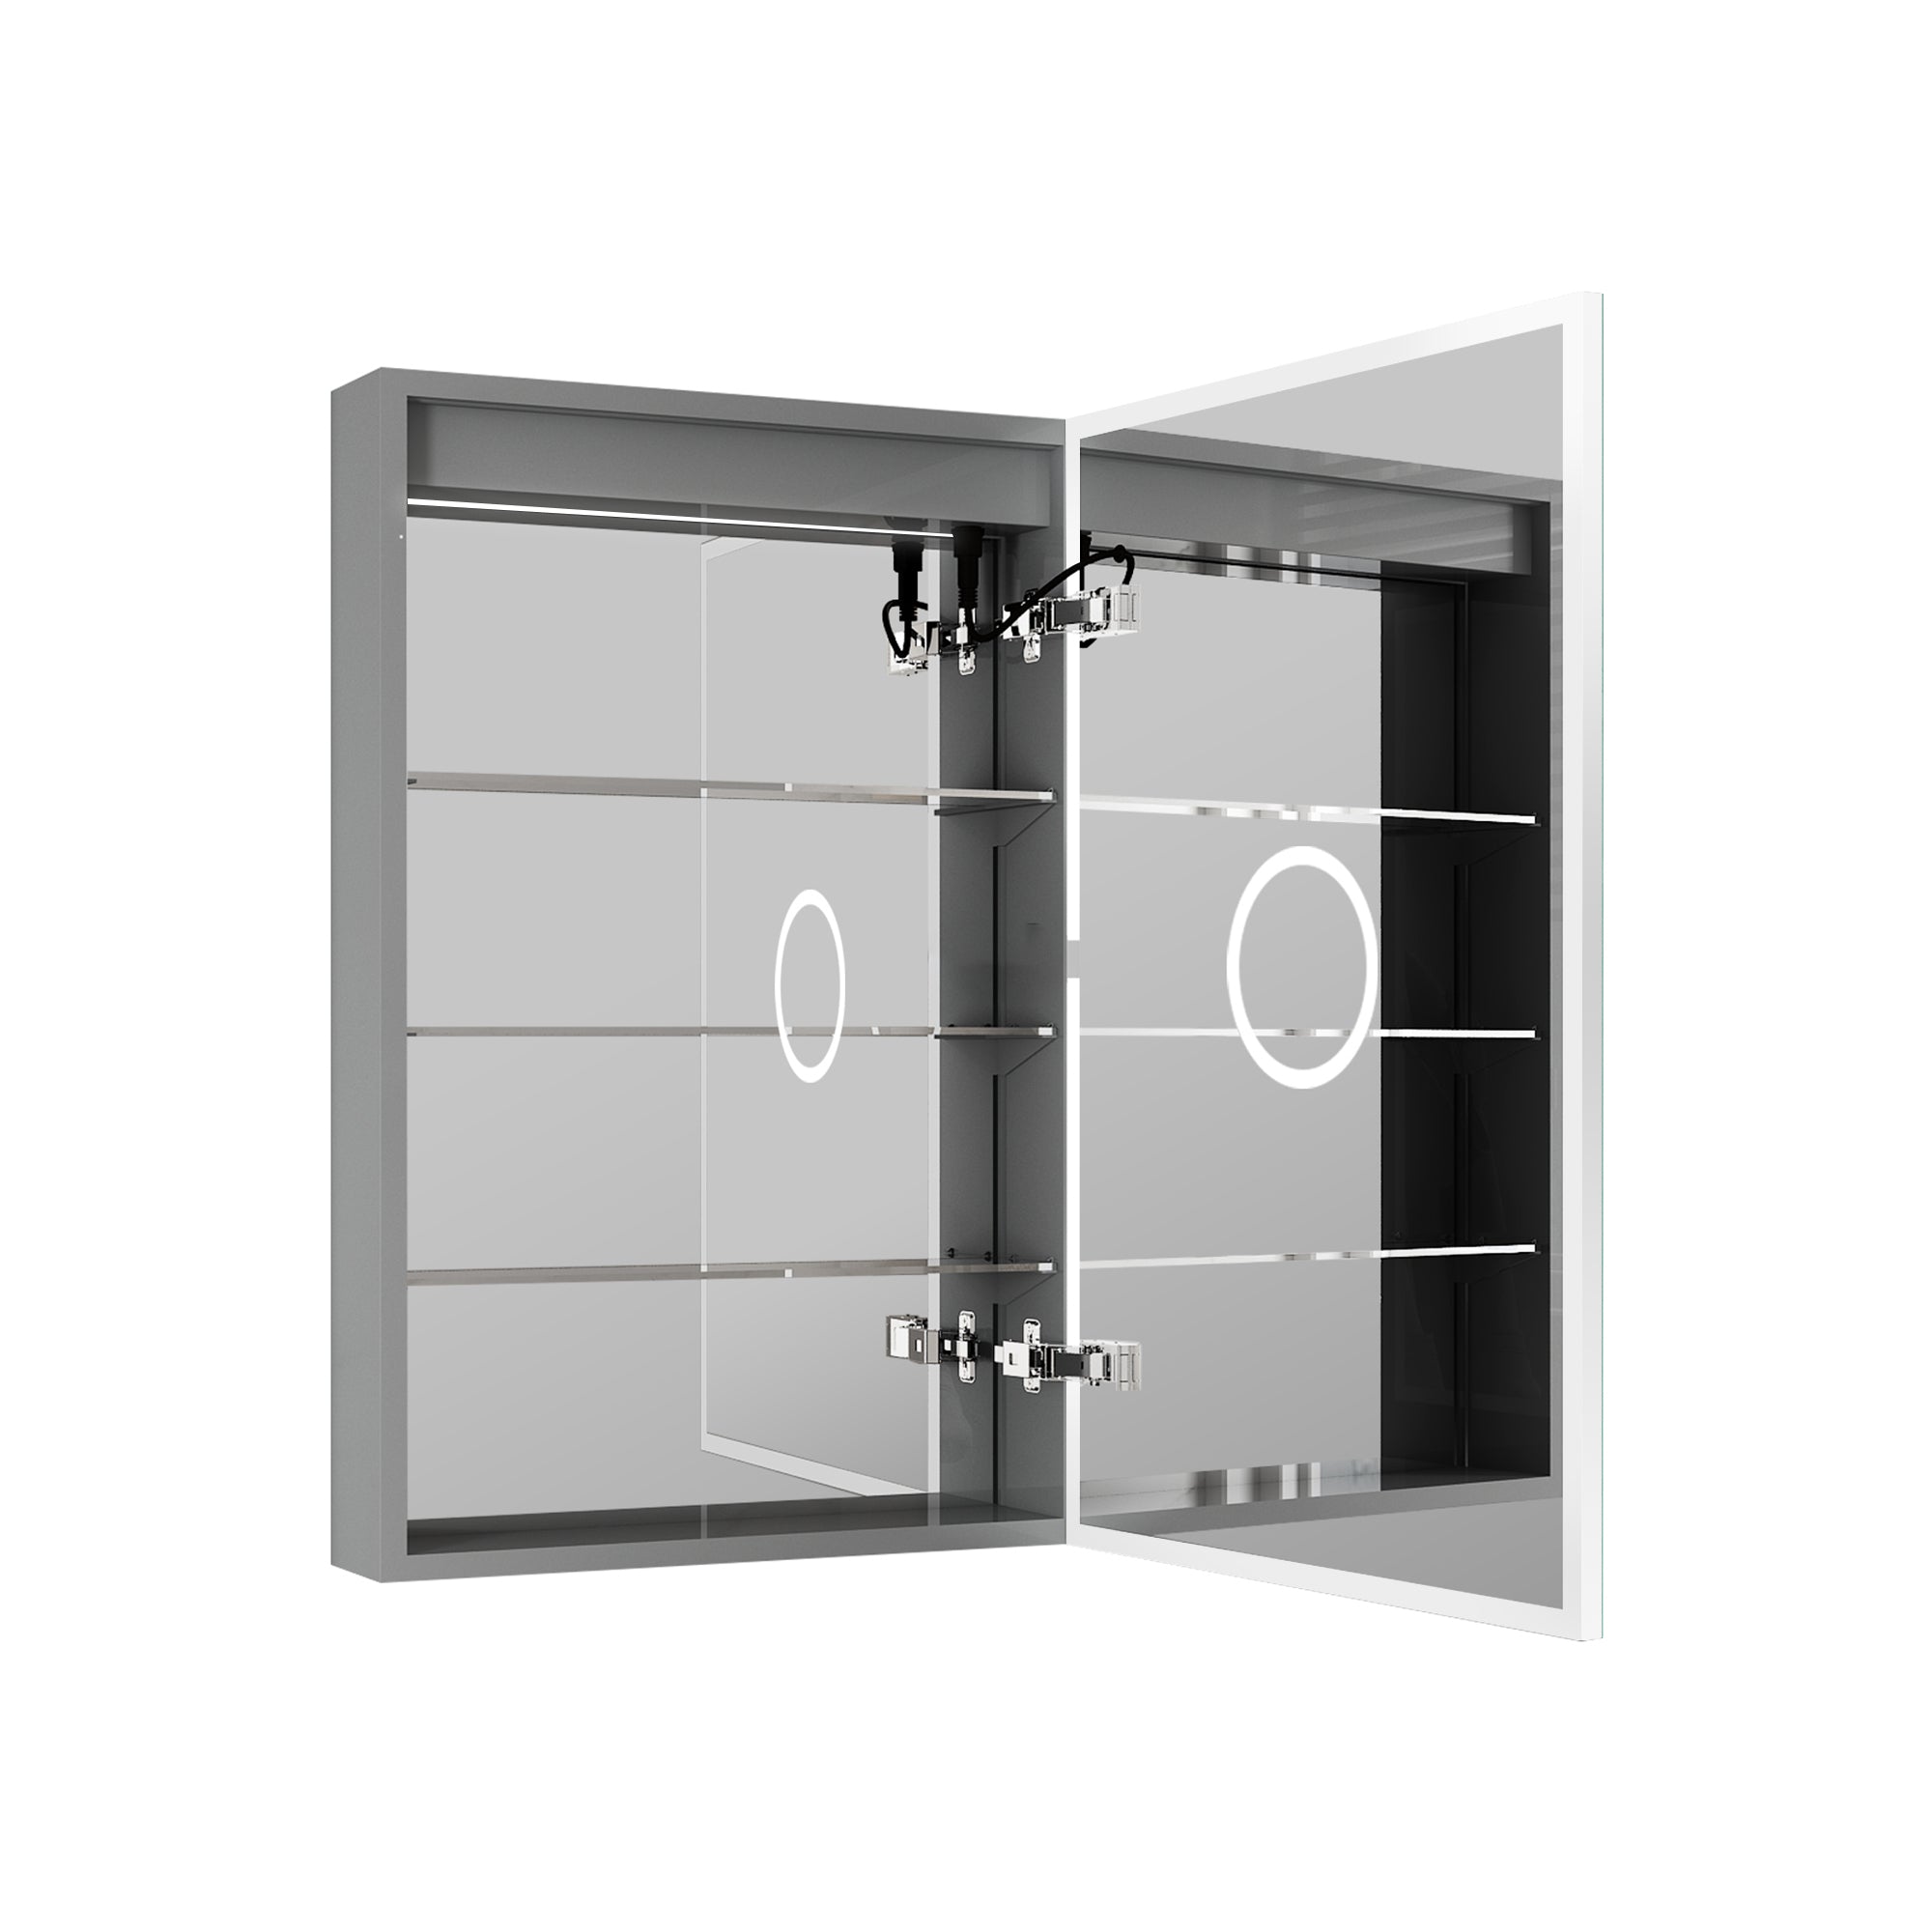
Frequent opening and closing can loosen or break cabinet hinges, making the doors uneven or difficult to open.
3. Damaged Shelves or Interior Components
Shelves may crack, bend, or warp due to the weight of stored items or high humidity. Damaged interiors can reduce the cabinet's functionality and visual appeal.
4. Rust or Corrosion on Metal Parts
Metal parts, like hinges or screws, can rust from constant exposure to moisture. Rusted parts may cause the cabinet to creak, stick, or even become unusable.
5. Stuck or Difficult-to-Open Doors
Cabinet doors that don’t open smoothly may need lubrication or hinge adjustments to restore function.
6. Dark Spots on the Mirror
Dark spots, or “mirror rot,” occur when moisture gets trapped between the mirror’s reflective backing and the glass. While they don’t affect functionality, they can detract from the cabinet’s appearance.
Tools and Materials You Will Need
Having the right tools and materials ensures you can make repairs efficiently:
- Screwdrivers (Phillips and flat-head)
- Replacement mirror or glass cutter (if replacing broken glass)
- Replacement hinges and screws (if hinges are damaged)
- Rust remover or sandpaper
- Aluminum foil (for removing dark spots on mirrors)
- Pliers
- Protective gloves and goggles
- Multi-surface cleaner
- Epoxy or mirror adhesive
- Paint (if cabinet requires touch-ups)
Repairing a Mirrored Medicine Cabinet
Step 1: Remove the Cabinet from the Wall
To make repairs more manageable, detach the cabinet from the wall. Use a screwdriver to unscrew the mounting brackets, and gently lift the cabinet off. Set it on a stable surface, and make sure you’re wearing gloves for protection.
Step 2: Repair or Replace the Mirror
If the mirror is cracked or broken, you can:
- Replace the Mirror:Use a glass cutter to carefully remove the damaged mirror. Measure the replacement mirror to match the previous one and secure it with mirror adhesive.
- Repair Minor Cracks:For small cracks, use a specialized glass repair kit, which typically includes a resin that seals the crack.
Step 3: Fix Loose or Broken Hinges
Tighten loose hinges with a screwdriver. If they’re broken or rusted, replace them with new ones that match the cabinet’s design. Make sure the hinges align properly, as misalignment can make the doors difficult to close.
Step 4: Repair Damaged Shelves or Interior Components
If a shelf is cracked or warped, remove it and replace it with a new one of similar dimensions. If you’re repairing minor damage, use epoxy to seal cracks or splits, then let it dry fully before reattaching the shelf.
Step 5: Remove Rust or Corrosion
Use sandpaper or rust remover on rusted metal components. Carefully sand away the rust, then wipe down the area with a multi-surface cleaner. Apply a rust-resistant coating if possible, especially on areas exposed to moisture.
Step 6: Use Aluminum Foil to Remove Dark Spots on Mirror
To reduce dark spots caused by oxidation, use aluminum foil:
- Clean the darkened area with a multi-surface cleaner.
- Cut a piece of aluminum foil, fold it to create a small pad, and gently rub it over the dark spots.
- Wipe away any residue. Although this won’t completely eliminate the dark spots, it can make them less noticeable.
Step 7: Paint (If Needed)
If there are scratches or chipped paint, lightly sand the area and repaint it. Choose a paint that is moisture-resistant and matches the cabinet’s existing finish.
Step 8: Reattach the Cabinet to the Wall
Once repairs are complete, carefully lift the cabinet back onto the mounting brackets. Secure it tightly to ensure it remains stable.
Step 9: Test the Cabinet
After reinstalling, test all the repaired parts. Open and close the doors, check the stability of the shelves, and ensure there are no remaining loose screws or parts.
Preventing Future Damage

A few preventive measures can extend the life of your mirrored medicine cabinet:
- Regular Cleaning:Wipe down mirrors, metal components, and shelves weekly to prevent build-up and moisture-related damage.
- Reduce Humidity:Consider installing an exhaust fan or keeping a window open to reduce bathroom humidity, which can prevent rust and mirror rot.
- Lubricate Hinges:Apply a small amount of lubricant to the hinges every few months to keep them functioning smoothly.
- Avoid Overloading Shelves:To prevent shelves from bending or cracking, don’t overload them with heavy items. Distribute weight evenly to reduce stress on any one point.
Repairing a mirrored medicine cabinet is not as complex as it may seem. By following the steps outlined above, you can restore your bathroom cabinet’s functionality and appearance without having to replace it. Remember, preventive care like regular cleaning and avoiding moisture buildup can go a long way in keeping your cabinet in top shape.



Leave a comment
This site is protected by hCaptcha and the hCaptcha Privacy Policy and Terms of Service apply.