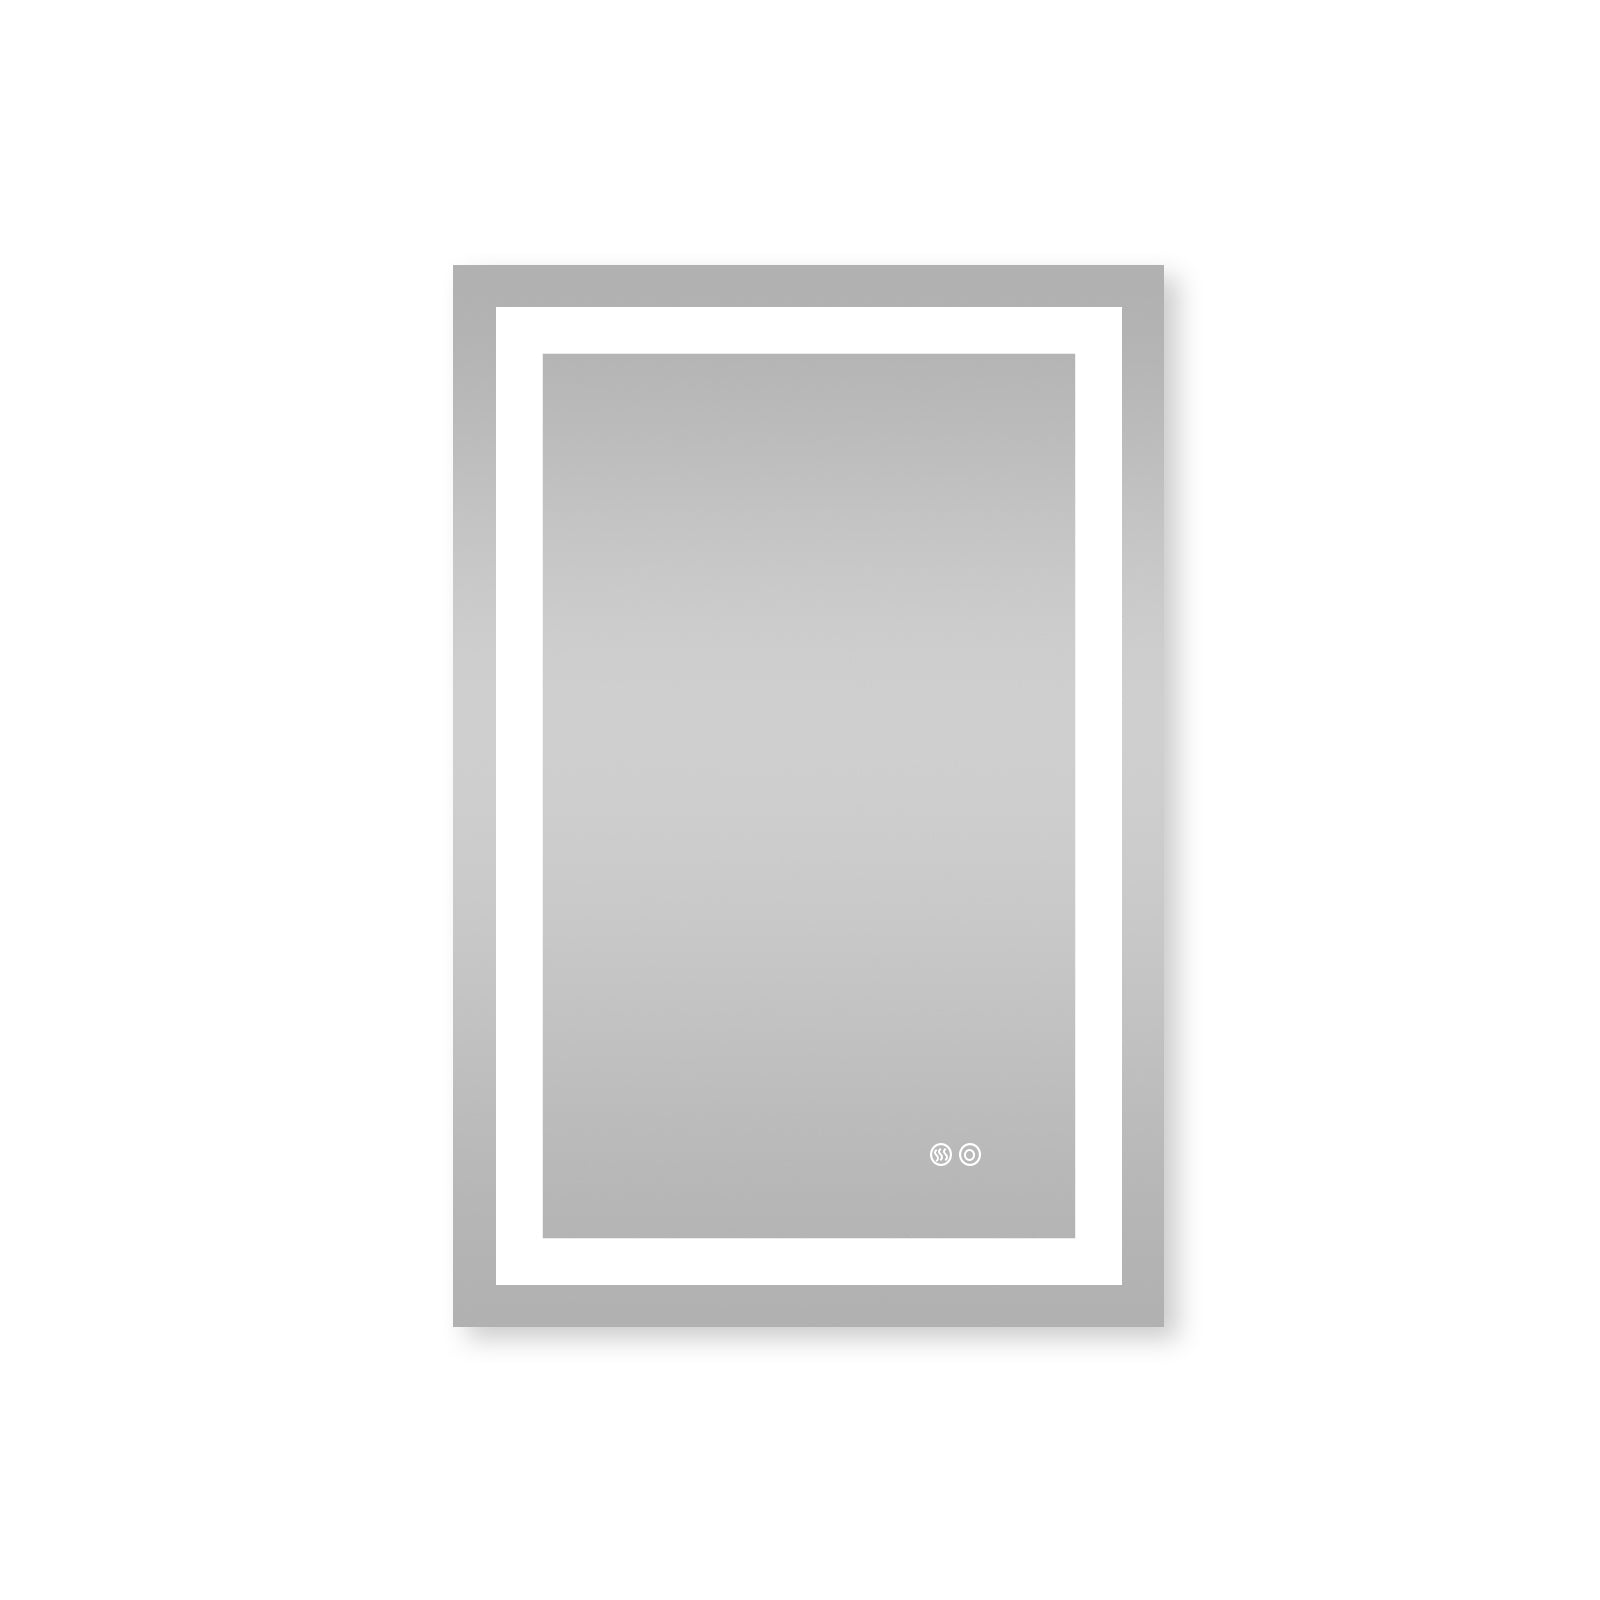
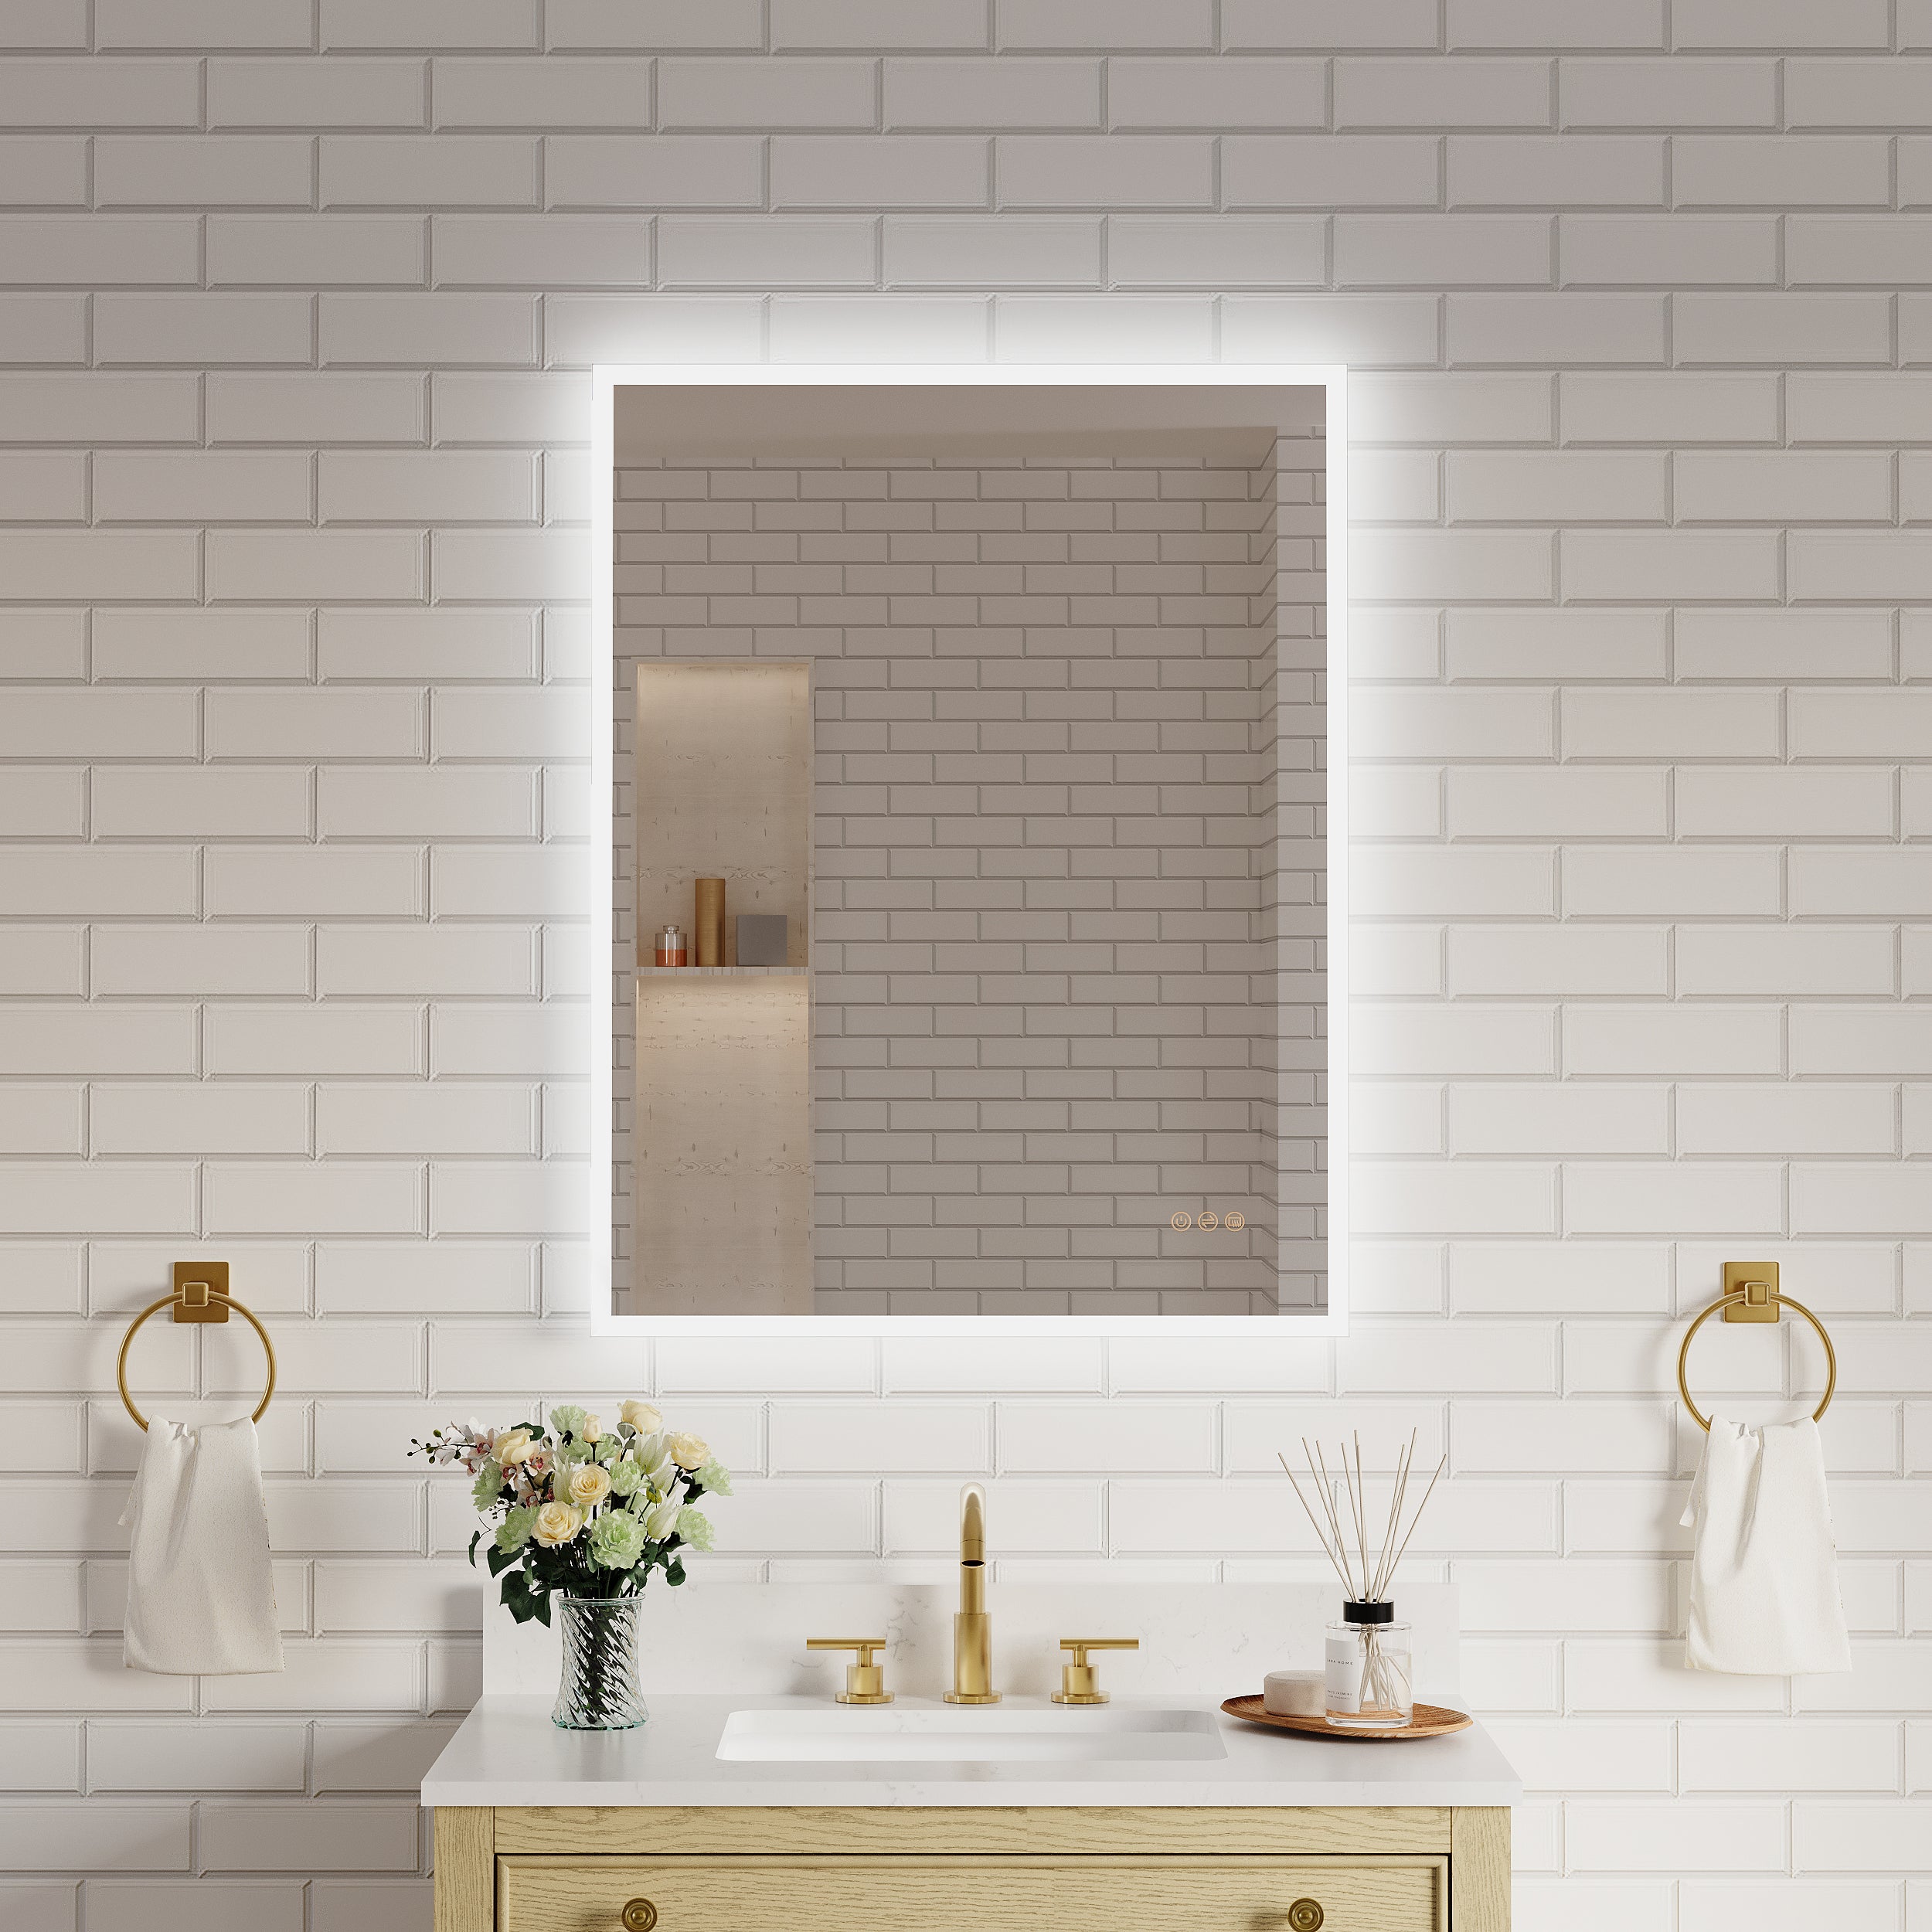
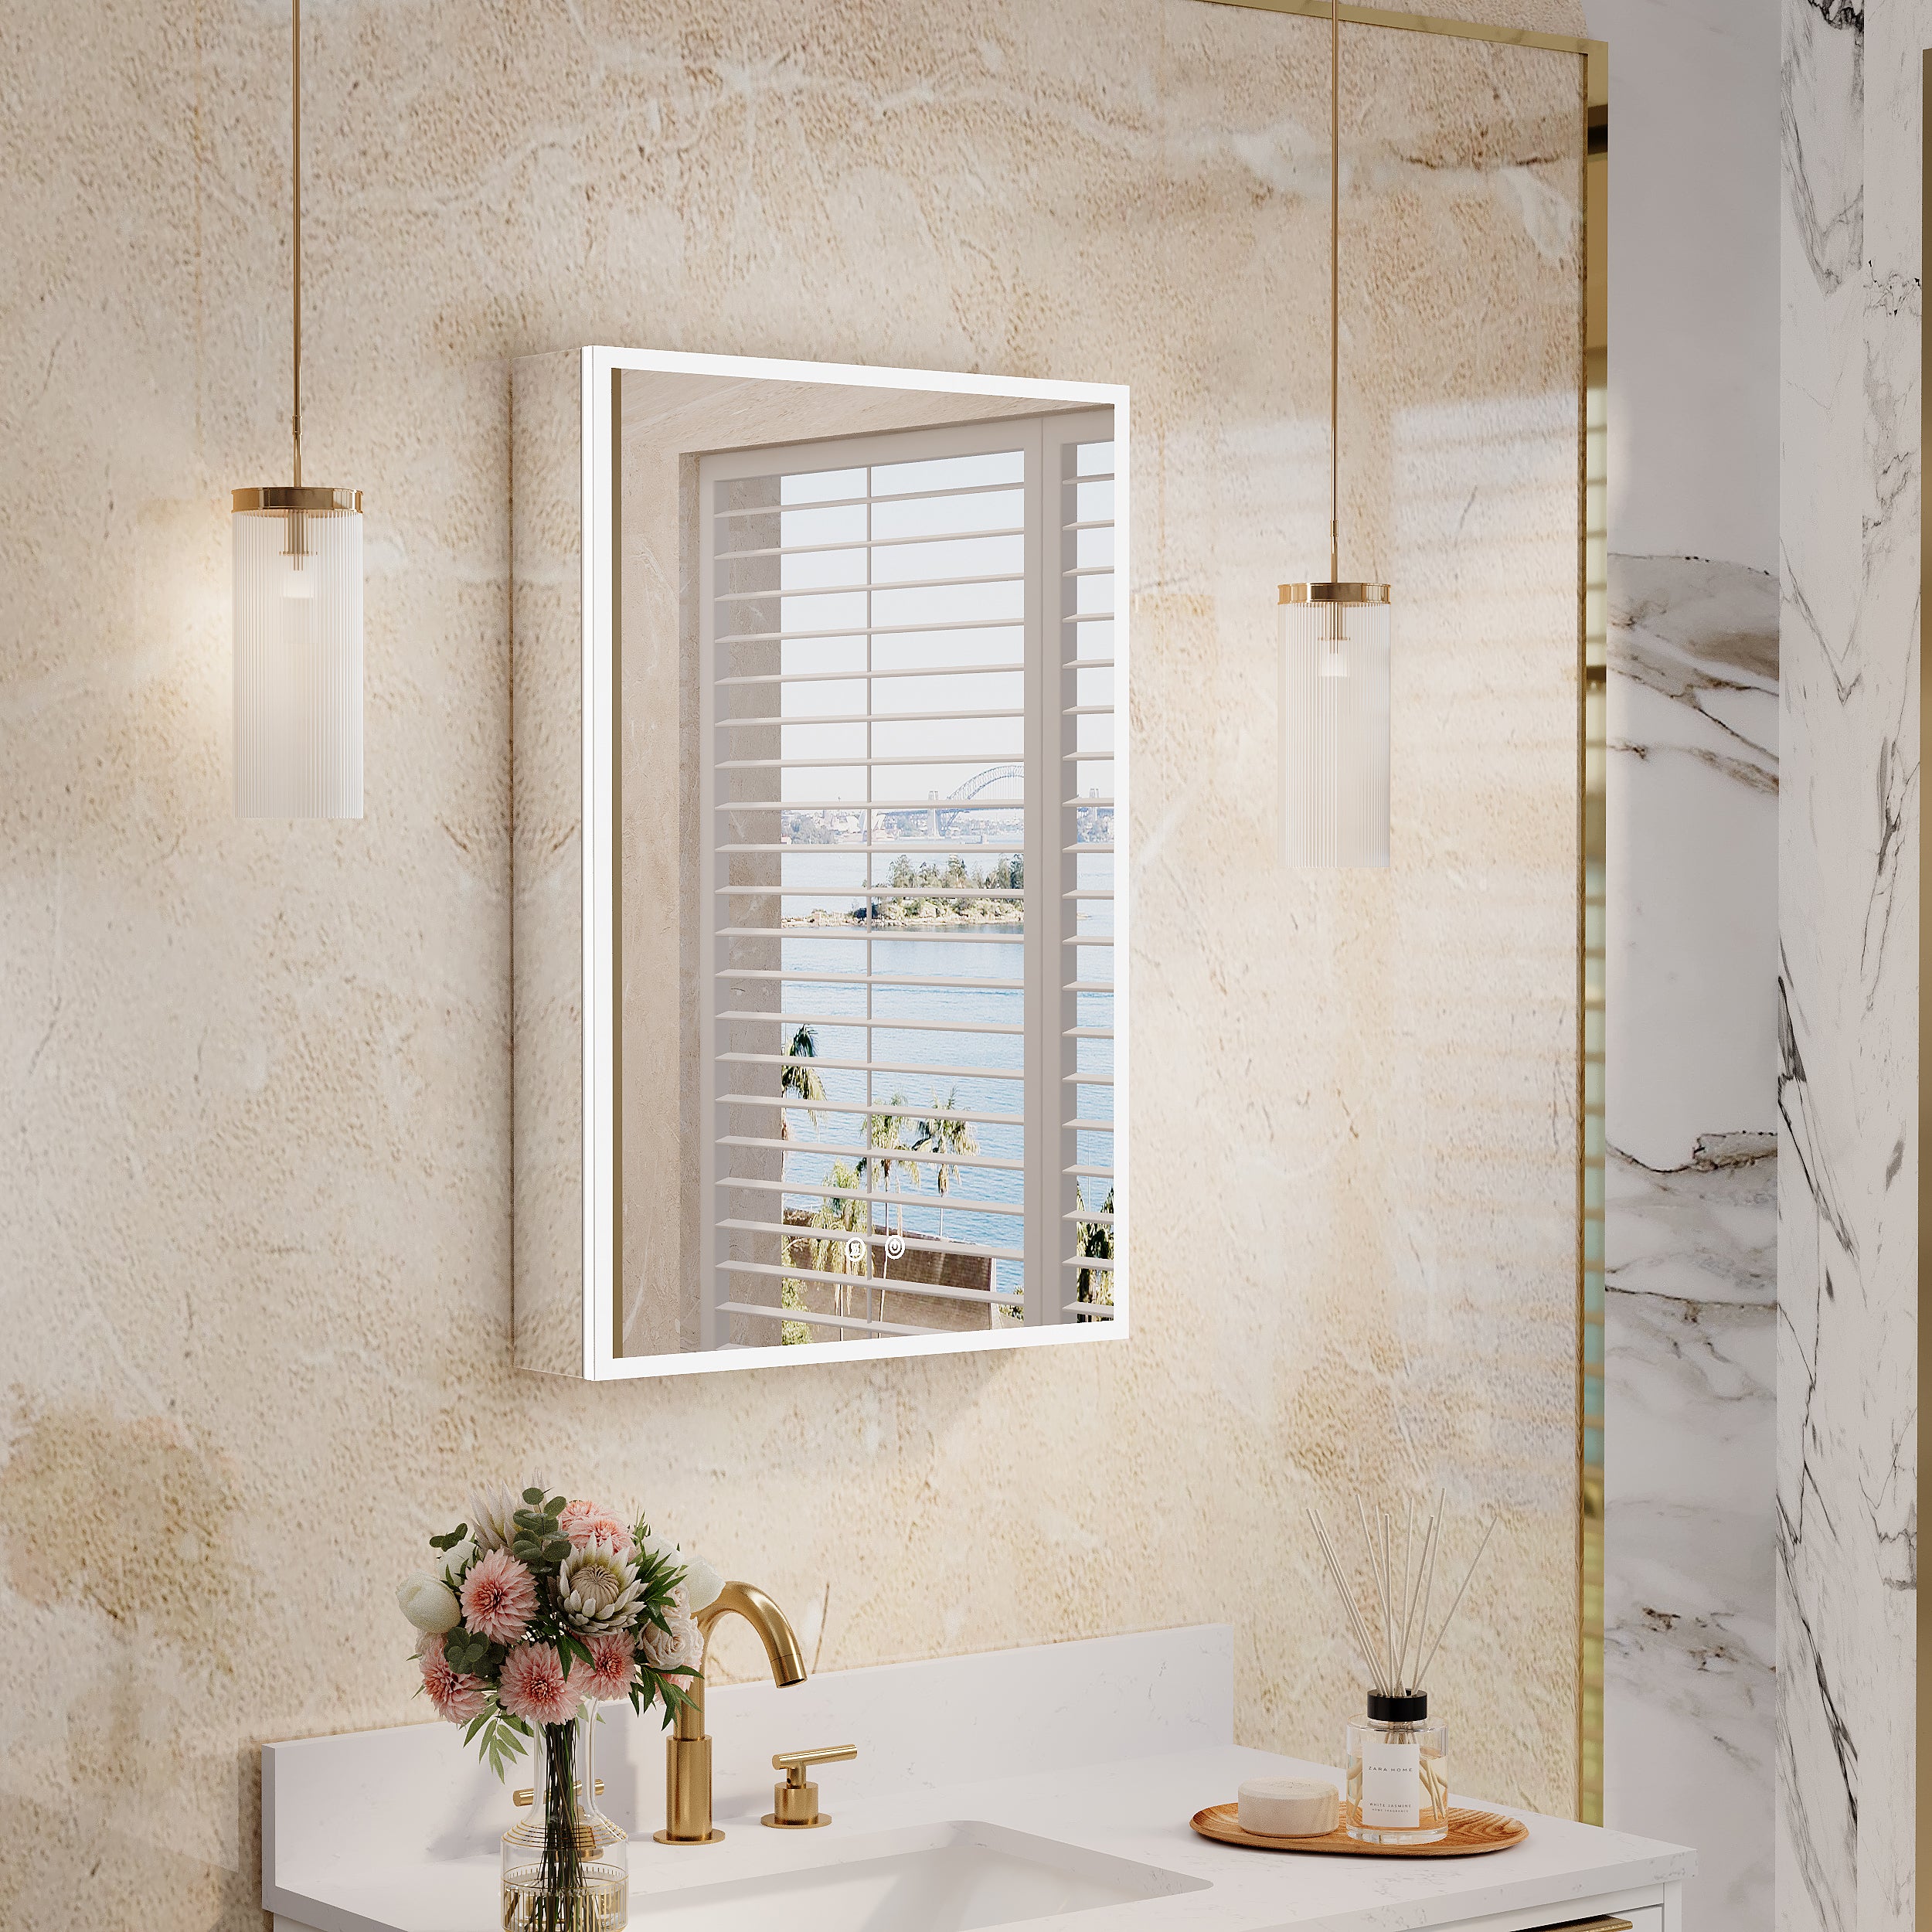
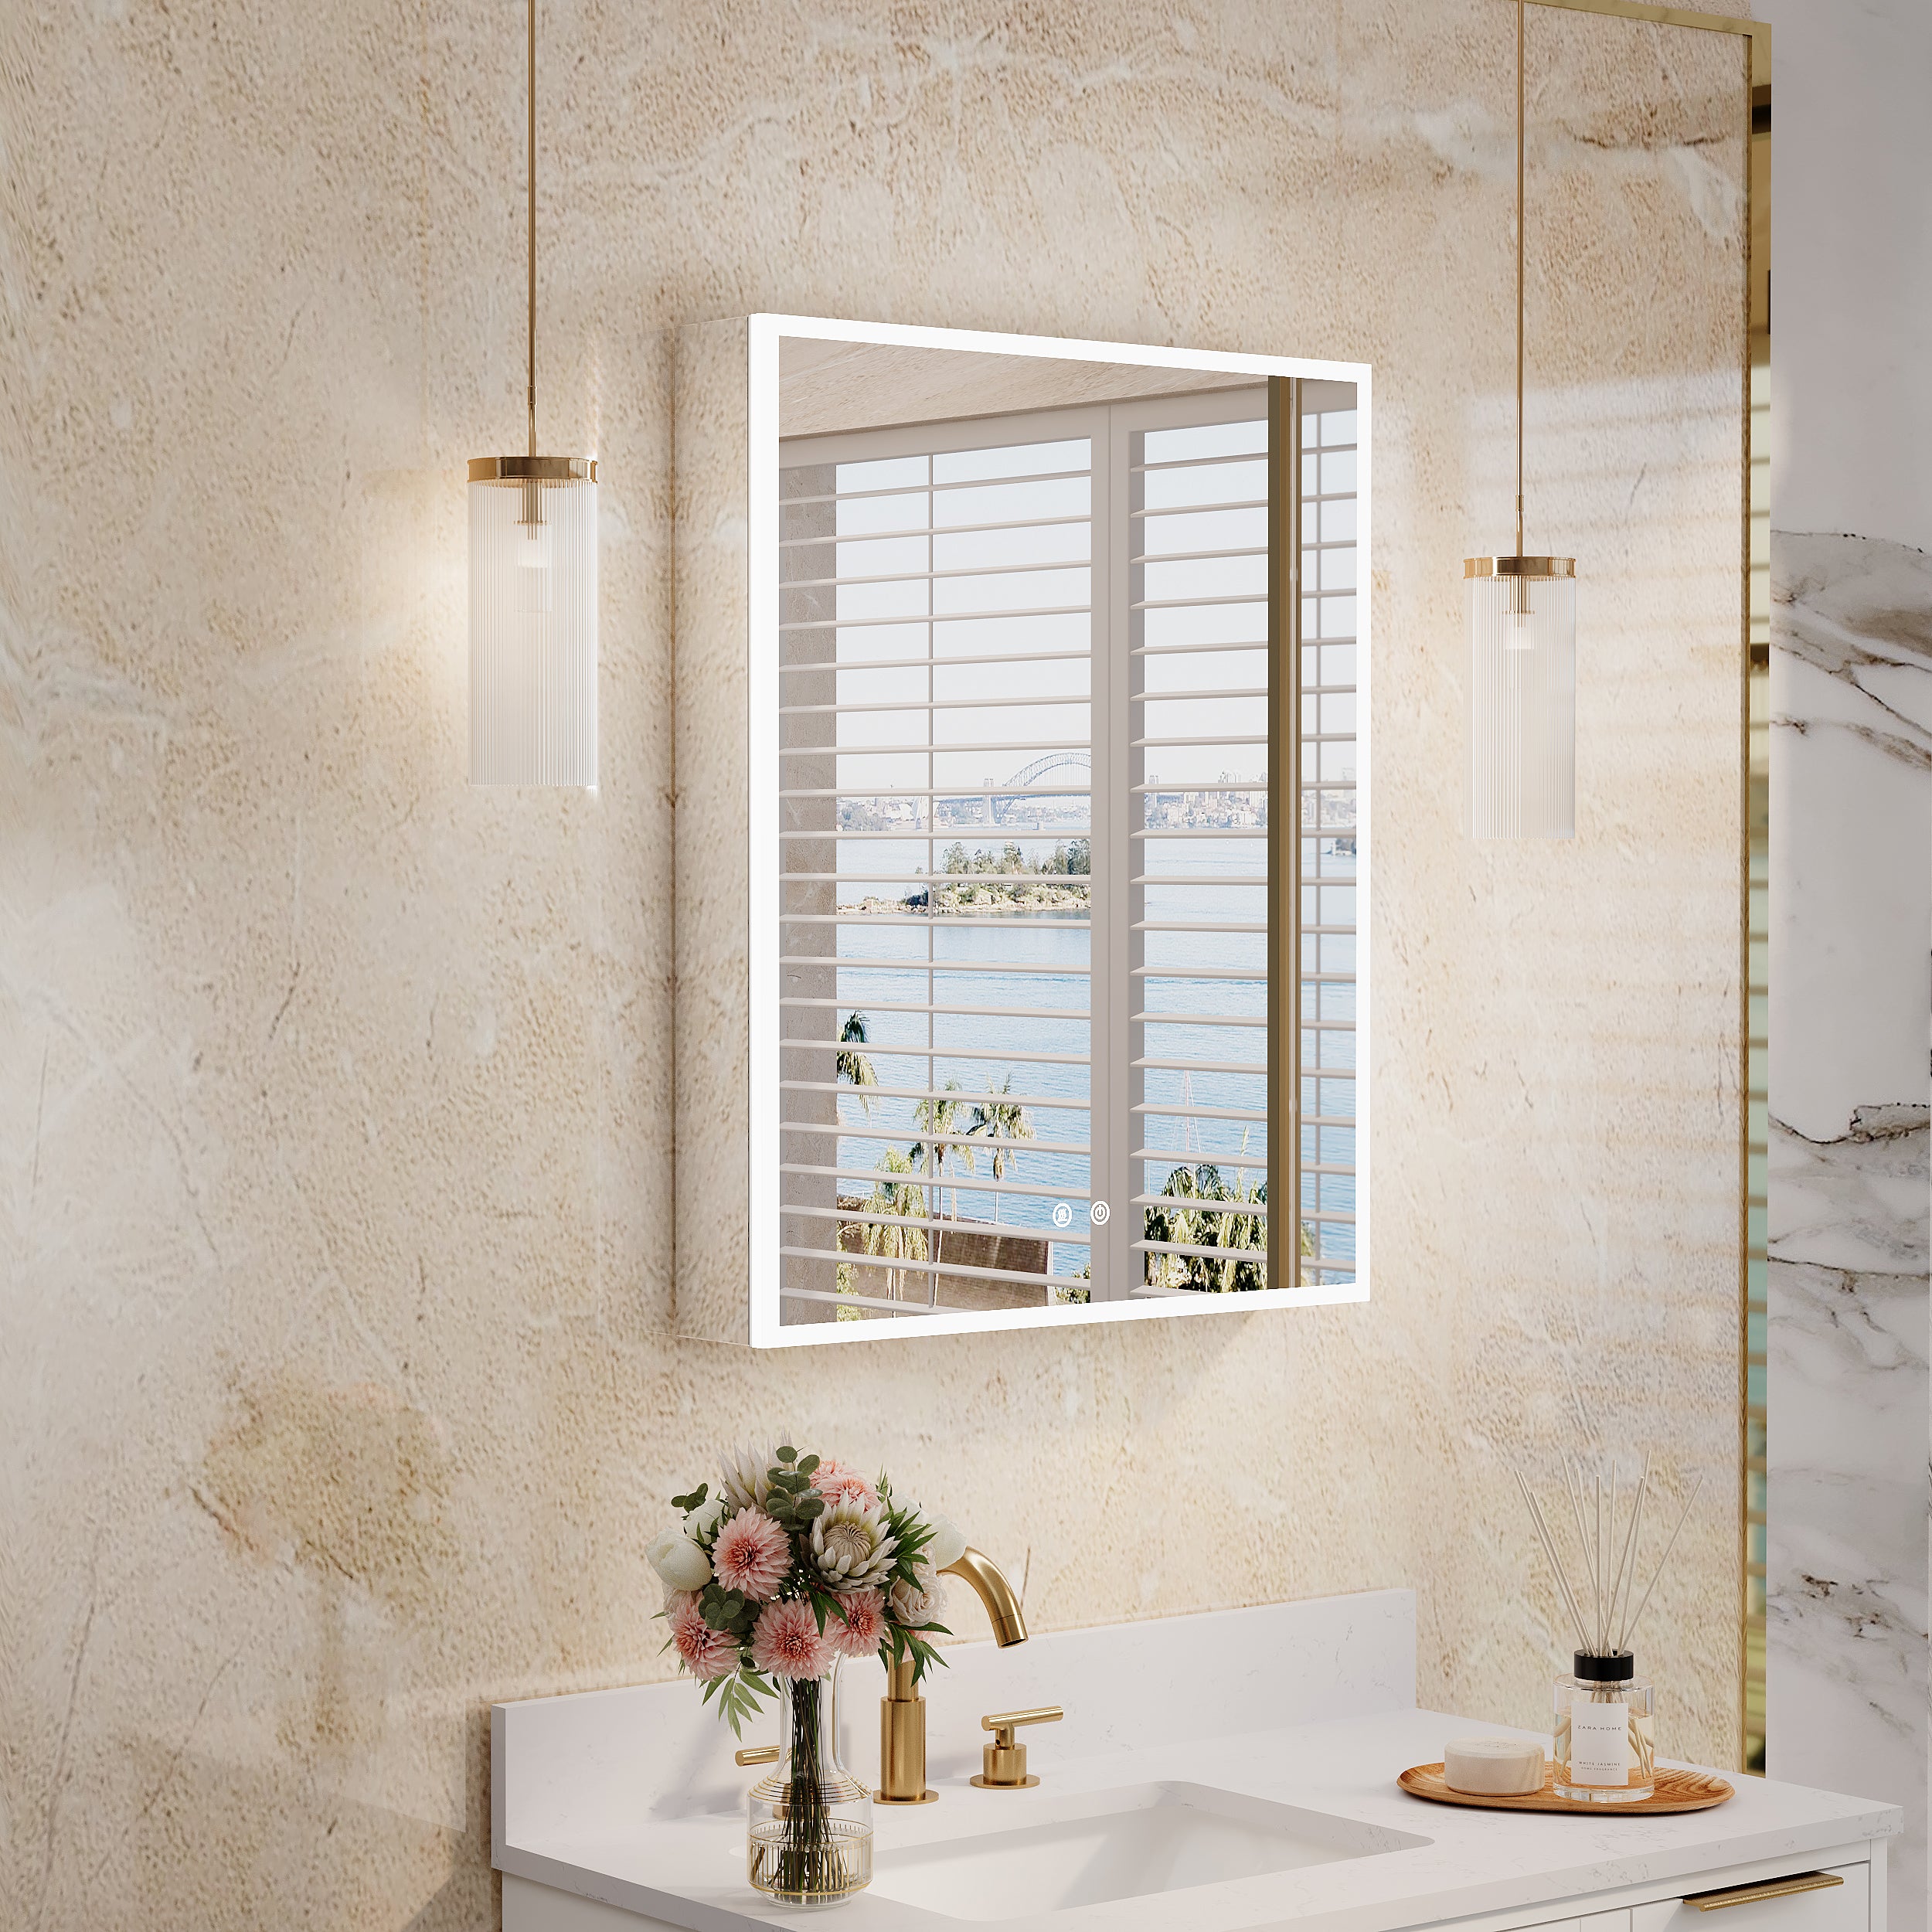
LED mirrors are a popular choice for modern bathroom design. They offer a sleek aesthetic and energy-efficient lighting, enhancing your space's functionality and style.
However, installing an LED mirror can seem daunting, especially if you're new to DIY projects. Fortunately, with the right tools and guidance, the process can be quite simple. But don't worry, we're here to help.
In this guide, we'll walk you through installing an LED mirror. We'll cover everything from choosing the right mirror to the tools you'll need and the steps to install it. With this guide, you'll be able to confidently install an LED mirror with ease.
With this guide, you'll be ready to install an LED mirror in no time, and you'll be the envy of all your friends!
Whether you're a seasoned DIY enthusiast or a beginner, this guide will give you the knowledge and confidence to install your LED mirror smoothly and efficiently. With this comprehensive guide, you can easily install your LED mirror, no matter your skill level. With this guide, you'll be well on your way to installing your LED mirror like a pro!
So, are you ready to transform your bathroom with a new LED mirror? Let's get started.
Understanding the Basics of LED Mirror Installation
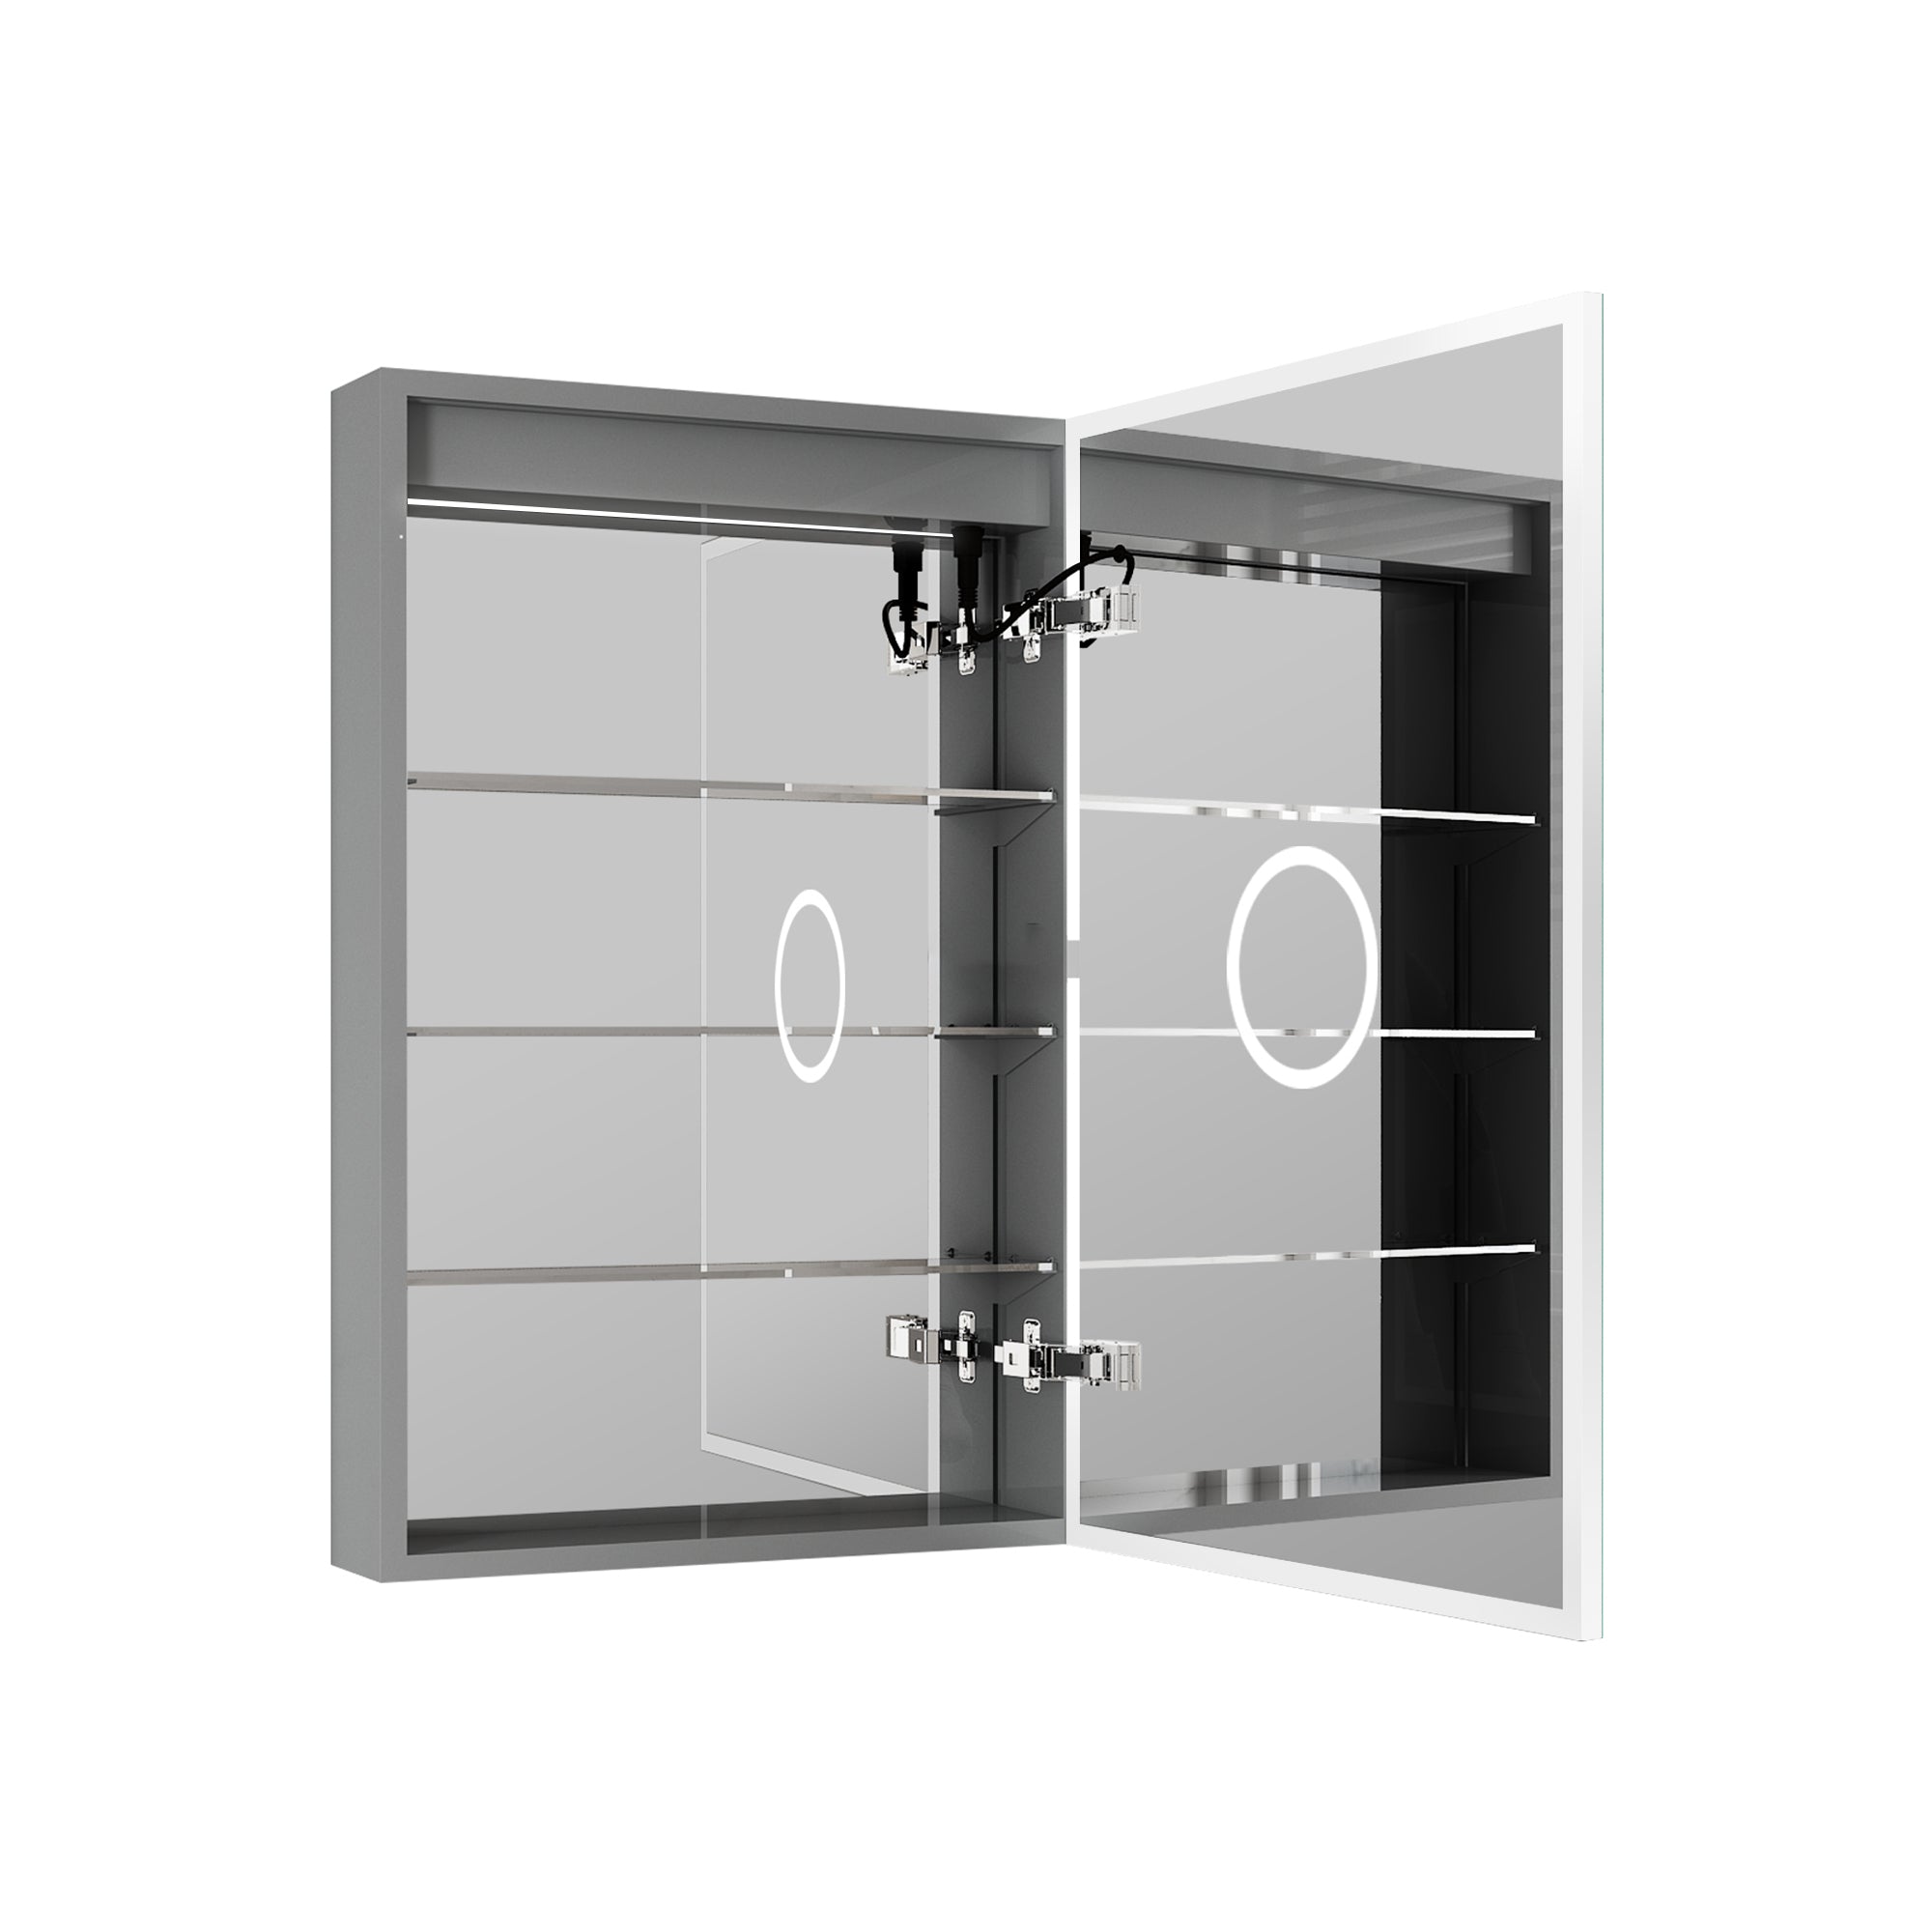
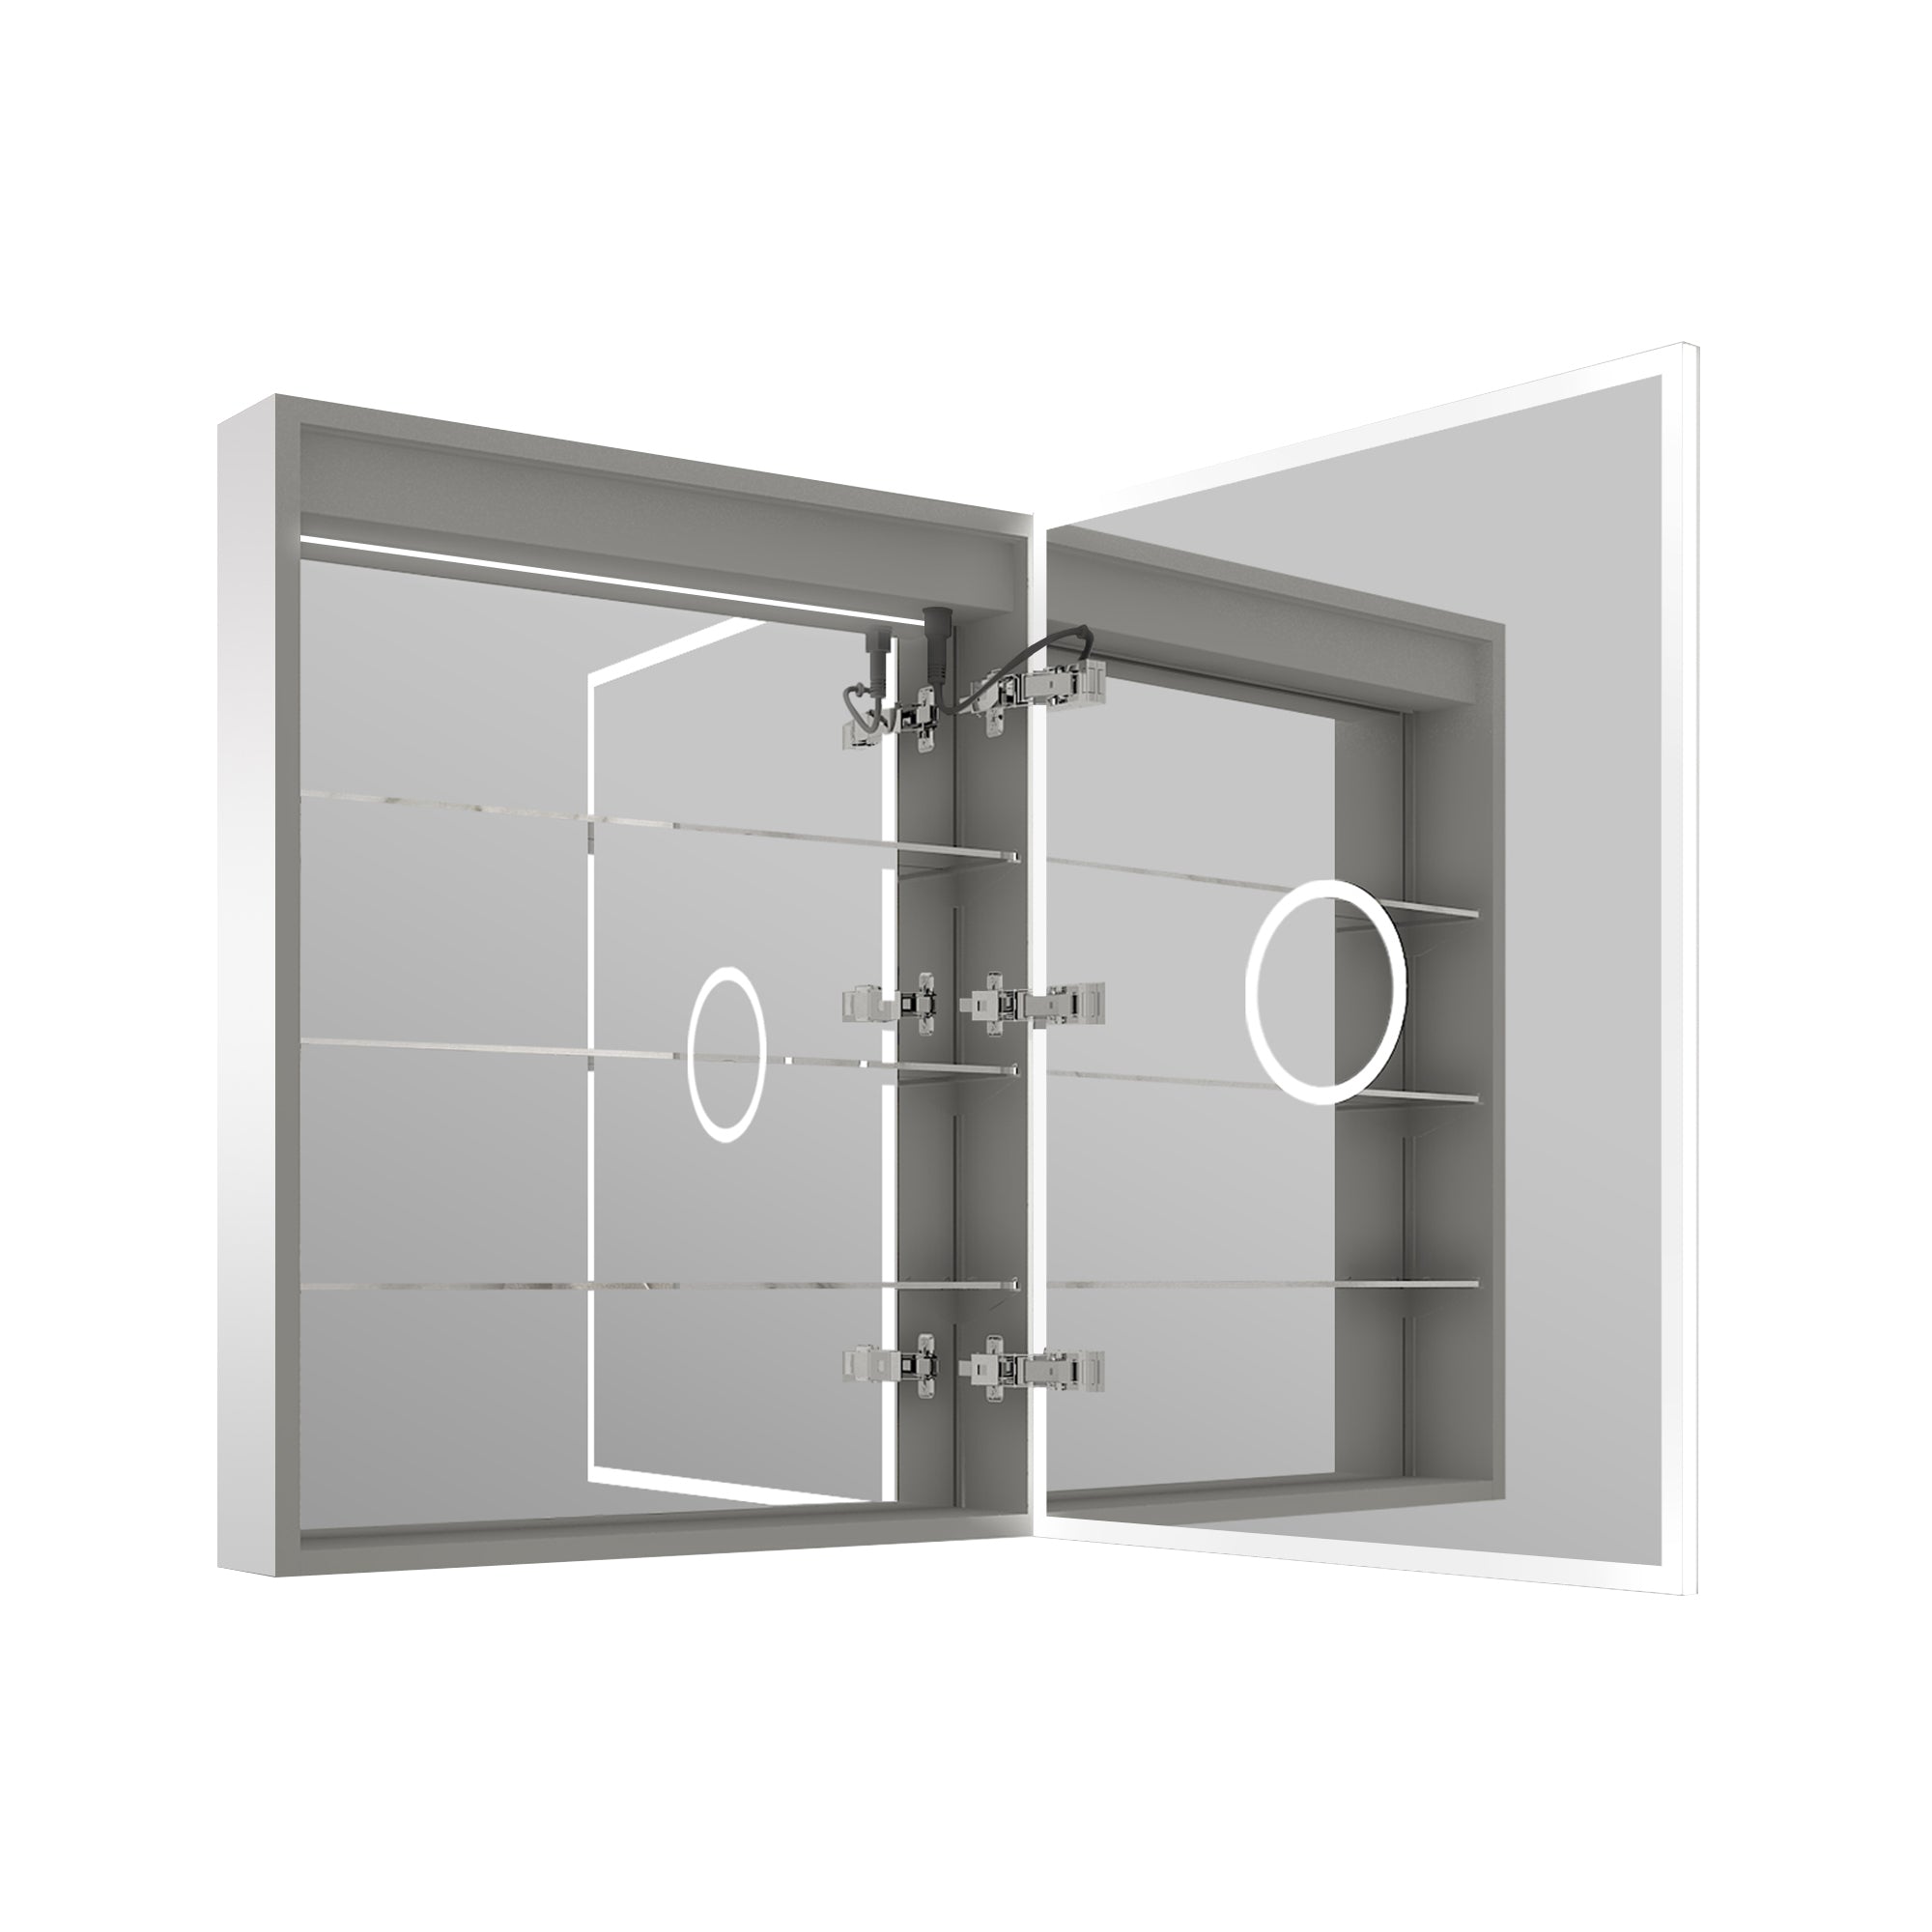
Before we dive into the installation process, let's understand the basics of an LED mirror. LED mirrors combine mirrors with LED lights, providing a clear, well-lit reflection.
Mirrors are often used in bathrooms. They offer an ideal solution for tasks like makeup application or shaving and add a modern touch to bathroom decor.
Installing an LED mirror involves mounting it to the wall and connecting it to your home's electrical system. This process requires careful planning and a basic understanding of electrical work.
Safety should always be your top priority when dealing with electrical installations.
Choosing the Right LED Mirror for Your Space
It is crucial to choose the right LED mirror for your space. Mirror size, shape, and style should complement your bathroom's design.
Consider the size of your bathroom and the wall where you plan to install the mirror. A large mirror in a small bathroom can make the space feel bigger.
LED mirrors come in various shapes, including round, square, and rectangular. Choose a shape that complements your bathroom's aesthetic.
Here are some factors to consider when choosing an LED mirror:
-
Size and shape
-
Style and design
-
LED light color temperature
-
Additional features like anti-fog technology or touch sensors
You can explore wellfor.com to find the right one for you!
Tools and Materials You Will Need

Before starting the installation process, gather all the necessary tools and materials. This will make the process smoother and more efficient.
To mount the mirror securely on the wall, you will need a drill, a level, a stud finder, and a screwdriver.
For the electrical setup, you'll need wire strippers, wire nuts, and electrical tape. Always turn off the power at the circuit breaker before starting electrical work.
Here's a checklist of the tools and materials you'll need:
-
Drill
-
Level
-
Stud finder
-
Screwdriver
-
Wire strippers
-
Wire nuts
-
Electrical tape
Pre-Installation: Safety and Preparations
Before you start the installation, it is crucial to take safety precautions. Always turn off the power at the circuit breaker before beginning electrical work. This will prevent accidental shocks.
Next, clear your workspace. Remove any items that could get in the way or cause accidents. Clean workspaces are safe workspaces.
Measure your space and the mirror to ensure a proper fit. This will help you avoid installation issues later.
Here are some safety and preparation steps to follow:
Turn off the power at the circuit breaker
Clear your workspace
Measure your space and the mirror
Lastly, read the manufacturer's instructions carefully. They will provide specific guidance for your LED mirror model.
Step-by-Step Guide to Installing Your LED Mirror
Now that you're prepared, let's begin the installation process. Start by marking the spot where you want to hang your mirror. Use a level to ensure straight markings.
Next, drill holes into the wall at the marked spots. Be sure to use the correct drill bits for your wall material. A stud finder can be beneficial if you're drilling into studs.
Once the holes are drilled, insert wall anchors. These will secure your mirror. Then, attach the mounting bracket to the wall using screws.
Now, it's time to handle the electrical components. Safety first. Always double-check that the power is off before you start.
Finding the Perfect Spot for Your Mirror
Choosing the right spot for your mirror is crucial. It should be at a comfortable height for users and provide optimal lighting. Use a level to ensure the mirror will hang straight.
Consider the mirror's proximity to the sink and other fixtures. It should be easily accessible but not obstructive. Also, think about the mirror's impact on the overall bathroom design.
Handling Electrical Components Safely
Handling LED mirror electrical components can be tricky. If you're uncomfortable with essential electrical work, consider hiring a professional. If you're doing it yourself, always double-check that the power is off.
Connect the mirror's wires to your home's electrical wires. Usually, this involves connecting the black (hot) wires, the white (neutral) wires together, and the green or bare (ground) wires. Use wire nuts to secure the connections.
Finally, attach the mirror to the mounting bracket. Make sure all connections are secure before turning the power back on.
Securing the Mirror to the Wall
The final step is to secure the mirror to the wall. Carefully lift the mirror and align it with the mounting bracket. Depending on the mirror's design, you may need an extra pair of hands for this step.
Once the mirror is aligned, secure it to the bracket according to the manufacturer's instructions. Double-check that the mirror is level and secure. Turn the power back on and enjoy your new LED mirror.
Troubleshooting Common Installation Issues
Even with careful planning, you may need some help with installation. Don't worry; most of these are familiar and easy to fix.
If the mirror isn't level, double-check your markings and measurements. You may need to adjust the mounting bracket.
If the lights aren't working, check your electrical connections. Make sure all wires are correctly connected and secured with wire nuts.
Remember, it's always best to consult a professional if you need clarification or are uncomfortable.
Post-Installation: Maintenance and Care
Once your LED mirror is installed, it must be appropriately maintained. This will ensure it functions well and look great.
Regular cleaning is vital. Wipe the mirror surface with a soft, non-abrasive cloth. Avoid harsh chemicals that could damage LED lights.
If your mirror has additional features, like anti-fog technology or touch sensors, refer to the manufacturer's instructions for care tips.
Remember to inspect the mirror regularly for damage or wear. This includes checking the LED lights for dimming or flickering.
With proper care, your LED mirror can last for many years, providing efficient lighting and adding a modern touch to your bathroom.
Ensuring Long-Term Performance
Handling your LED mirror with care is essential to ensure its long-term performance. Avoid applying excessive pressure to the mirror surface or the LED lights.
If your mirror is hardwired, ensure electrical connections are secure. Loose or frayed wires can affect LED lights' performance.
Remember, LED lights have a long lifespan, but they may eventually need replacement. Consult the manufacturer's instructions or a professional for guidance.
Cleaning and Care Tips
Keeping your LED mirror clean will ensure it looks its best and functions well. Dust and grime can affect LED lights' brightness.
Clean the mirror with a gentle cloth that doesn't leave lint. Refrain from using harsh cleaners or abrasive tools that can cause scratches on the surface.
For LED lights, a gentle wipe with a damp cloth should suffice. Always ensure the mirror is dry after cleaning to prevent moisture damage.
Enjoying Your New LED Mirror
Now that your LED mirror is installed and shining brightly, it's time to enjoy the benefits. From improved lighting to a modern aesthetic, your new mirror will enhance your bathroom experience.
Remember, proper maintenance and care will ensure your LED mirror continues to function well and look great for years. Your new LED mirror will add convenience and style to your bathroom.




Leave a comment
This site is protected by hCaptcha and the hCaptcha Privacy Policy and Terms of Service apply.