Hey there, DIY enthusiasts! Got a leaky bathtub faucet that's driving you nuts? Don’t worry, you're not alone. That annoying drip can hike up your water bill and might even cause some water damage if left unchecked. But guess what? Fixing it is easier than you might think, and you don’t have to be a plumbing wizard to do it. Let’s dive into the nitty-gritty of how to fix that pesky leak quickly and easily.
Identifying the Cause of the Leak
First things first, let’s figure out what kind of faucet you’re dealing with. There are three main types: compression faucets, cartridge faucets, and ball faucets. Each has its own quirks and issues. Here’s a quick rundown:
Compression Faucets:
These have two separate handles for hot and cold water. If they’re leaking, it’s usually because the washers or seals are worn out.
Cartridge Faucets:
These can have one or two handles. A worn-out cartridge inside the faucet can cause leaks.
Ball Faucets:
These single-handle faucets use a ball mechanism to control water flow and temperature. Leaks often happen due to worn-out seals or springs.
Gathering the Necessary Tools and Materials
Before you roll up your sleeves, make sure you’ve got everything you need:
- Screwdriver (flathead and Phillips)
- Adjustable wrench
- Plumber’s tape
- Replacement parts (washers, O-rings, cartridges, etc.)
- Pliers
- Penetrating oil (optional, for stubborn parts)
Having all your tools and materials ready will make the job a whole lot smoother.
Step-by-Step Guide to Fixing a Leaky Bathtub Faucet

Alright, let’s get to work!
Step 1: Turn Off the Water Supply
First things first, turn off the water supply to the bathtub. Look for the shutoff valve near the tub, or you might have to turn off the main water supply for your home. Trust me, you don’t want a mini flood while you’re working.
Step 2: Remove the Faucet Handle
Grab your flathead screwdriver and pop off the decorative cap on the faucet handle. Then, use a Phillips screwdriver to remove the screw holding the handle in place. Carefully pull the handle off the faucet.
Step 3: Inspect and Remove the Faucet Parts
With the handle off, you’ll see the inner components. Depending on your faucet type, you might need to remove more parts:
- For compression faucets, use an adjustable wrench to remove the packing nut, then take out the stem.
- For cartridge faucets, use pliers to pull out the cartridge.
- For ball faucets, remove the cap and collar, then take out the ball and cam assembly.
Step 4: Replace Worn-Out Parts
Now, inspect all the parts you’ve removed. Look for worn washers, O-rings, and cartridges—these are usually the culprits. Replace any damaged parts with new ones. For compression faucets, replace the washer at the bottom of the stem. For cartridge and ball faucets, replace the entire cartridge or ball assembly if needed.
Step 5: Reassemble the Faucet
Time to put it all back together! Follow the steps in reverse order:
- For compression faucets, reinsert the stem and tighten the packing nut with an adjustable wrench.
- For cartridge faucets, insert the new cartridge and secure it with pliers.
- For ball faucets, reassemble the ball and cam assembly, then replace the cap and collar.
Step 6: Test the Faucet
Turn the water supply back on and test the faucet for leaks. Turn the handles on and off to ensure the leak is fixed. If it’s still leaking, double-check that all parts are installed correctly and securely tightened.
Additional Tips for Fixing a Leaky Bathtub Faucet
Use Plumber’s Tape:
If you’re having trouble getting a watertight seal, try using plumber’s tape on the threads of the faucet parts. This can help prevent leaks and ensure a tight fit.
Apply Penetrating Oil:
If any parts are difficult to remove due to corrosion or mineral buildup, apply a penetrating oil like WD-40. Let it sit for a few minutes to loosen the parts before attempting to remove them.
Check for Hidden Issues:
Sometimes, the source of the leak may not be immediately visible. Check for any hidden issues, such as cracks in the faucet body or problems with the valve seat. If you suspect a more serious issue, it may be best to consult a professional plumber.
When to Consider Replacing the Faucet
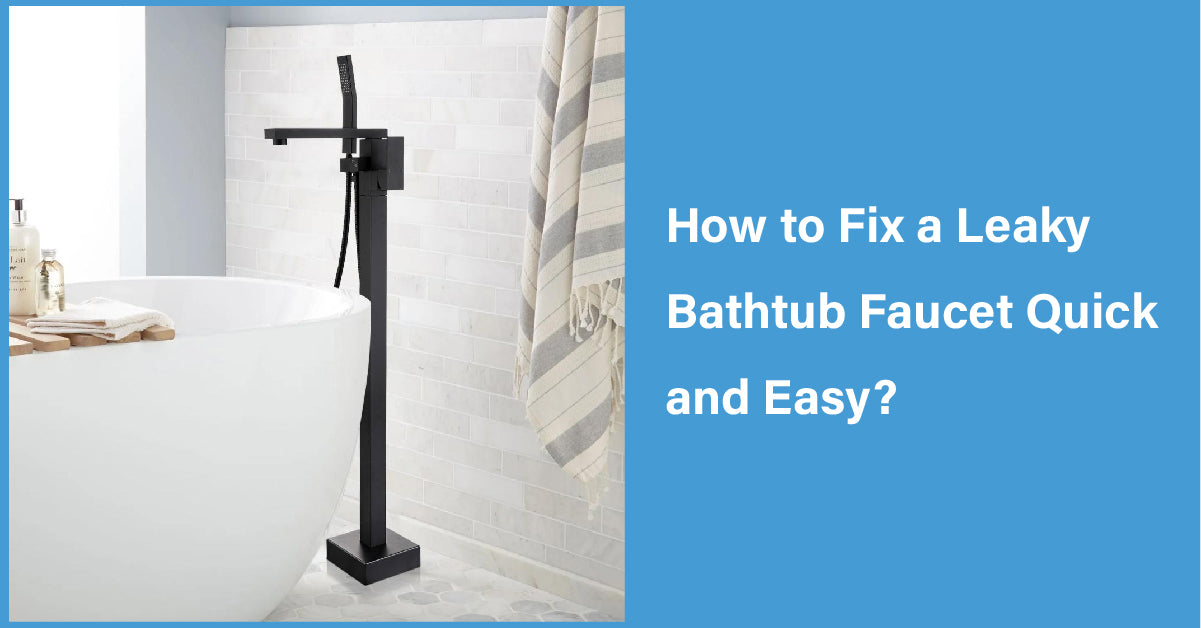
If you’ve tried everything and the faucet still drips, it might be time to consider replacing the whole thing. Modern freestanding tub faucets and other setups are designed to be more durable and water-efficient. Investing in a new faucet can save you time and money in the long run.
Choosing the Right Faucet
When picking out a new faucet, think about these factors:
- Compatibility with your existing plumbing
- Style and finish that matches your bathroom décor
- Water efficiency and flow rate
- Ease of installation and maintenance
Freestanding tub faucets, in particular, come in a variety of styles and finishes, making it easy to find one that complements your bathroom design.
Takeaway
Fixing a leaky bathtub faucet is a manageable DIY project that can save you money on water bills and prevent potential water damage. By identifying the cause of the leak, gathering the necessary tools and materials, and following this step-by-step guide, you can quickly and easily fix your leaky faucet. And if all else fails, don’t hesitate to replace the faucet with a new, more efficient model.
Remember, a little maintenance goes a long way in keeping your bathroom fixtures in good working order. Happy repairing!









Leave a comment
This site is protected by hCaptcha and the hCaptcha Privacy Policy and Terms of Service apply.