
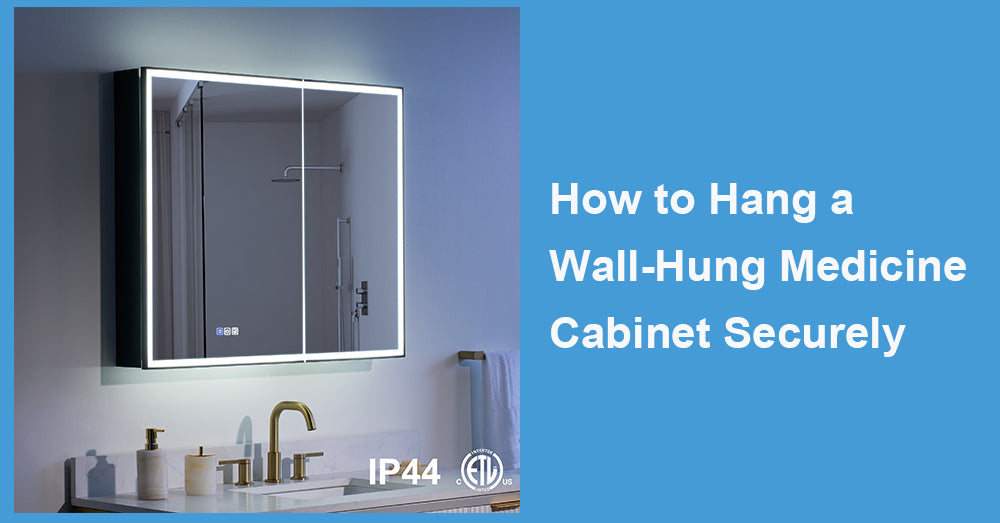
A wall-hung medicine cabinet is one of the best additions to a functional and stylish bathroom. Not only does it save space, but it keeps your essentials organized and easily accessible. But installing one may seem intimidating if you've never done it before.
The good news is that with the right tools, techniques, and guidance, anyone can hang a wall-hung medicine cabinet securely—no professional skills required! This step-by-step guide will walk you through the process, providing helpful tips along the way to ensure your cabinet is both safe and secure.
Why Choose a Wall-Hung Medicine Cabinet?
Before we get started, why should you opt for a wall-hung medicine cabinet? Beyond offering storage, these cabinets are a mix of aesthetic and practicality.
· Space-Saving Design – Perfect for small bathrooms or powder rooms, a wall-hung cabinet frees up floor space.
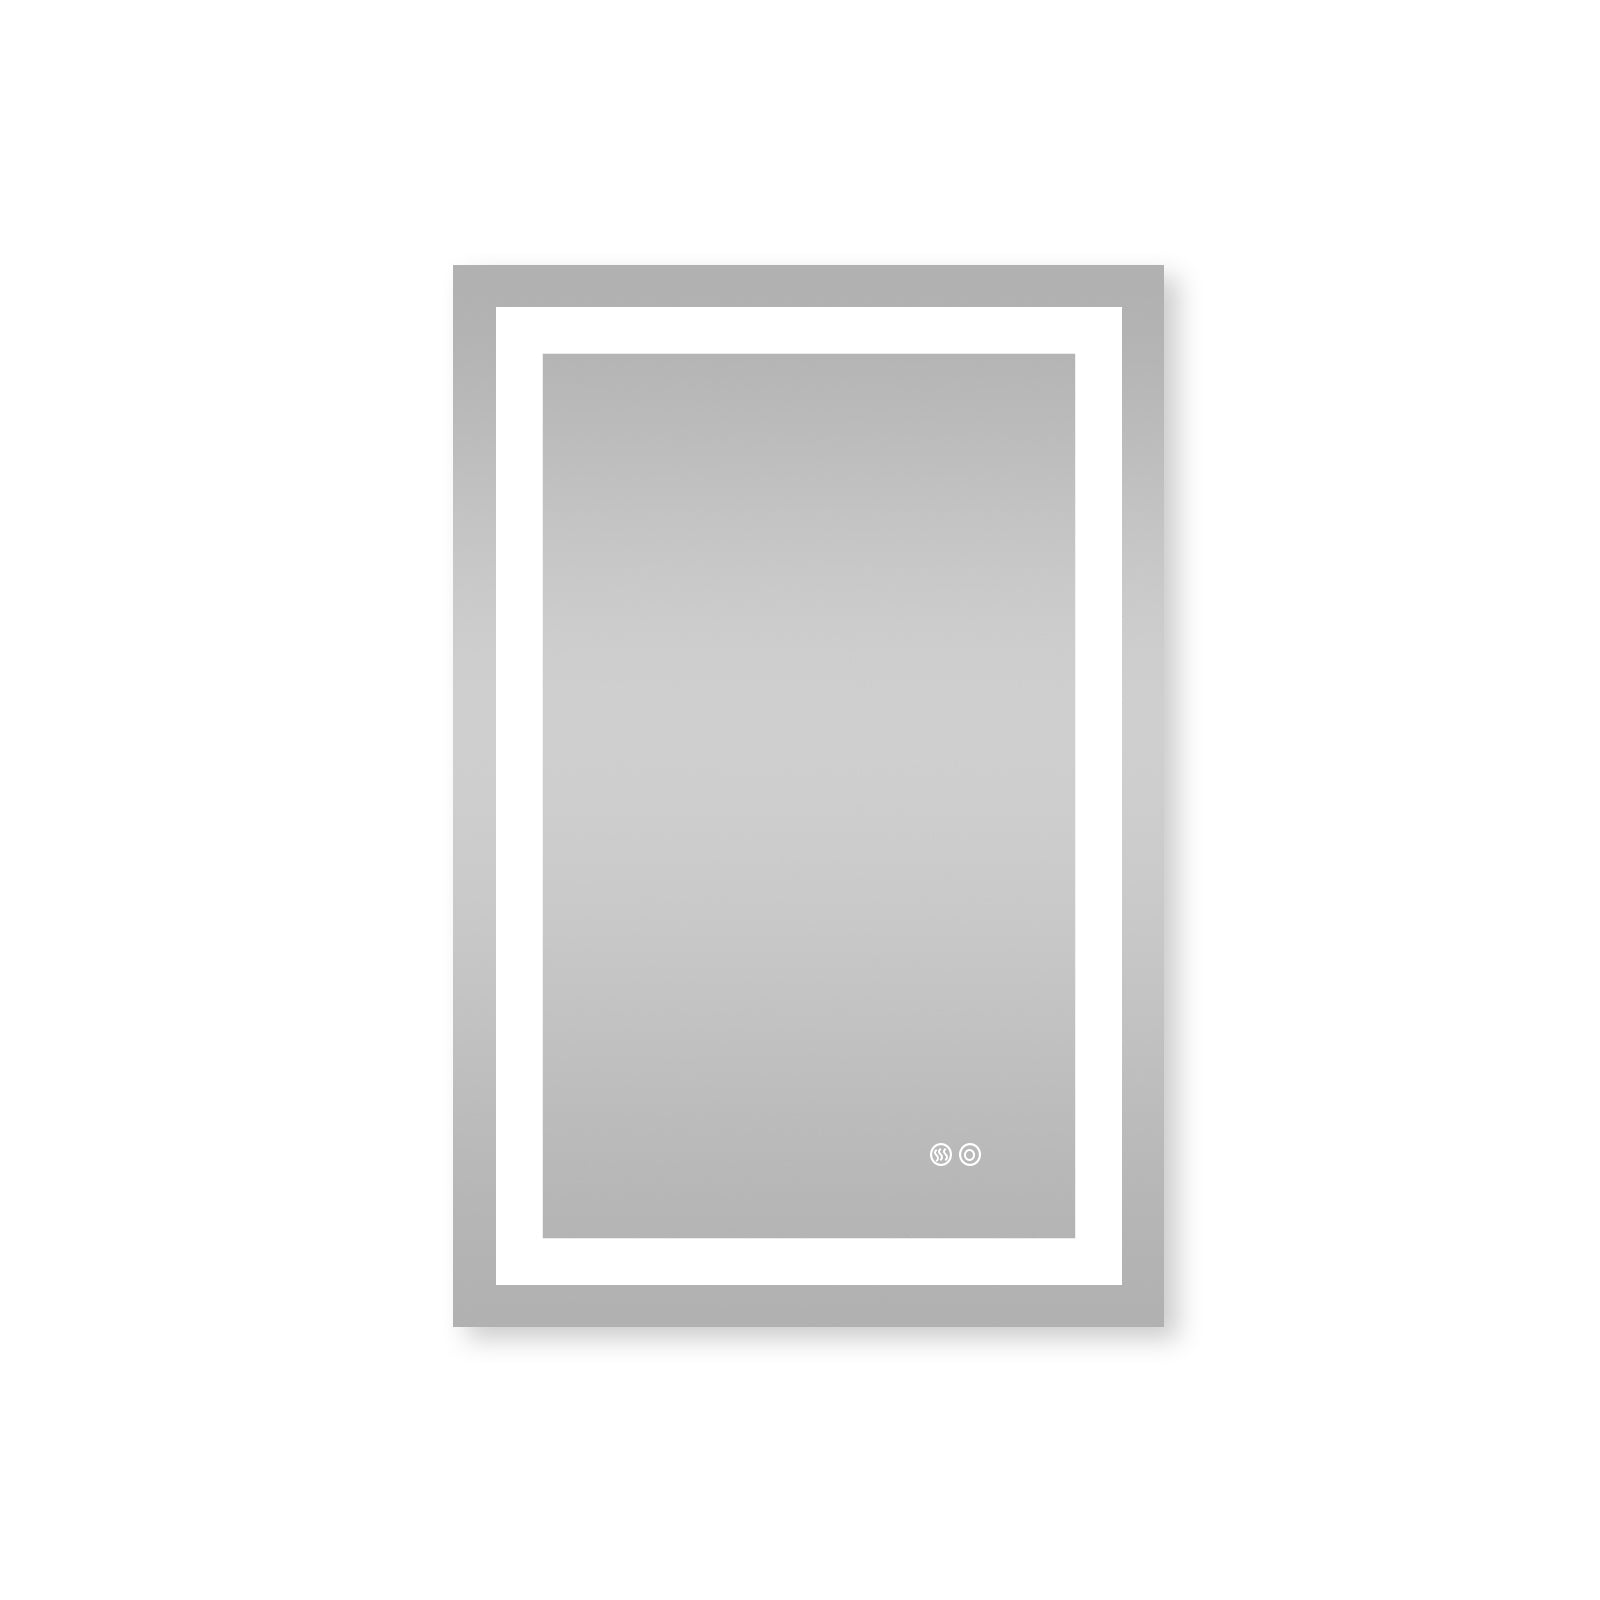
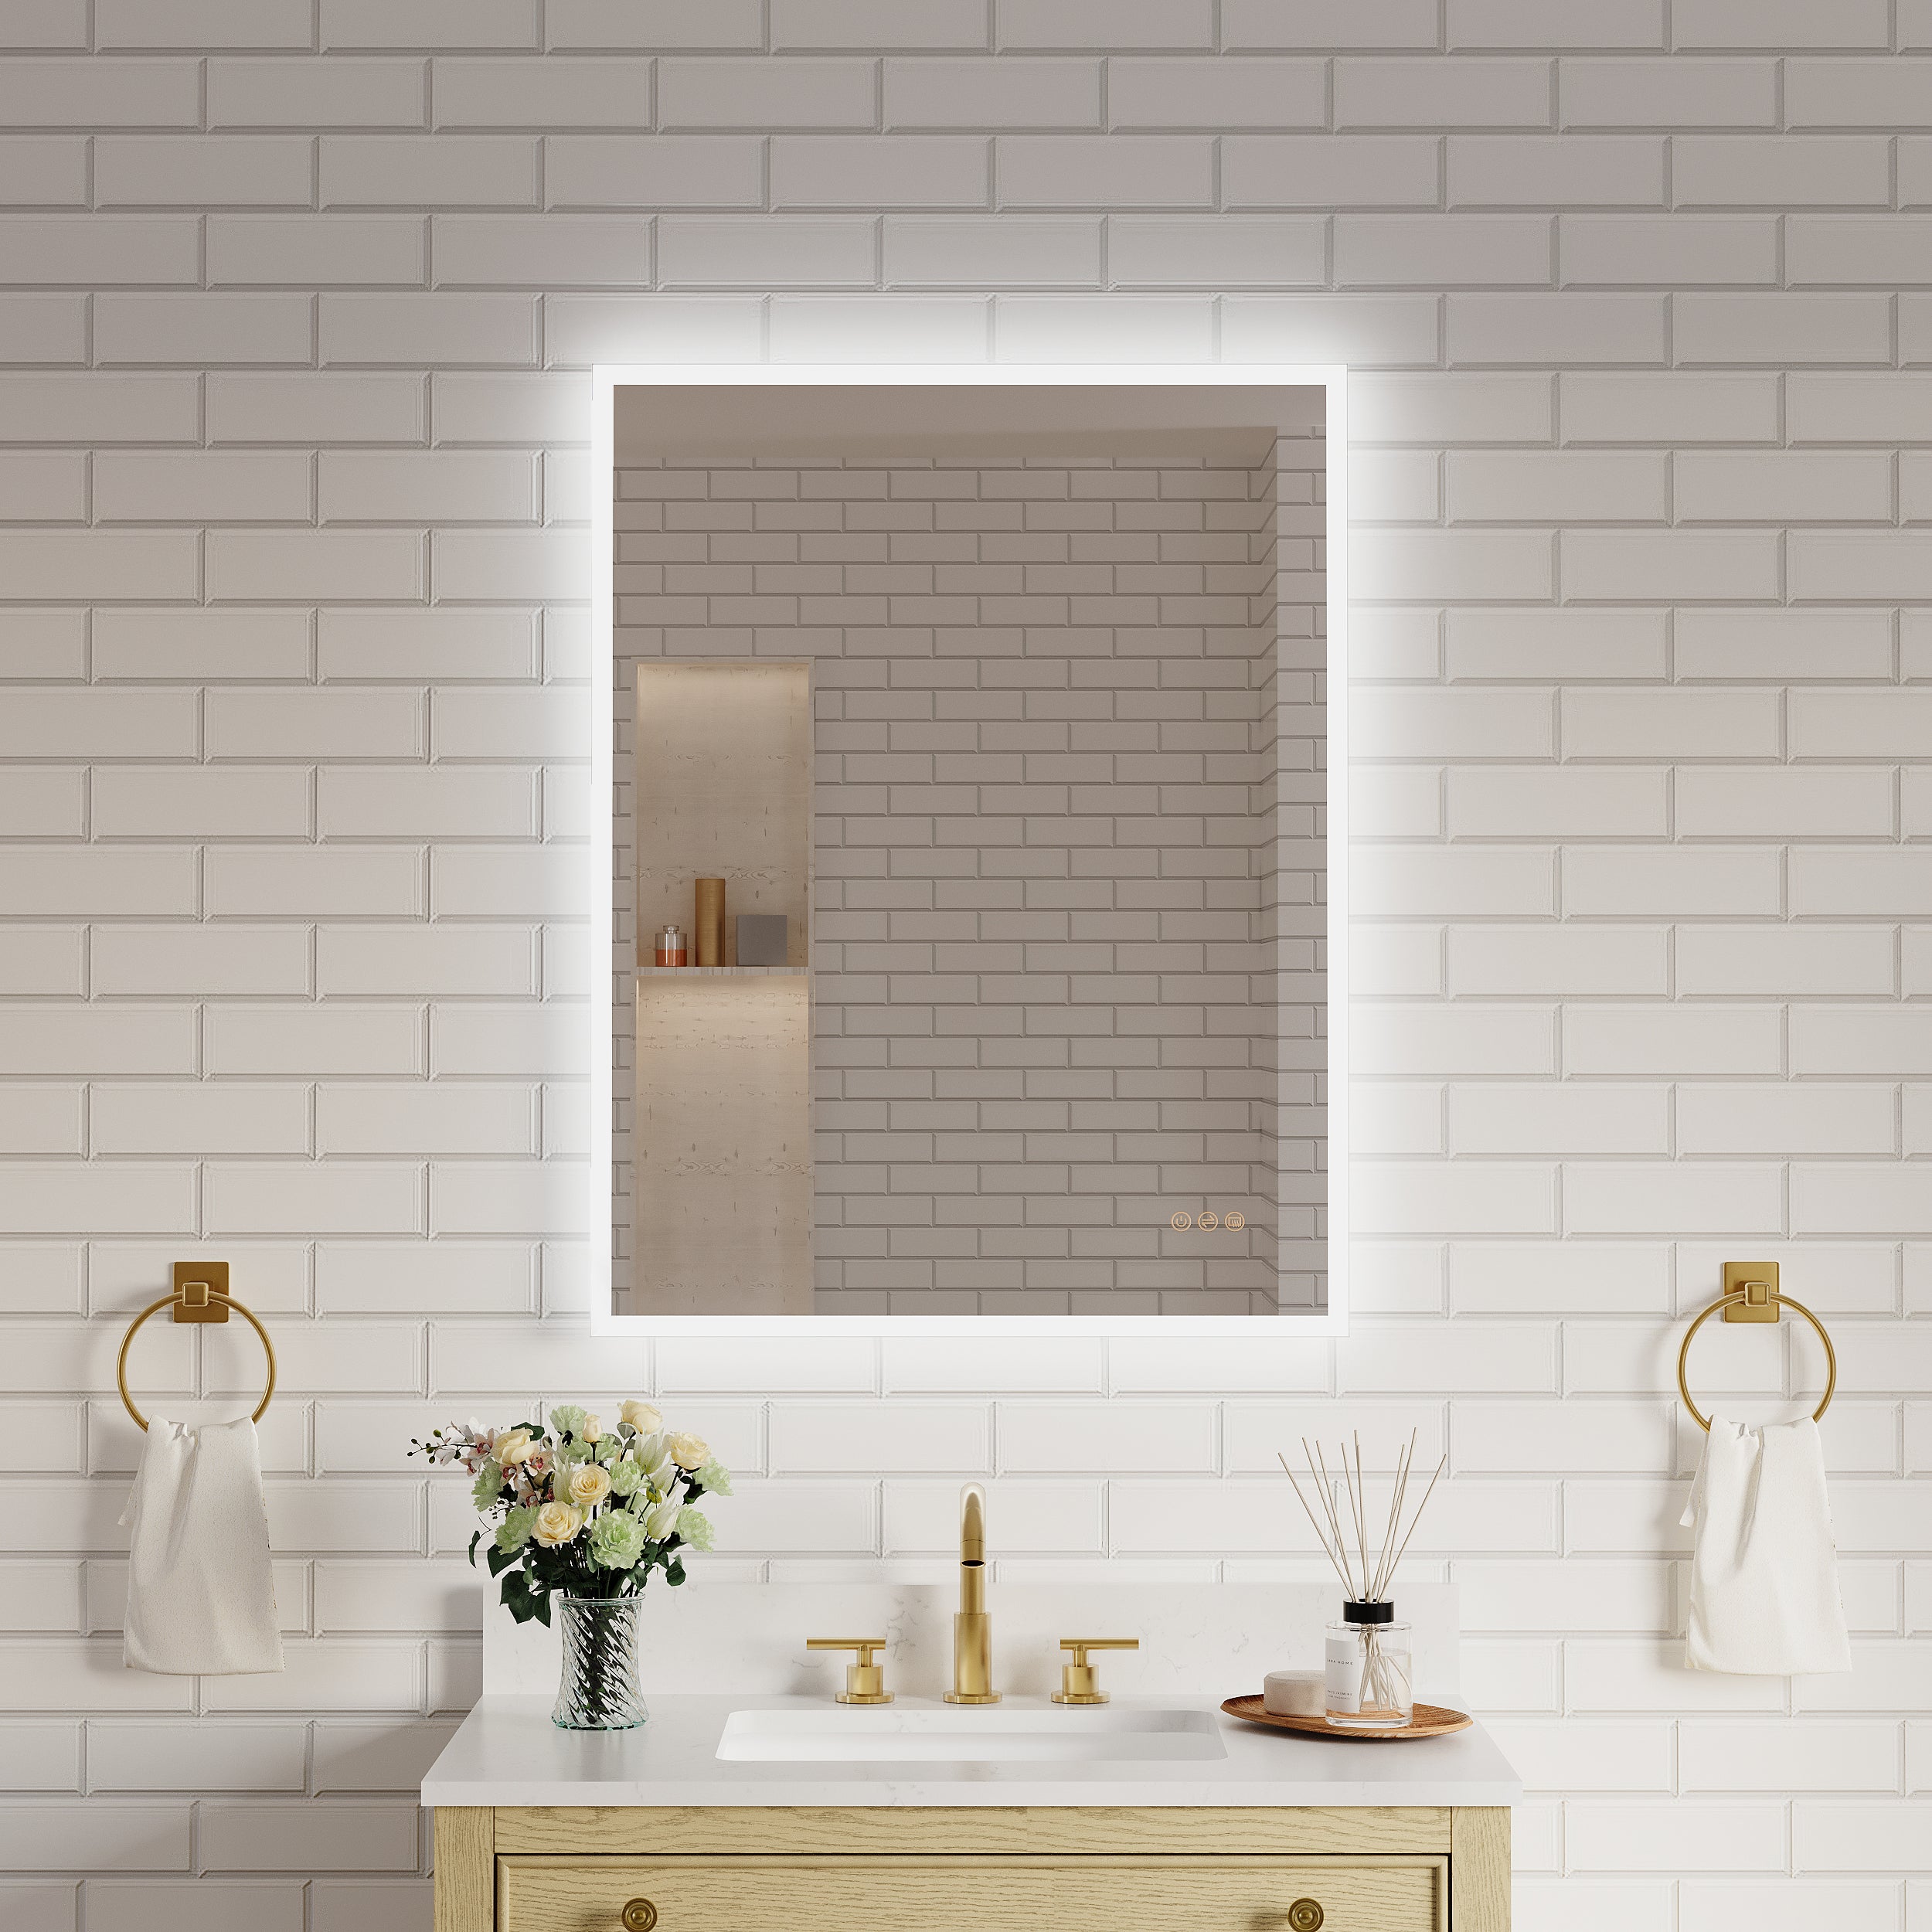
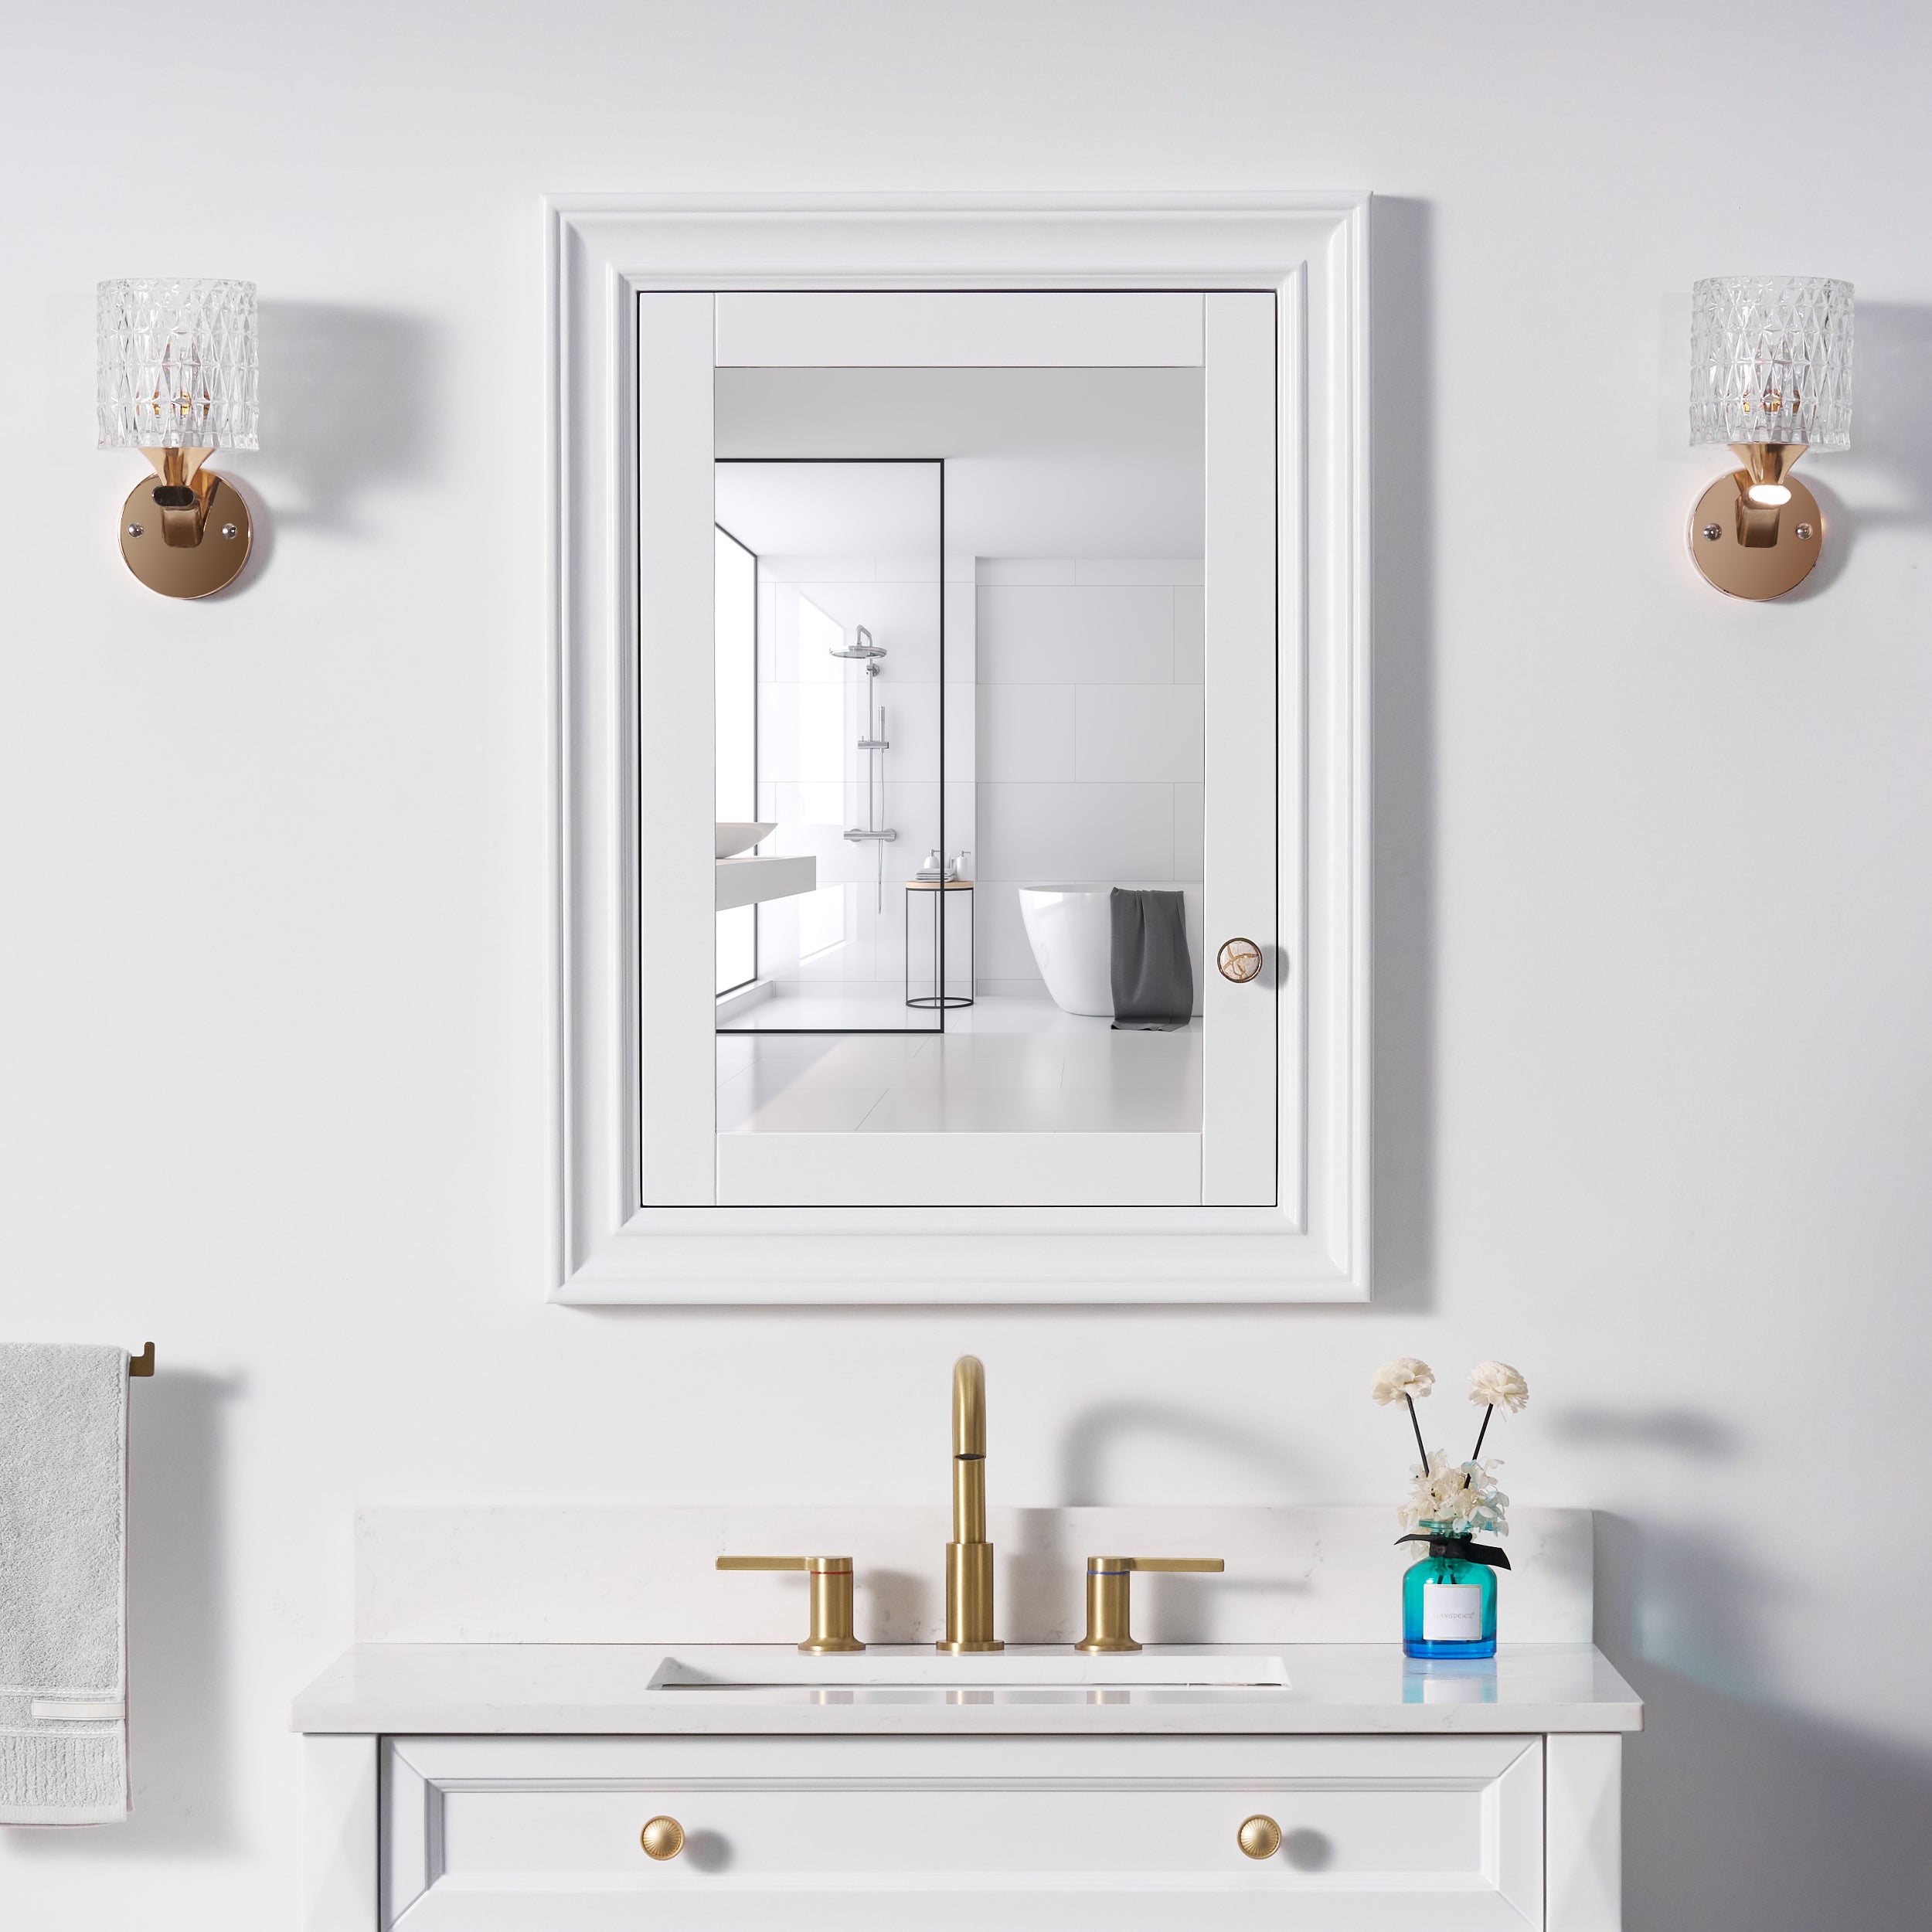
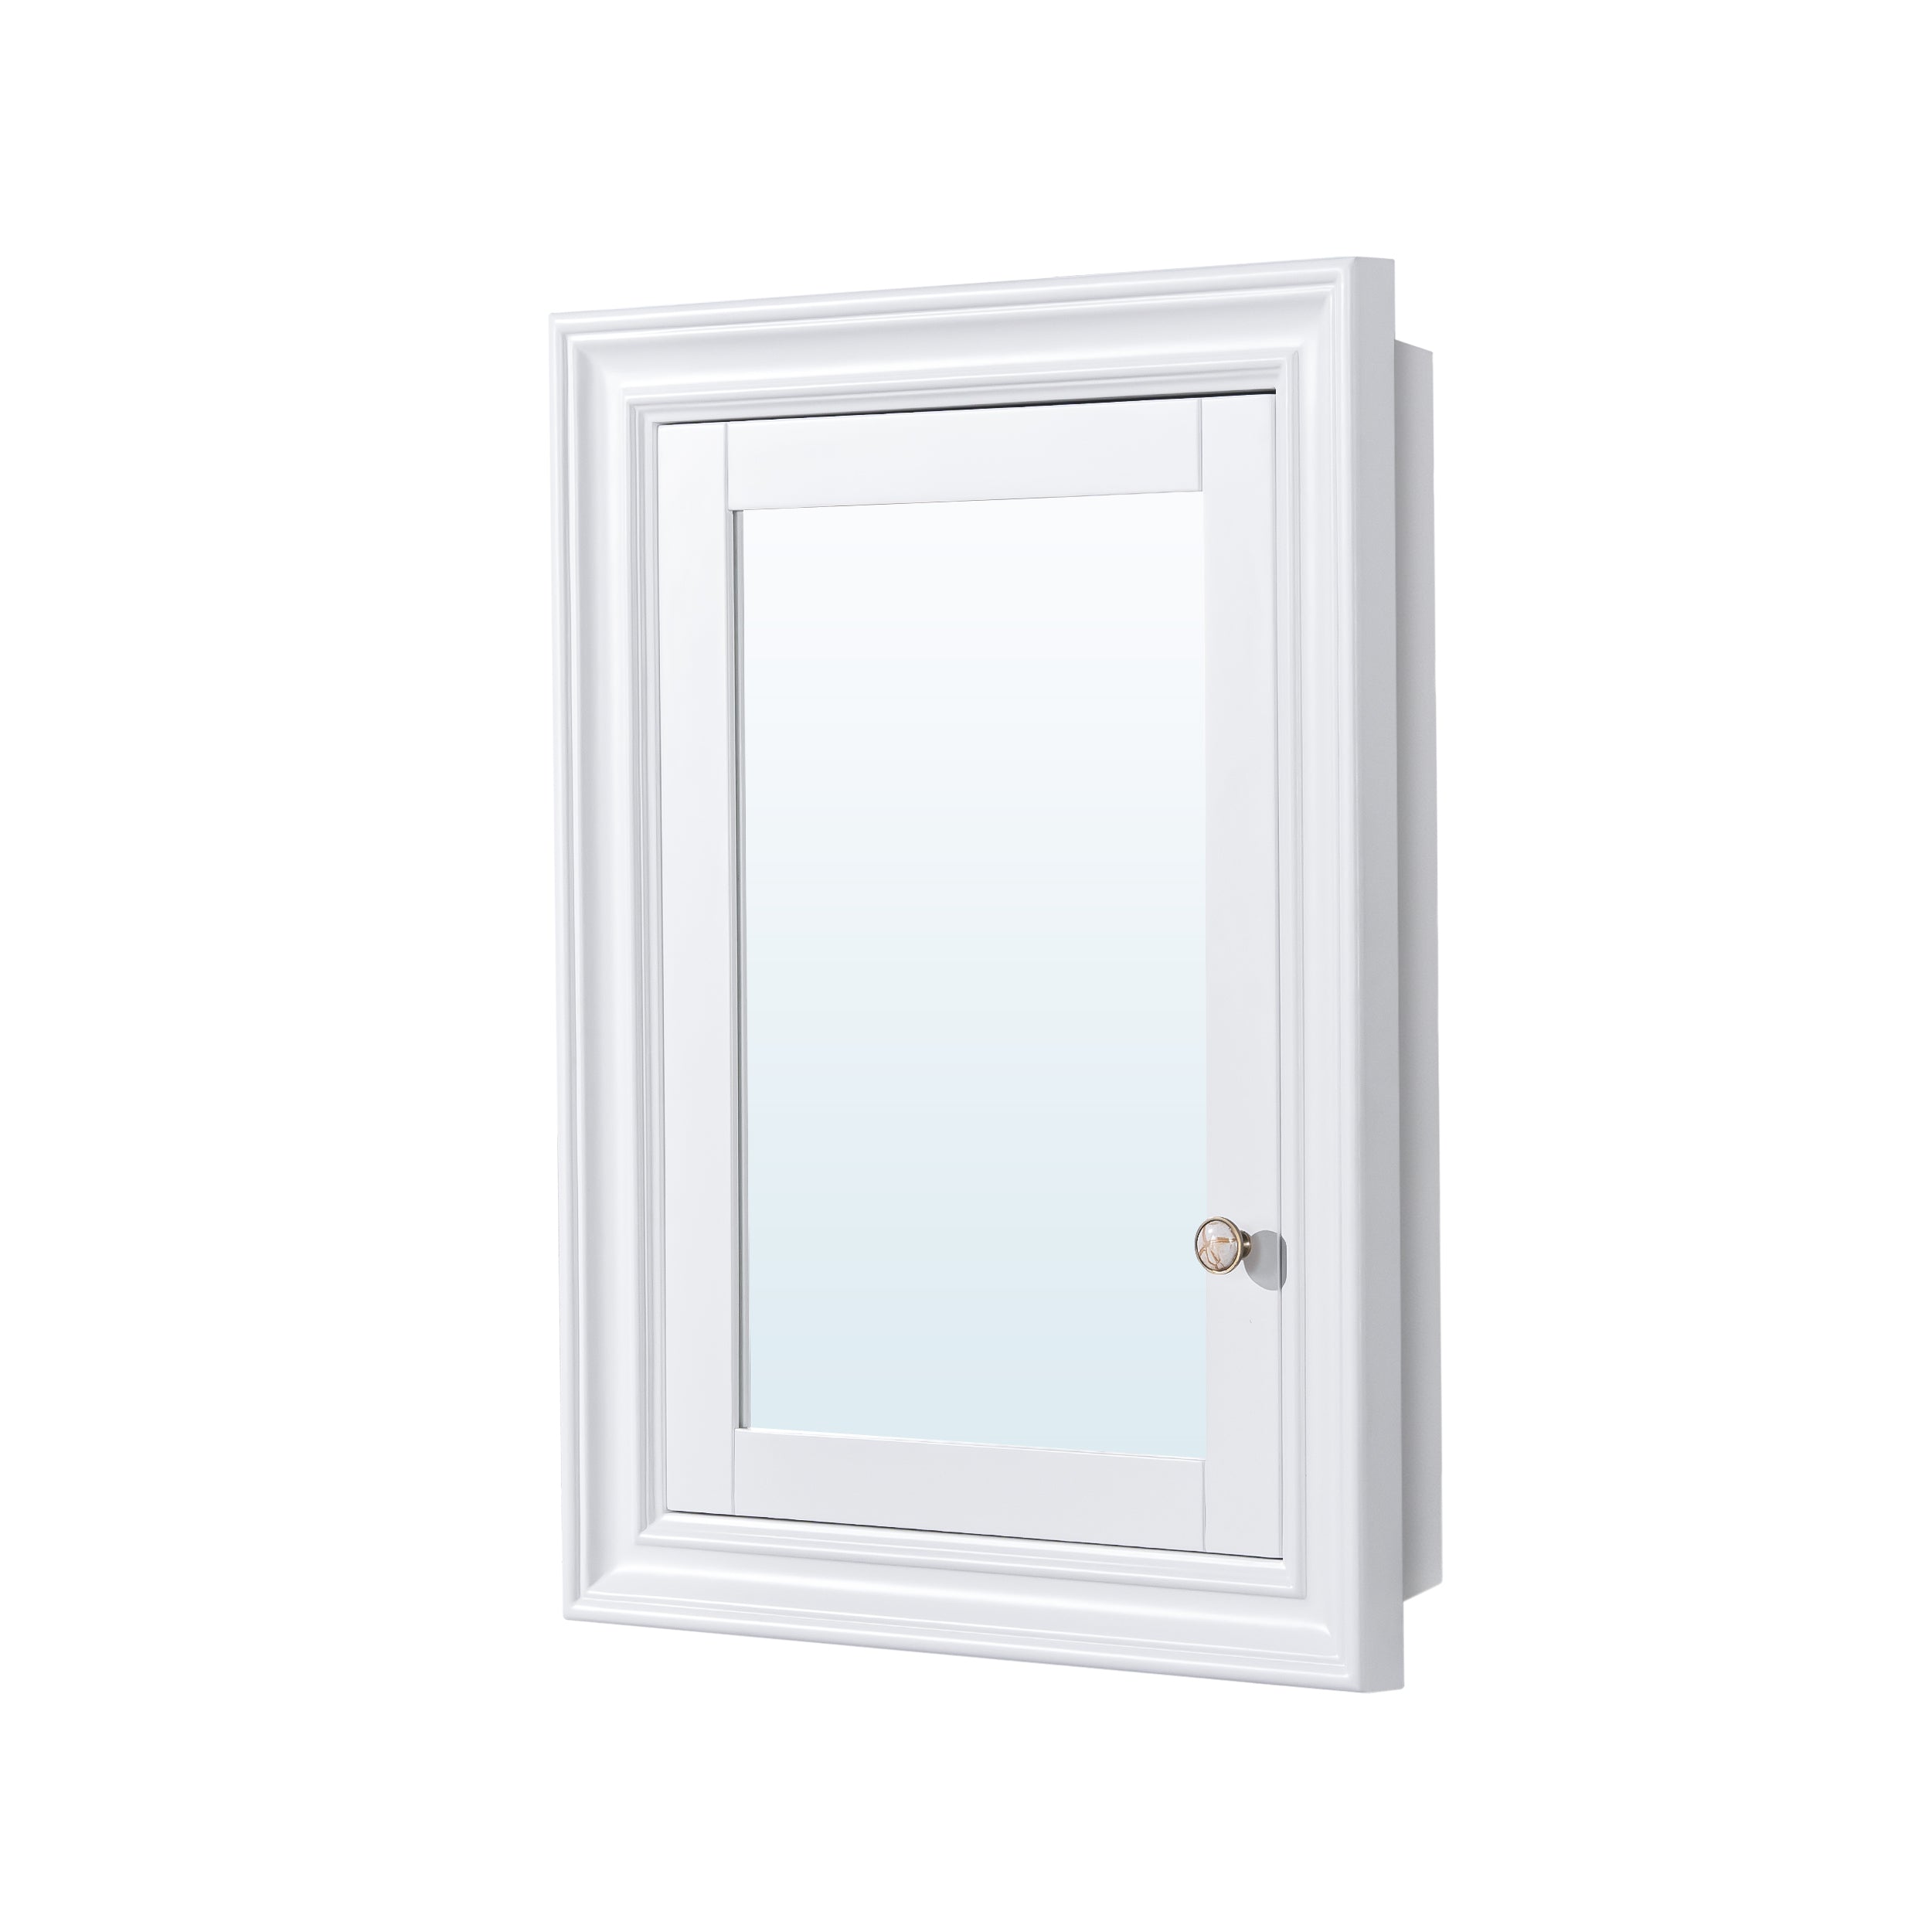
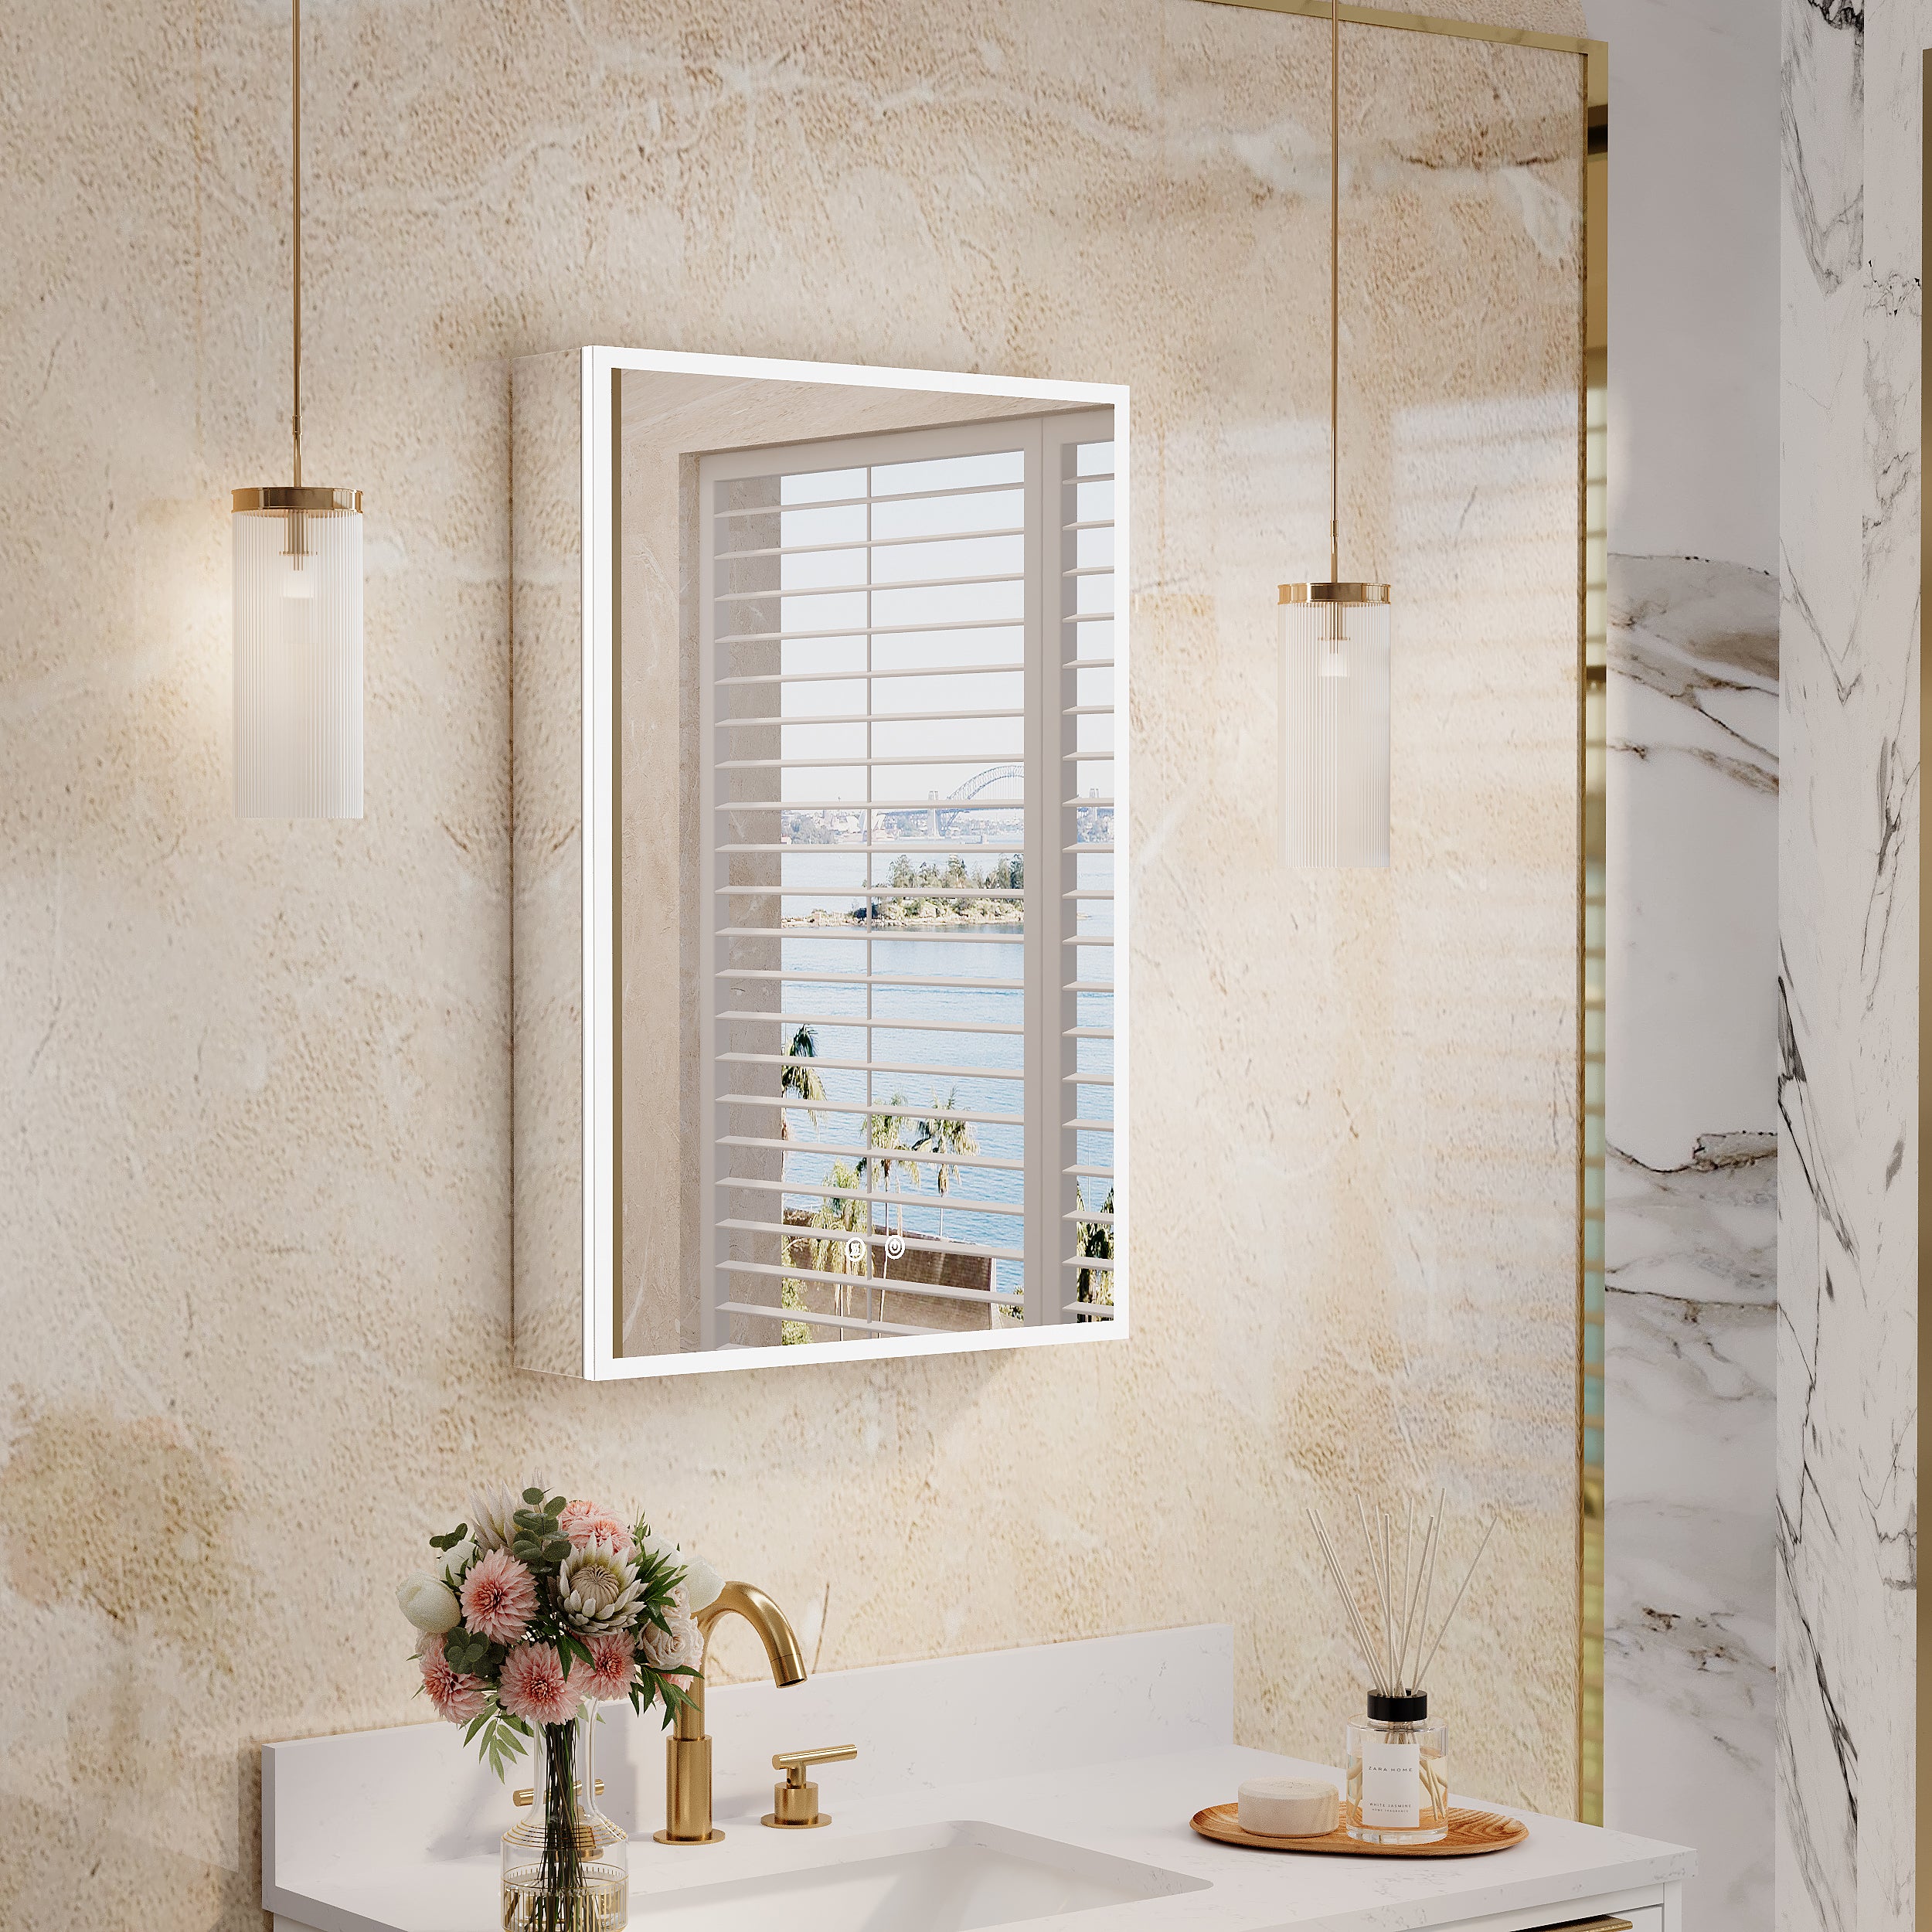
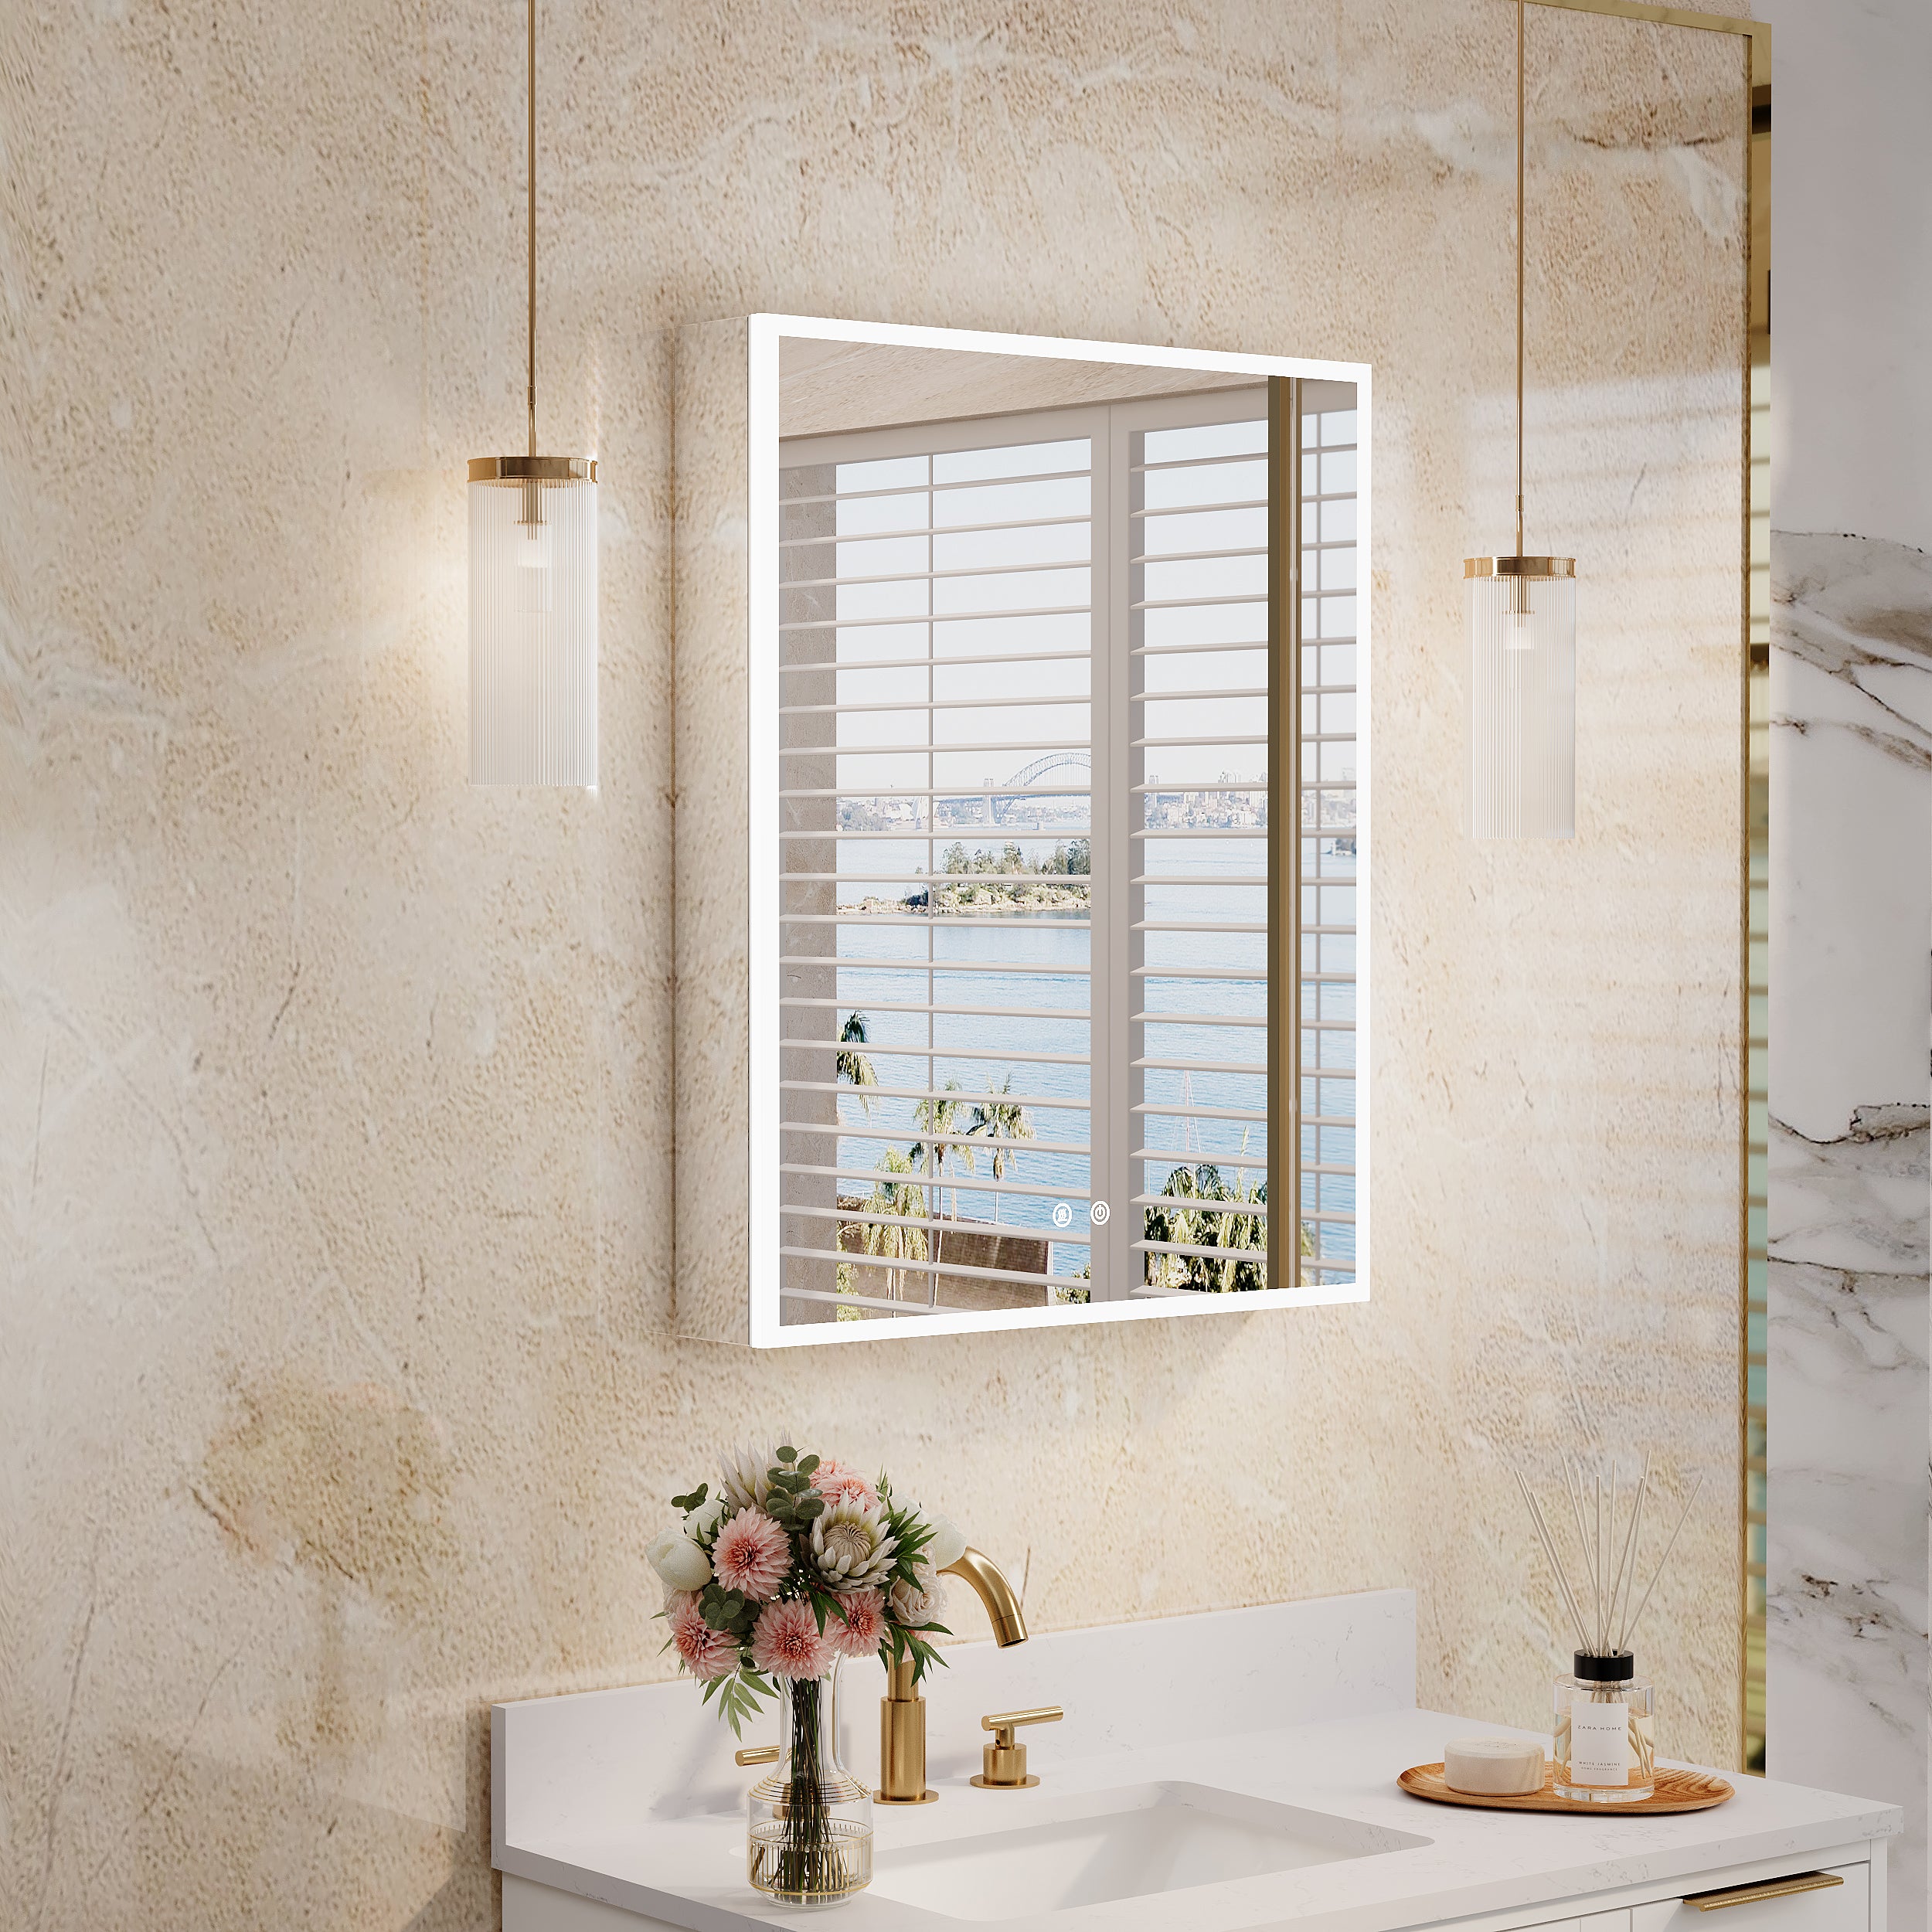
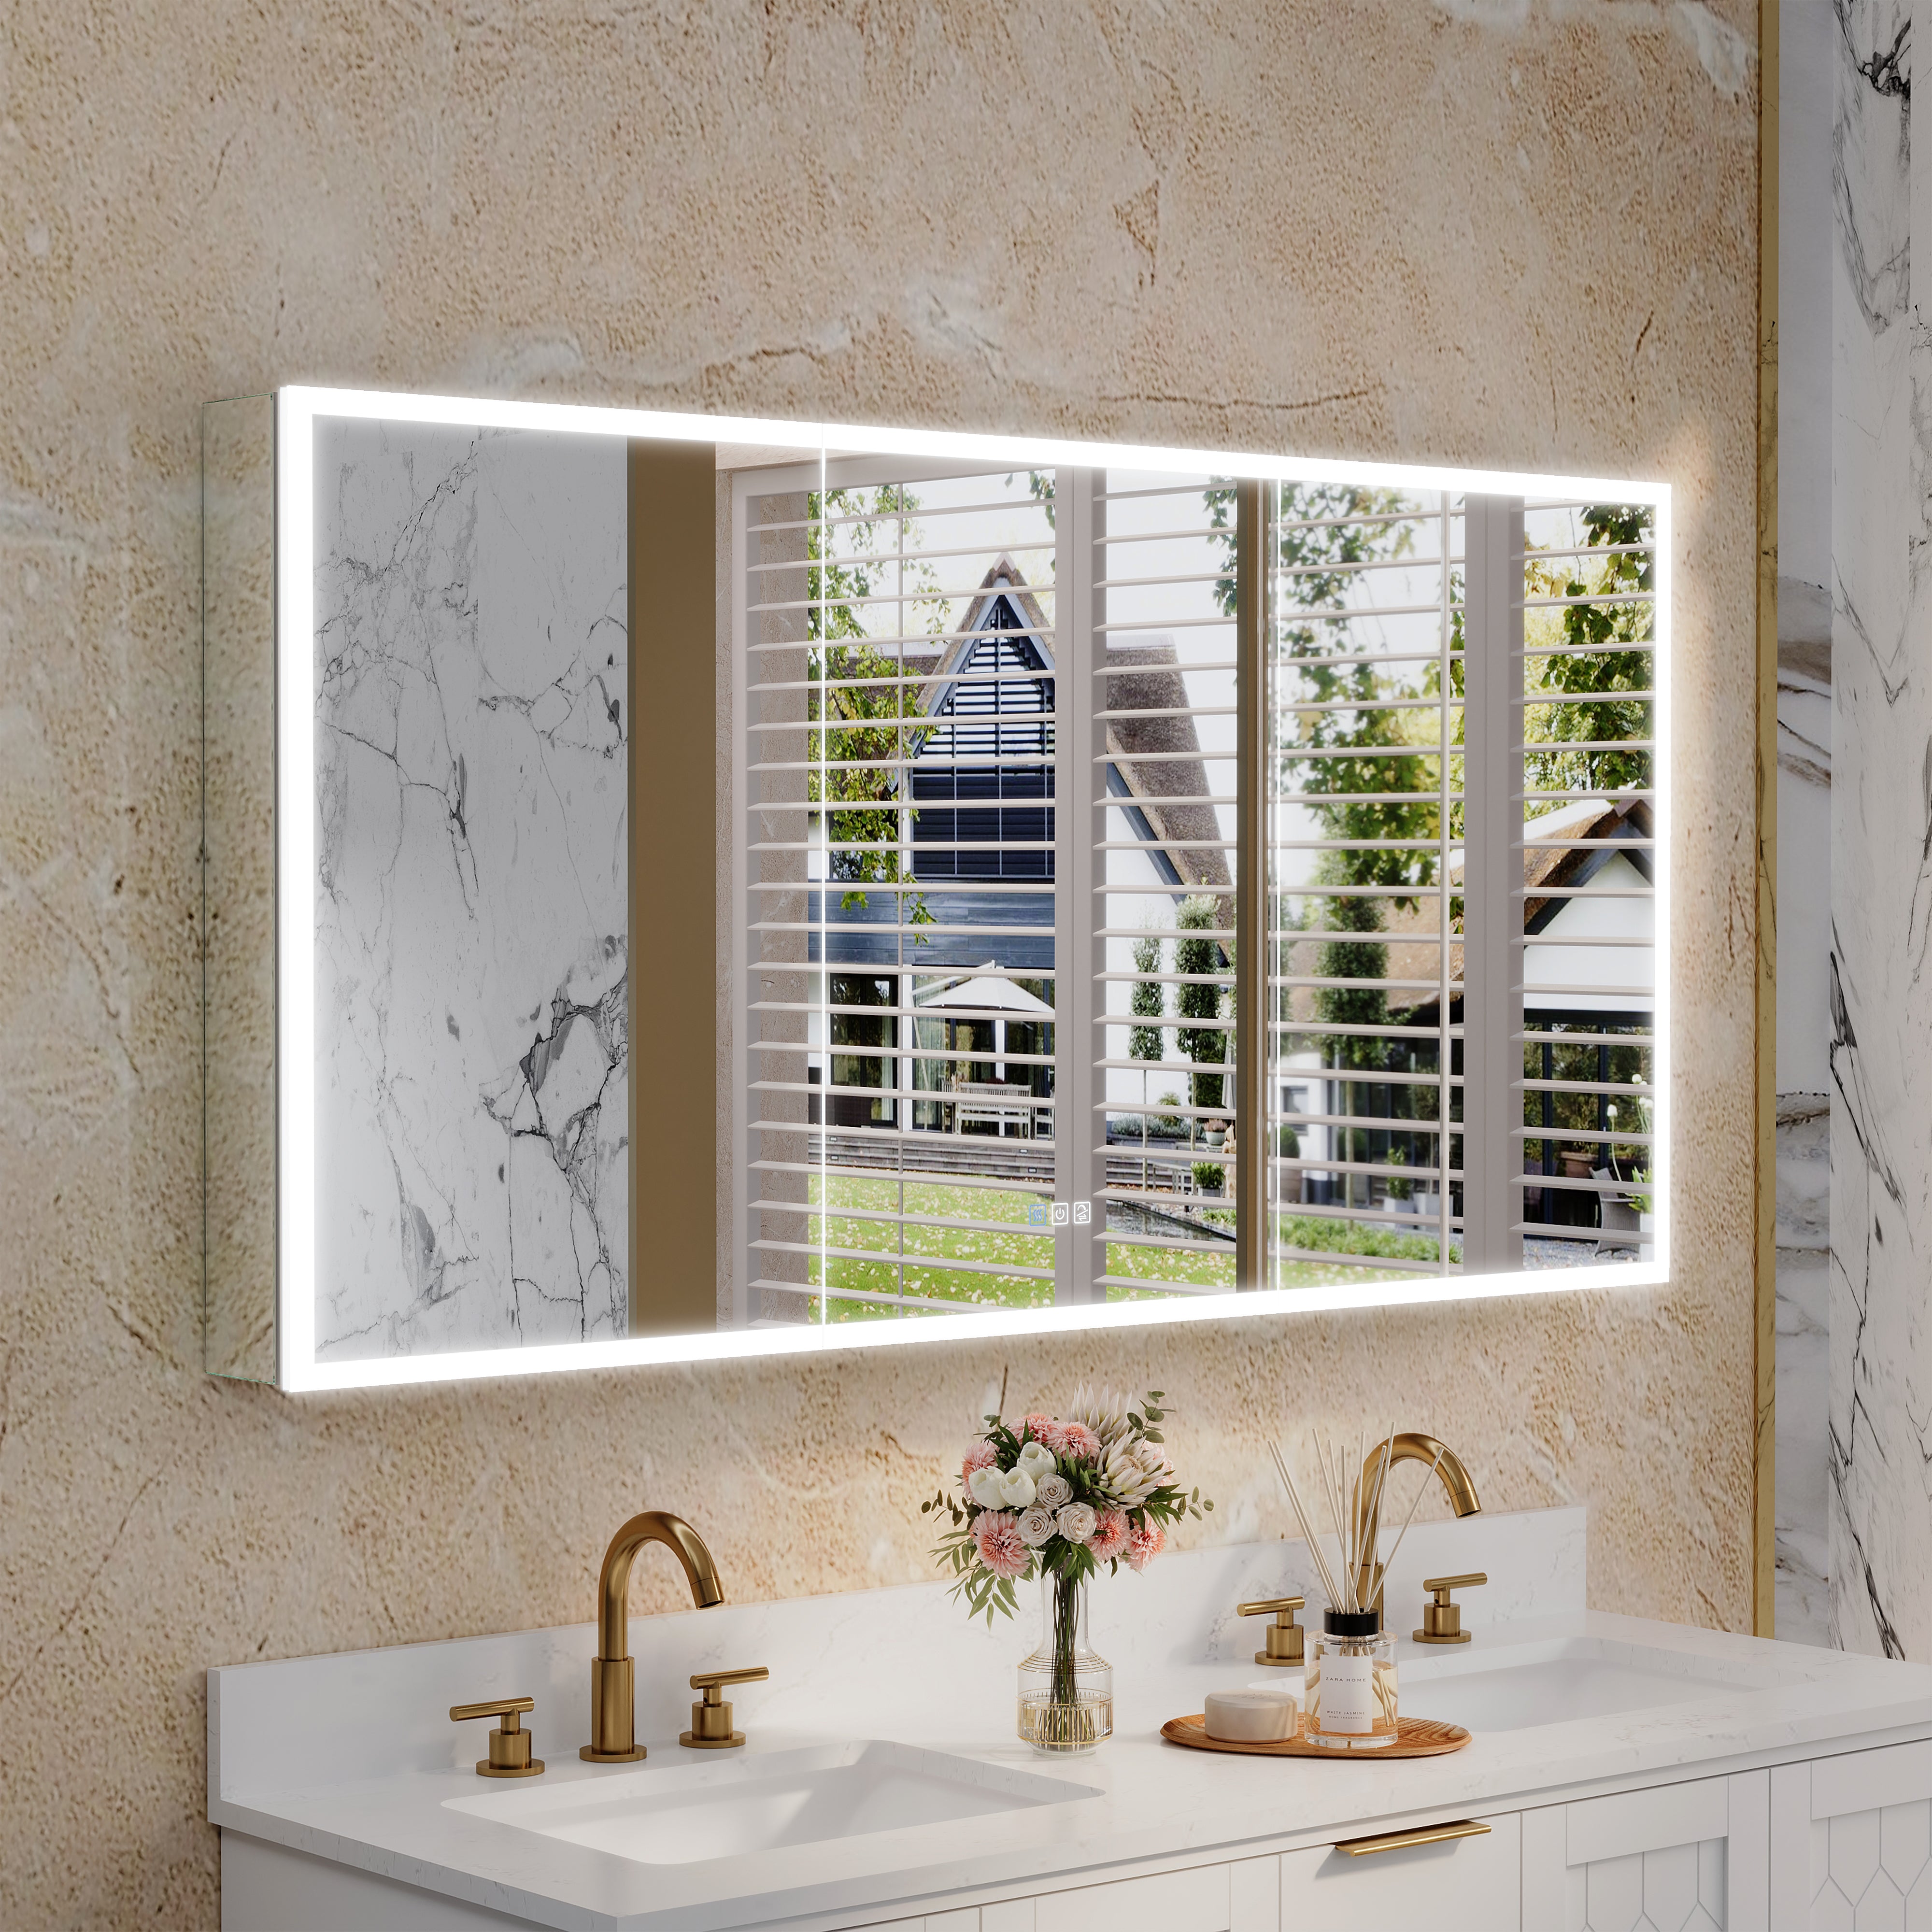
· Modern Look – A well-designed cabinet, like those from Wellfor, can give your bathroom a sleek and polished appearance.
· Accessibility – Keeps your essentials, such as medications, skincare, or toiletries, at eye level and easy to reach.
· Versatility – Available in various finishes, styles, and sizes to suit your taste and complement your décor.
Now that you’re sold on the benefits, let's make sure you install it correctly!
Tools and Materials You'll Need
Before getting started, ensure you have the following tools and supplies ready for the job.
Tools:
· Drill with drill bits
· Stud finder
· Screwdriver (manual or electric)
· Level
· Measuring tape
· Pencil
· Wall anchors (if studs aren’t available)
Materials:
· Your wall-hung medicine cabinet
· Mounting hardware (should come with the cabinet)
· Wood screws (if securing to studs)
· Drywall anchors (if securing to drywall only)
Once these are all set, you’re good to go.
Step 1: Choose the Right Location
The first step is deciding where to place your wall-hung medicine cabinet. Consider these factors when choosing the location:
· Height – The cabinet should be eye level for average users. Typically, position it about 60–66 inches from the floor to the top of the cabinet.
· Accessibility – Ensure it’s placed where it’s easy to access your essentials without overreaching.
· Stud Placement – Use a stud finder to locate studs in the wall as they provide the strongest support.
· Surroundings – Avoid placing it over light switches or against fixtures that interfere with opening the cabinet door smoothly.
Mark the spot lightly with a pencil once you've decided.
Step 2: Measure and Mark the Wall
· Use the mounting template (if provided with the cabinet) to transfer the drill holes onto the wall. If no template is provided, measure the mounting holes on the back of the cabinet and note their distance.
· Holding the cabinet against the wall in the desired position, mark where the screws will go.
· Use a level to ensure the lines are straight and perfectly aligned. A crooked cabinet isn't just unattractive—it can also compromise stability.
Pro Tip: Double-check your measurements—you don’t want to end up with mismatched holes!
Step 3: Prepare the Wall
If You Found Studs:
· Drill pilot holes into the stud areas you’ve marked. This will make screwing in the cabinet much easier and ensure a firmer grip.
If There Are No Studs:
· Use wall anchors designed for your wall type (usually drywall anchors). Wall anchors help distribute weight evenly, preventing your cabinet from tearing out of the drywall.
· Drill holes for the anchors as marked, and then insert the anchors securely into the wall.
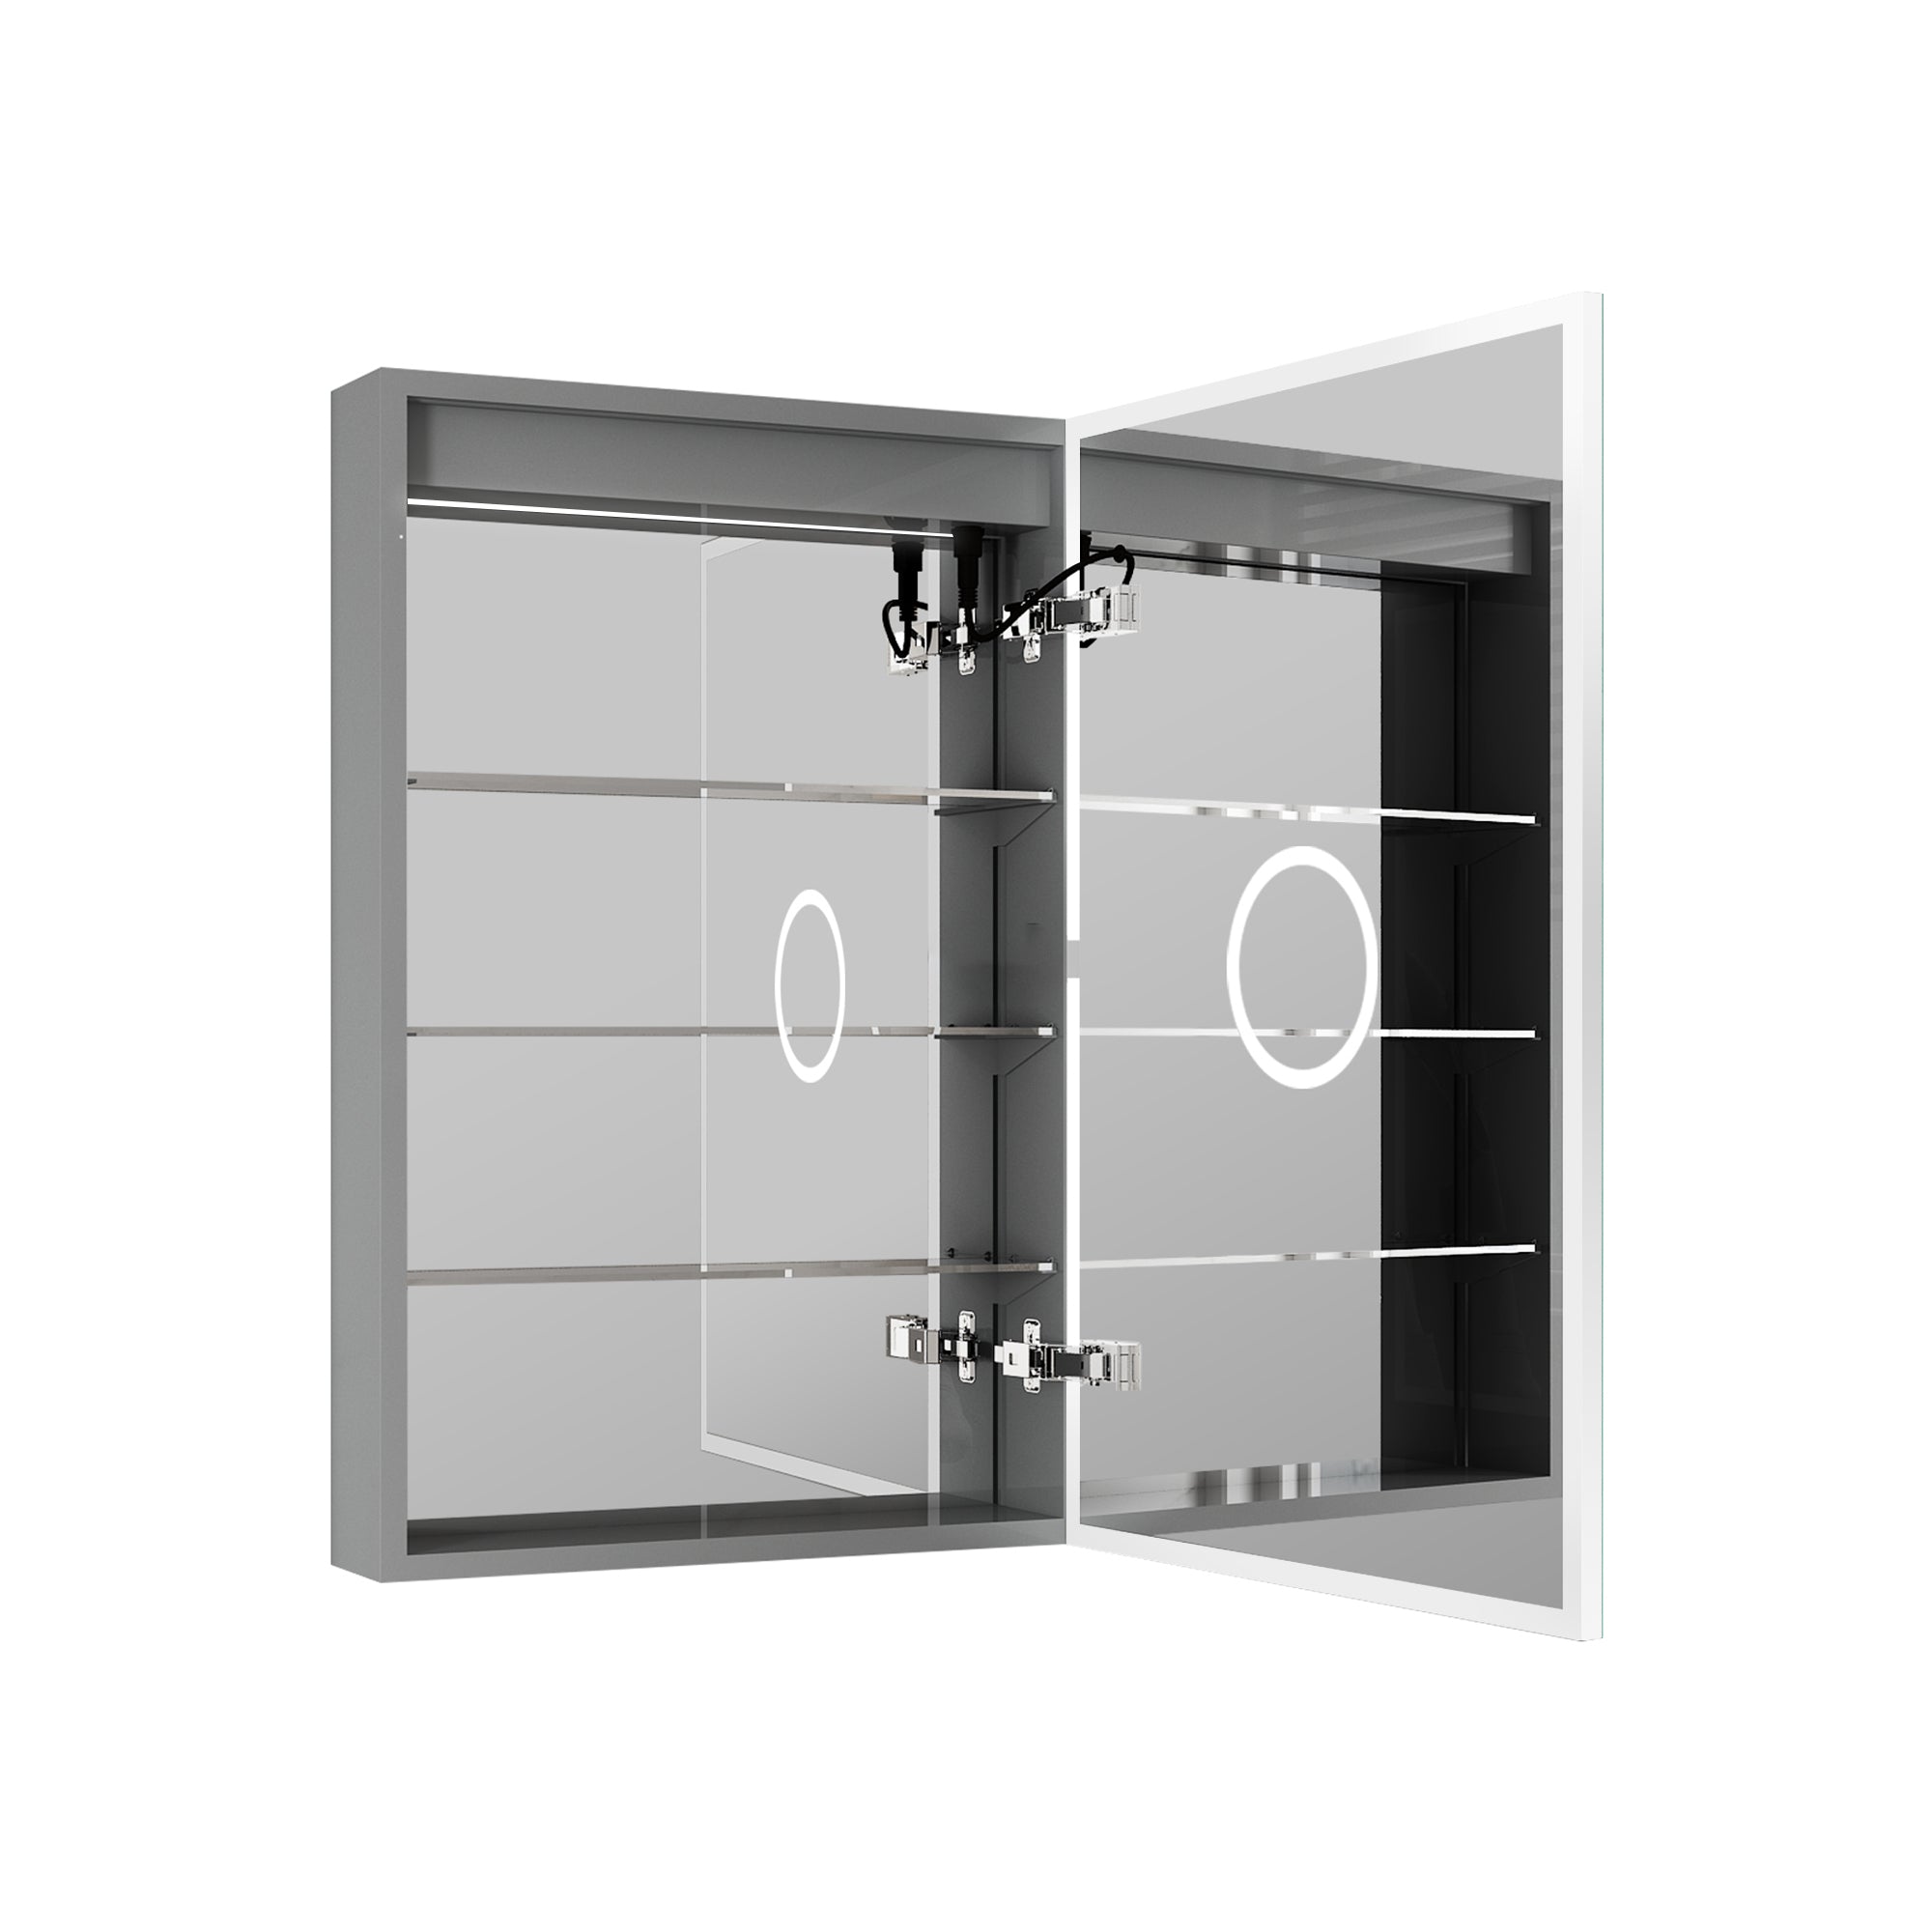
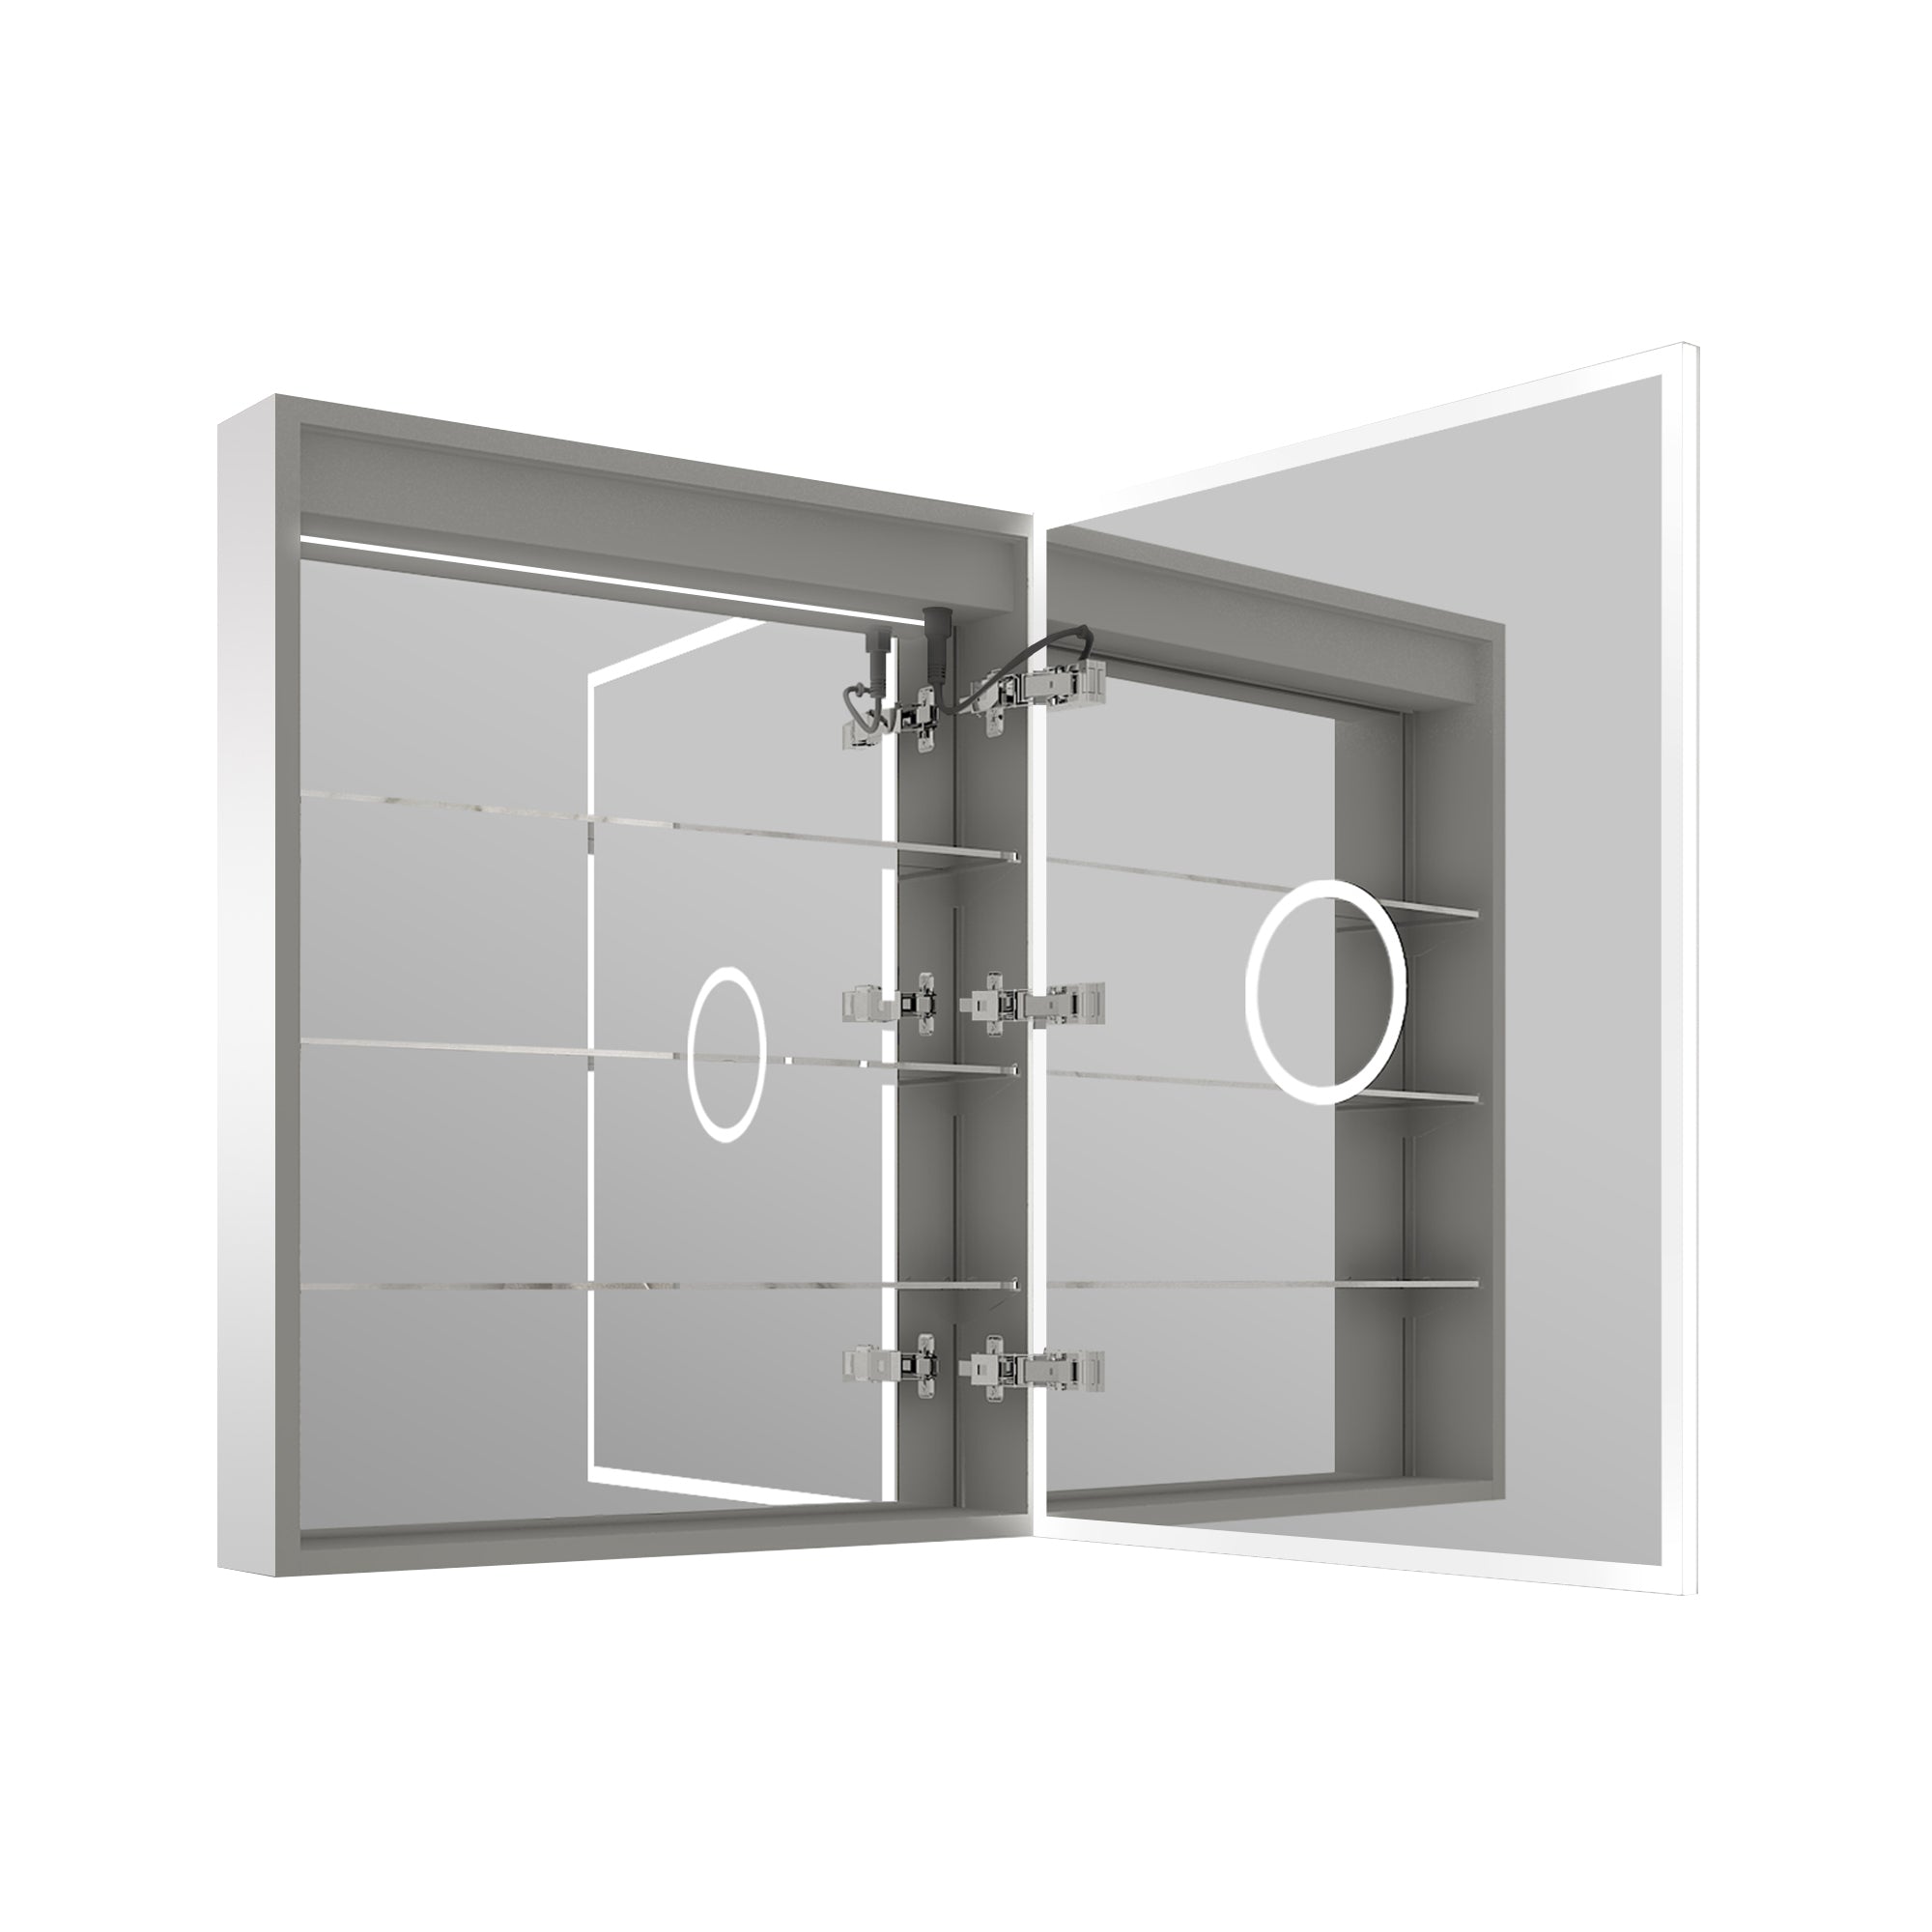
Step 4: Attach the Mounting Bracket (If Required)
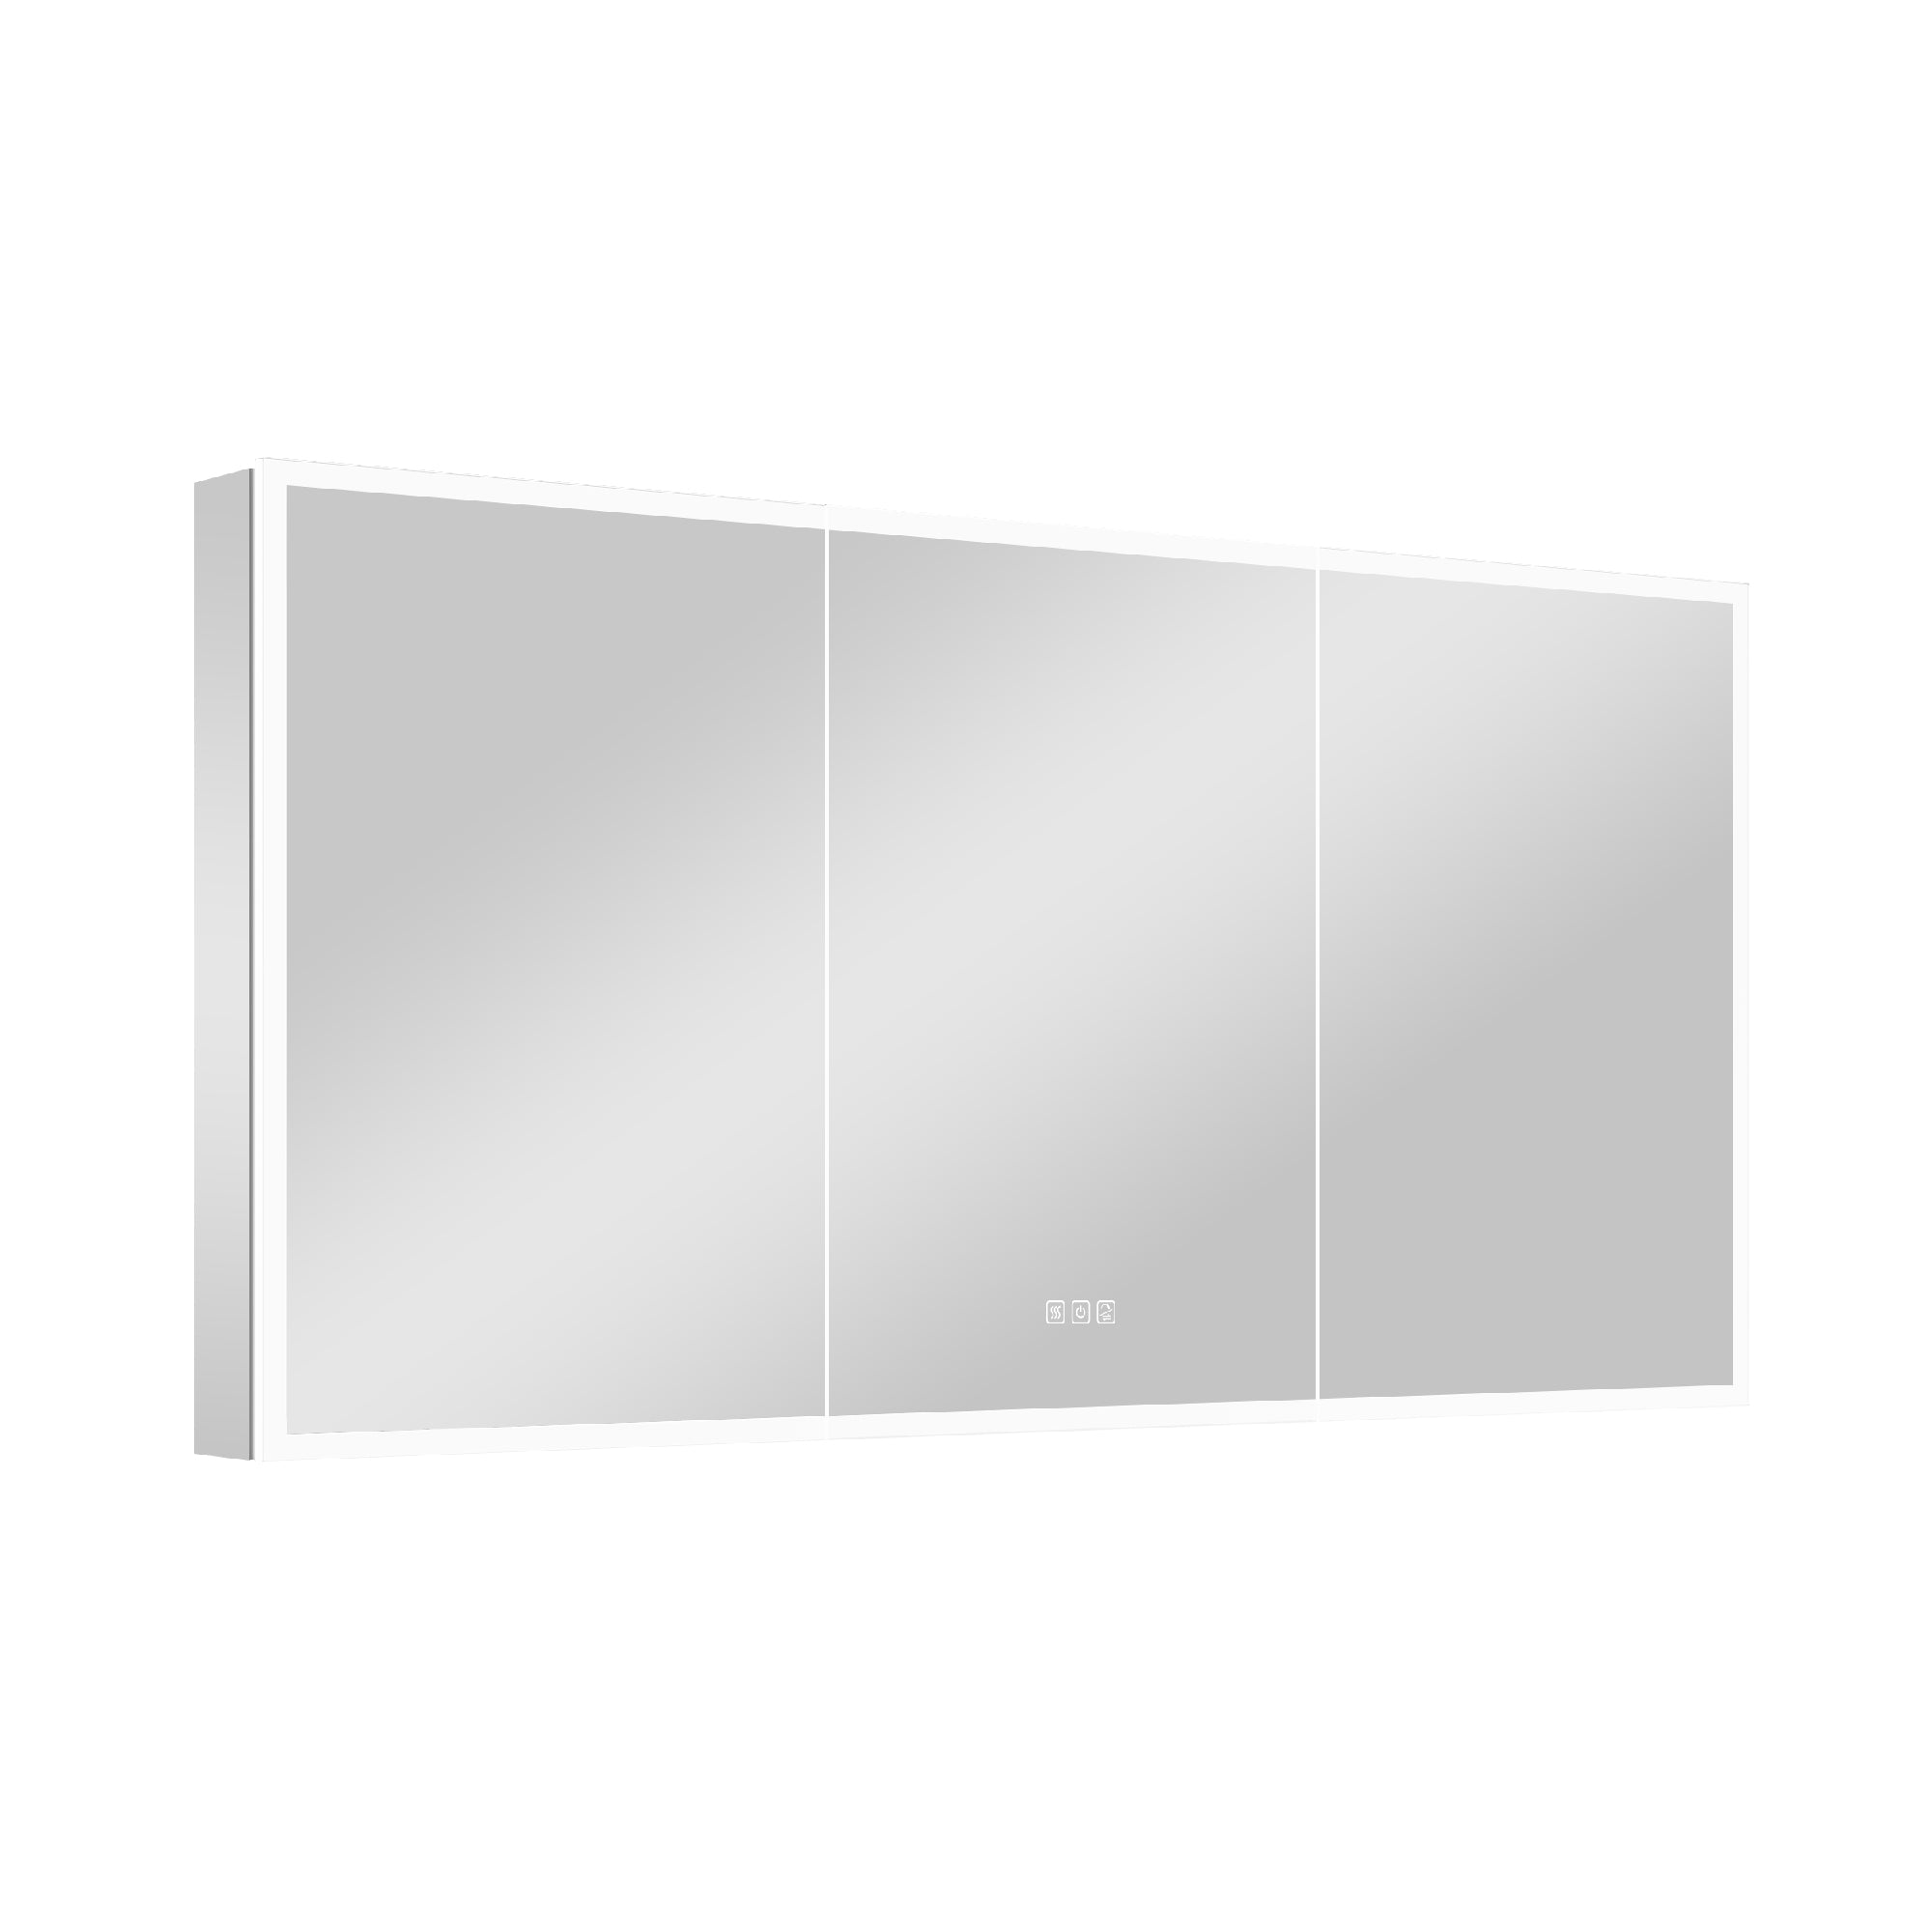
Some wall-hung medicine cabinets, such as those from Wellfor, come with a separate mounting bracket that needs to be attached first.
· Align the bracket with your drilled holes or anchors.
· Screw the bracket firmly into place. Use the level again to confirm it's straight.
· The cabinet itself will later hang on this bracket for added stability.
Skip this step if your cabinet doesn’t include a separate mounting system and attaches directly to the wall.
Step 5: Secure the Cabinet
· With the help of a friend (or steady arms if solo), carefully hold the medicine cabinet in place.
· Insert the screws through the pre-drilled holes in the cabinet into the wall or mounting bracket. Tighten the screws to hold the cabinet securely.
· Test for wobbling. If it shifts at all, tighten the screws further or check your wall anchors.
Pro Tip: Avoid overtightening, as this could damage the wall or the cabinet.
Step 6: Final Adjustments
· Open the cabinet door(s) and ensure it swings smoothly without obstruction.
· Check that the cabinet sits flush against the wall. Adjust screws if needed.
· Use the level one last time to confirm your cabinet isn’t crooked. Even a slight tilt can become an eyesore!

Additional Tips for Hanging a Wall-Hung Medicine Cabinet
· Weight Distribution – Store lightweight items (e.g., band-aids, toothbrushes) in upper shelves and slightly heavier items (e.g., bottles) on lower ones for better balance.
· Protect the Wall – Use bumpers on the back of the cabinet corners to prevent scuffing your wall over time.
· Check for Mirrors – If your cabinet has mirrors, clean them after installation for a streak-free shine.
Why Choose a Wellfor Medicine Cabinet?
If you’re in the market for a wall-hung medicine cabinet, consider Wellfor’s range. Here’s why Wellfor stands out:
· Modern Designs – Sleek and stylish to complement any bathroom décor.
· Built to Last – Crafted with premium materials for durability and longevity.
· Comprehensive Features – Tasting notes for your favorite details? No, but Wellfor cabinets include mirrored finishes, shelves, and more.
Shop Wellfor’s collection today to find a cabinet you'll love.
Wrapping Up
And there you have it! Hanging a wall-hung medicine cabinet securely is a simple task when broken down into clear, actionable steps. With the right tools, preparation, and some patience, you can transform your bathroom into a more organized and visually pleasing space.
Now it’s time to grab your drill and make the upgrade. Whether it’s your first DIY project or your 10th, the effort will be well worth it every time you reach for your morning essentials.

Leave a comment
This site is protected by hCaptcha and the hCaptcha Privacy Policy and Terms of Service apply.