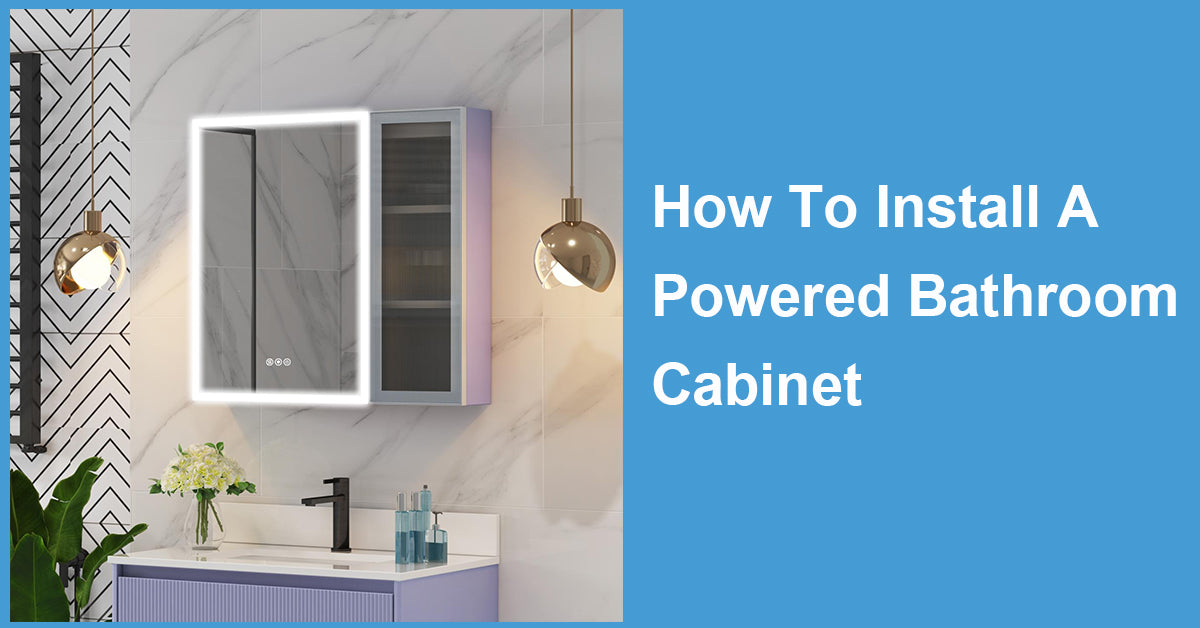
Bathroom renovations can completely transform a space, and adding a powered bathroom cabinet is a stylish and functional upgrade.
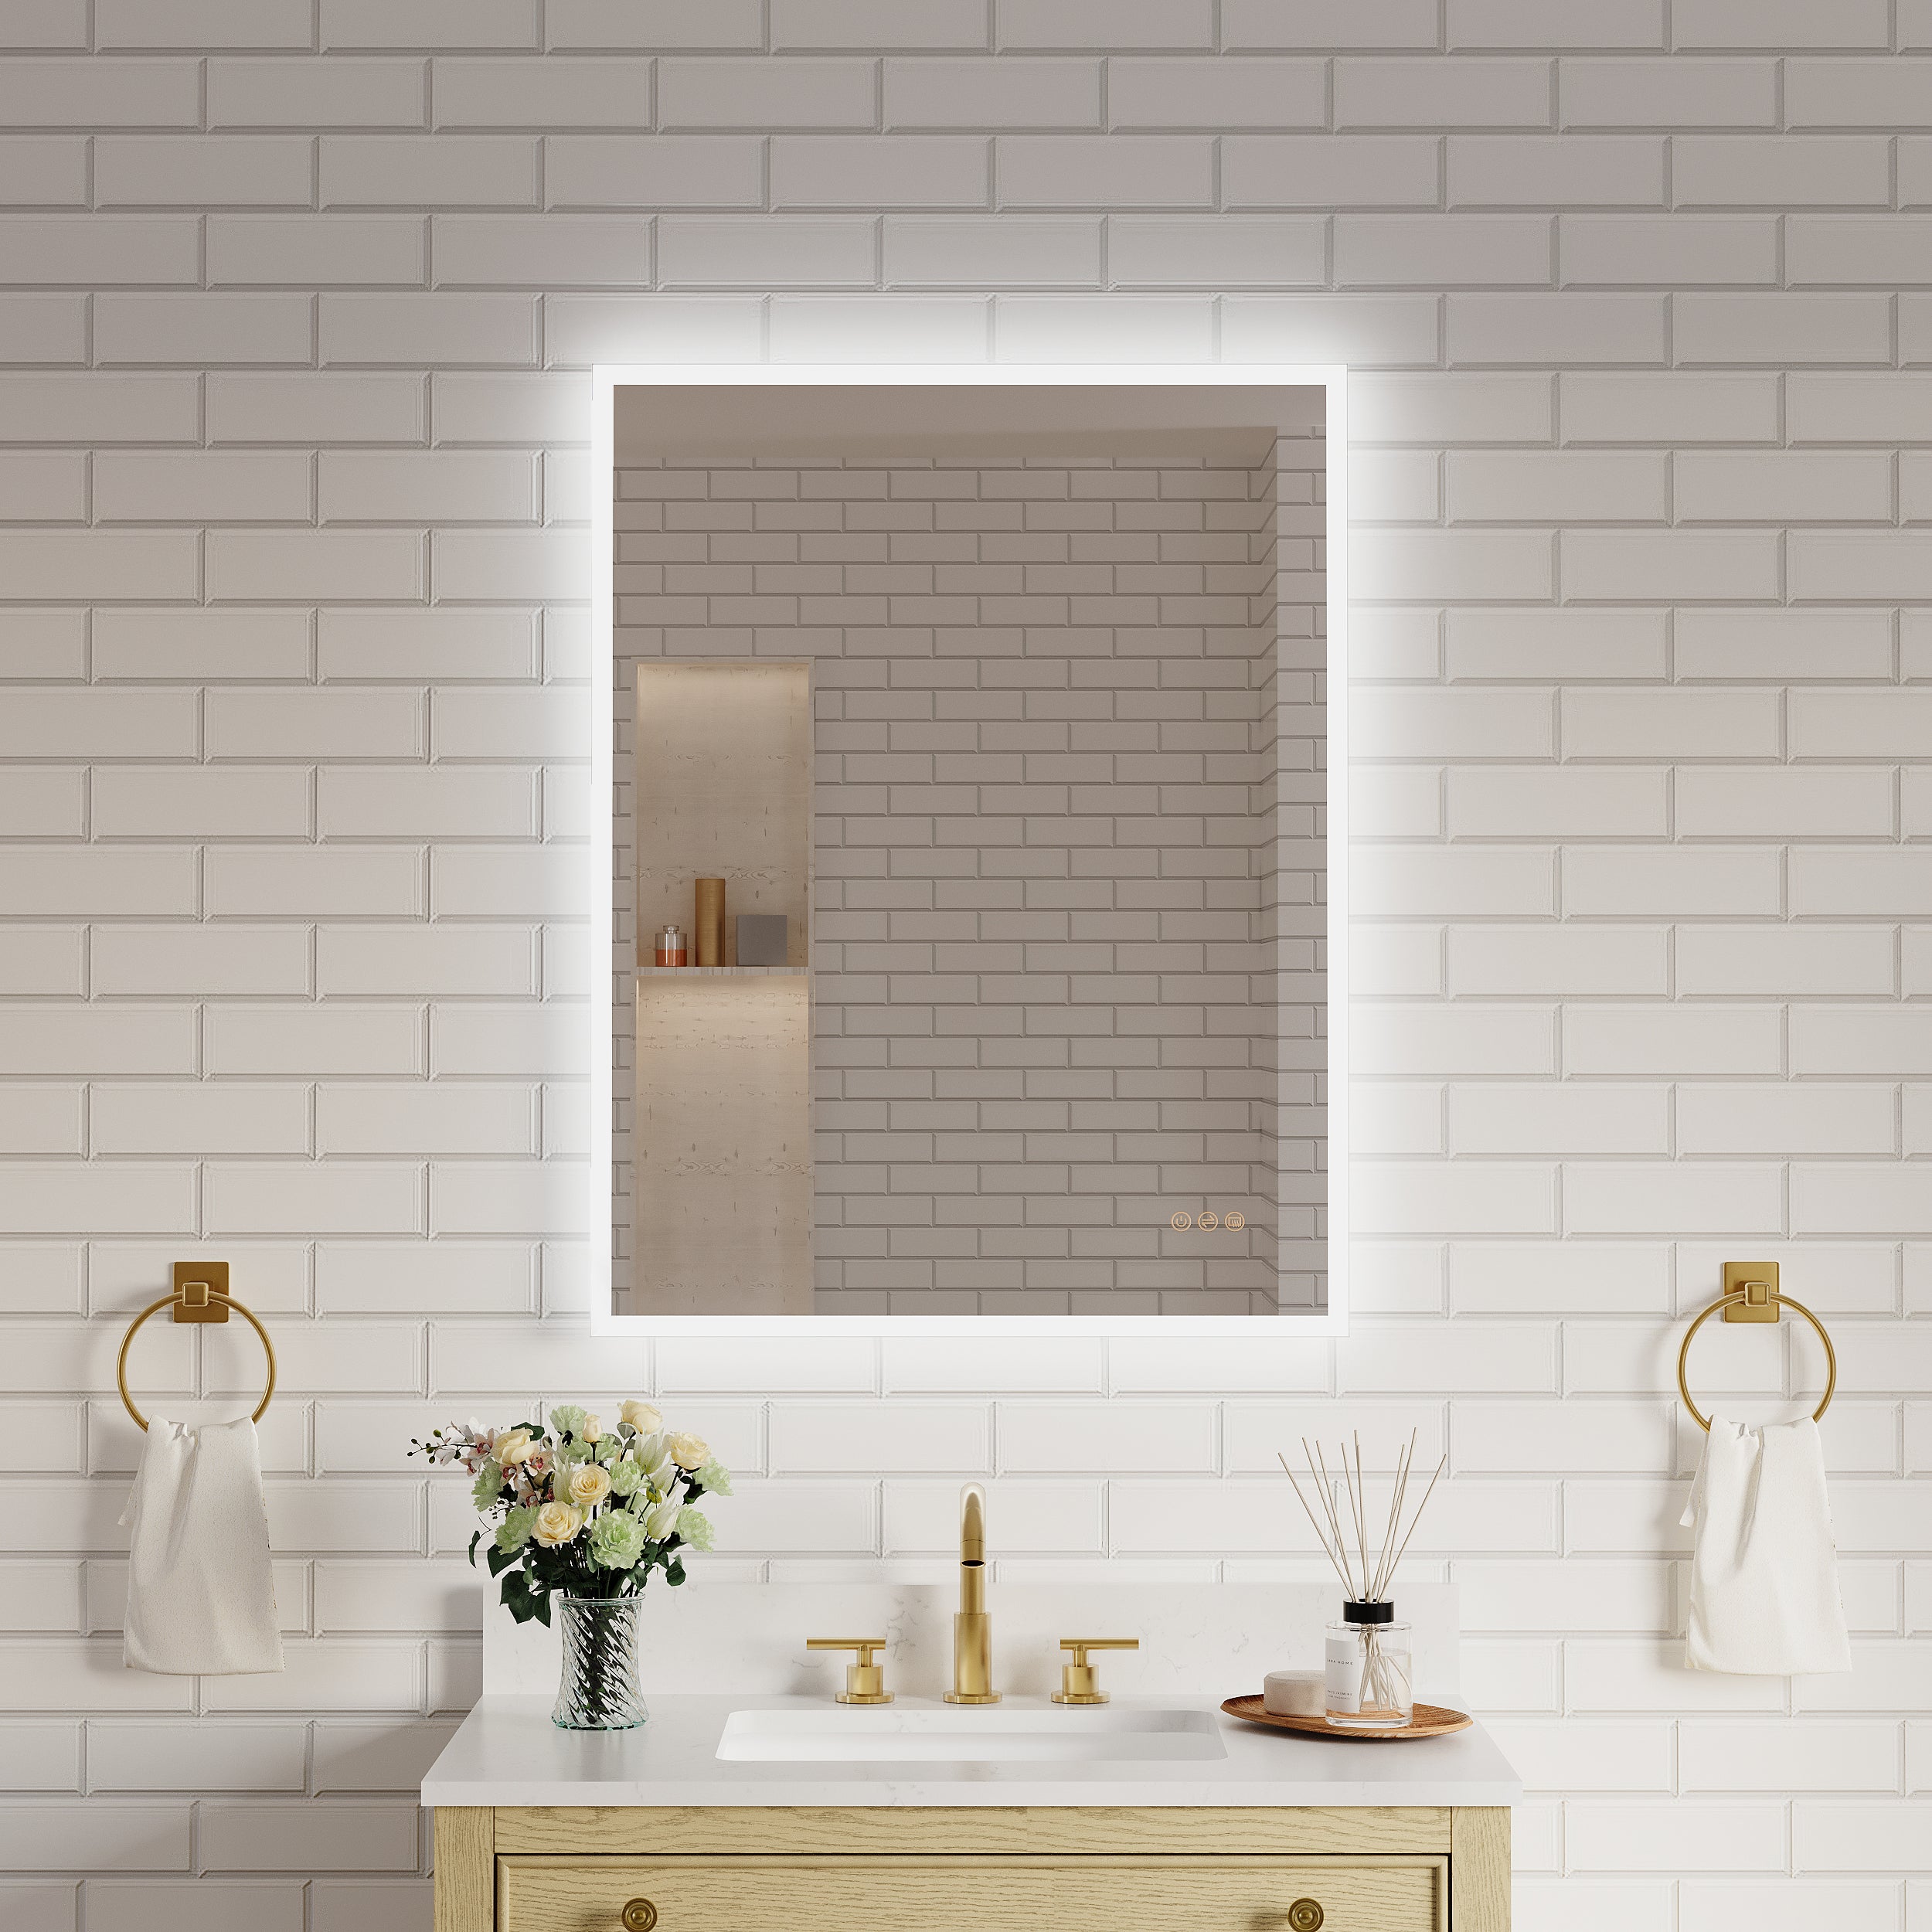
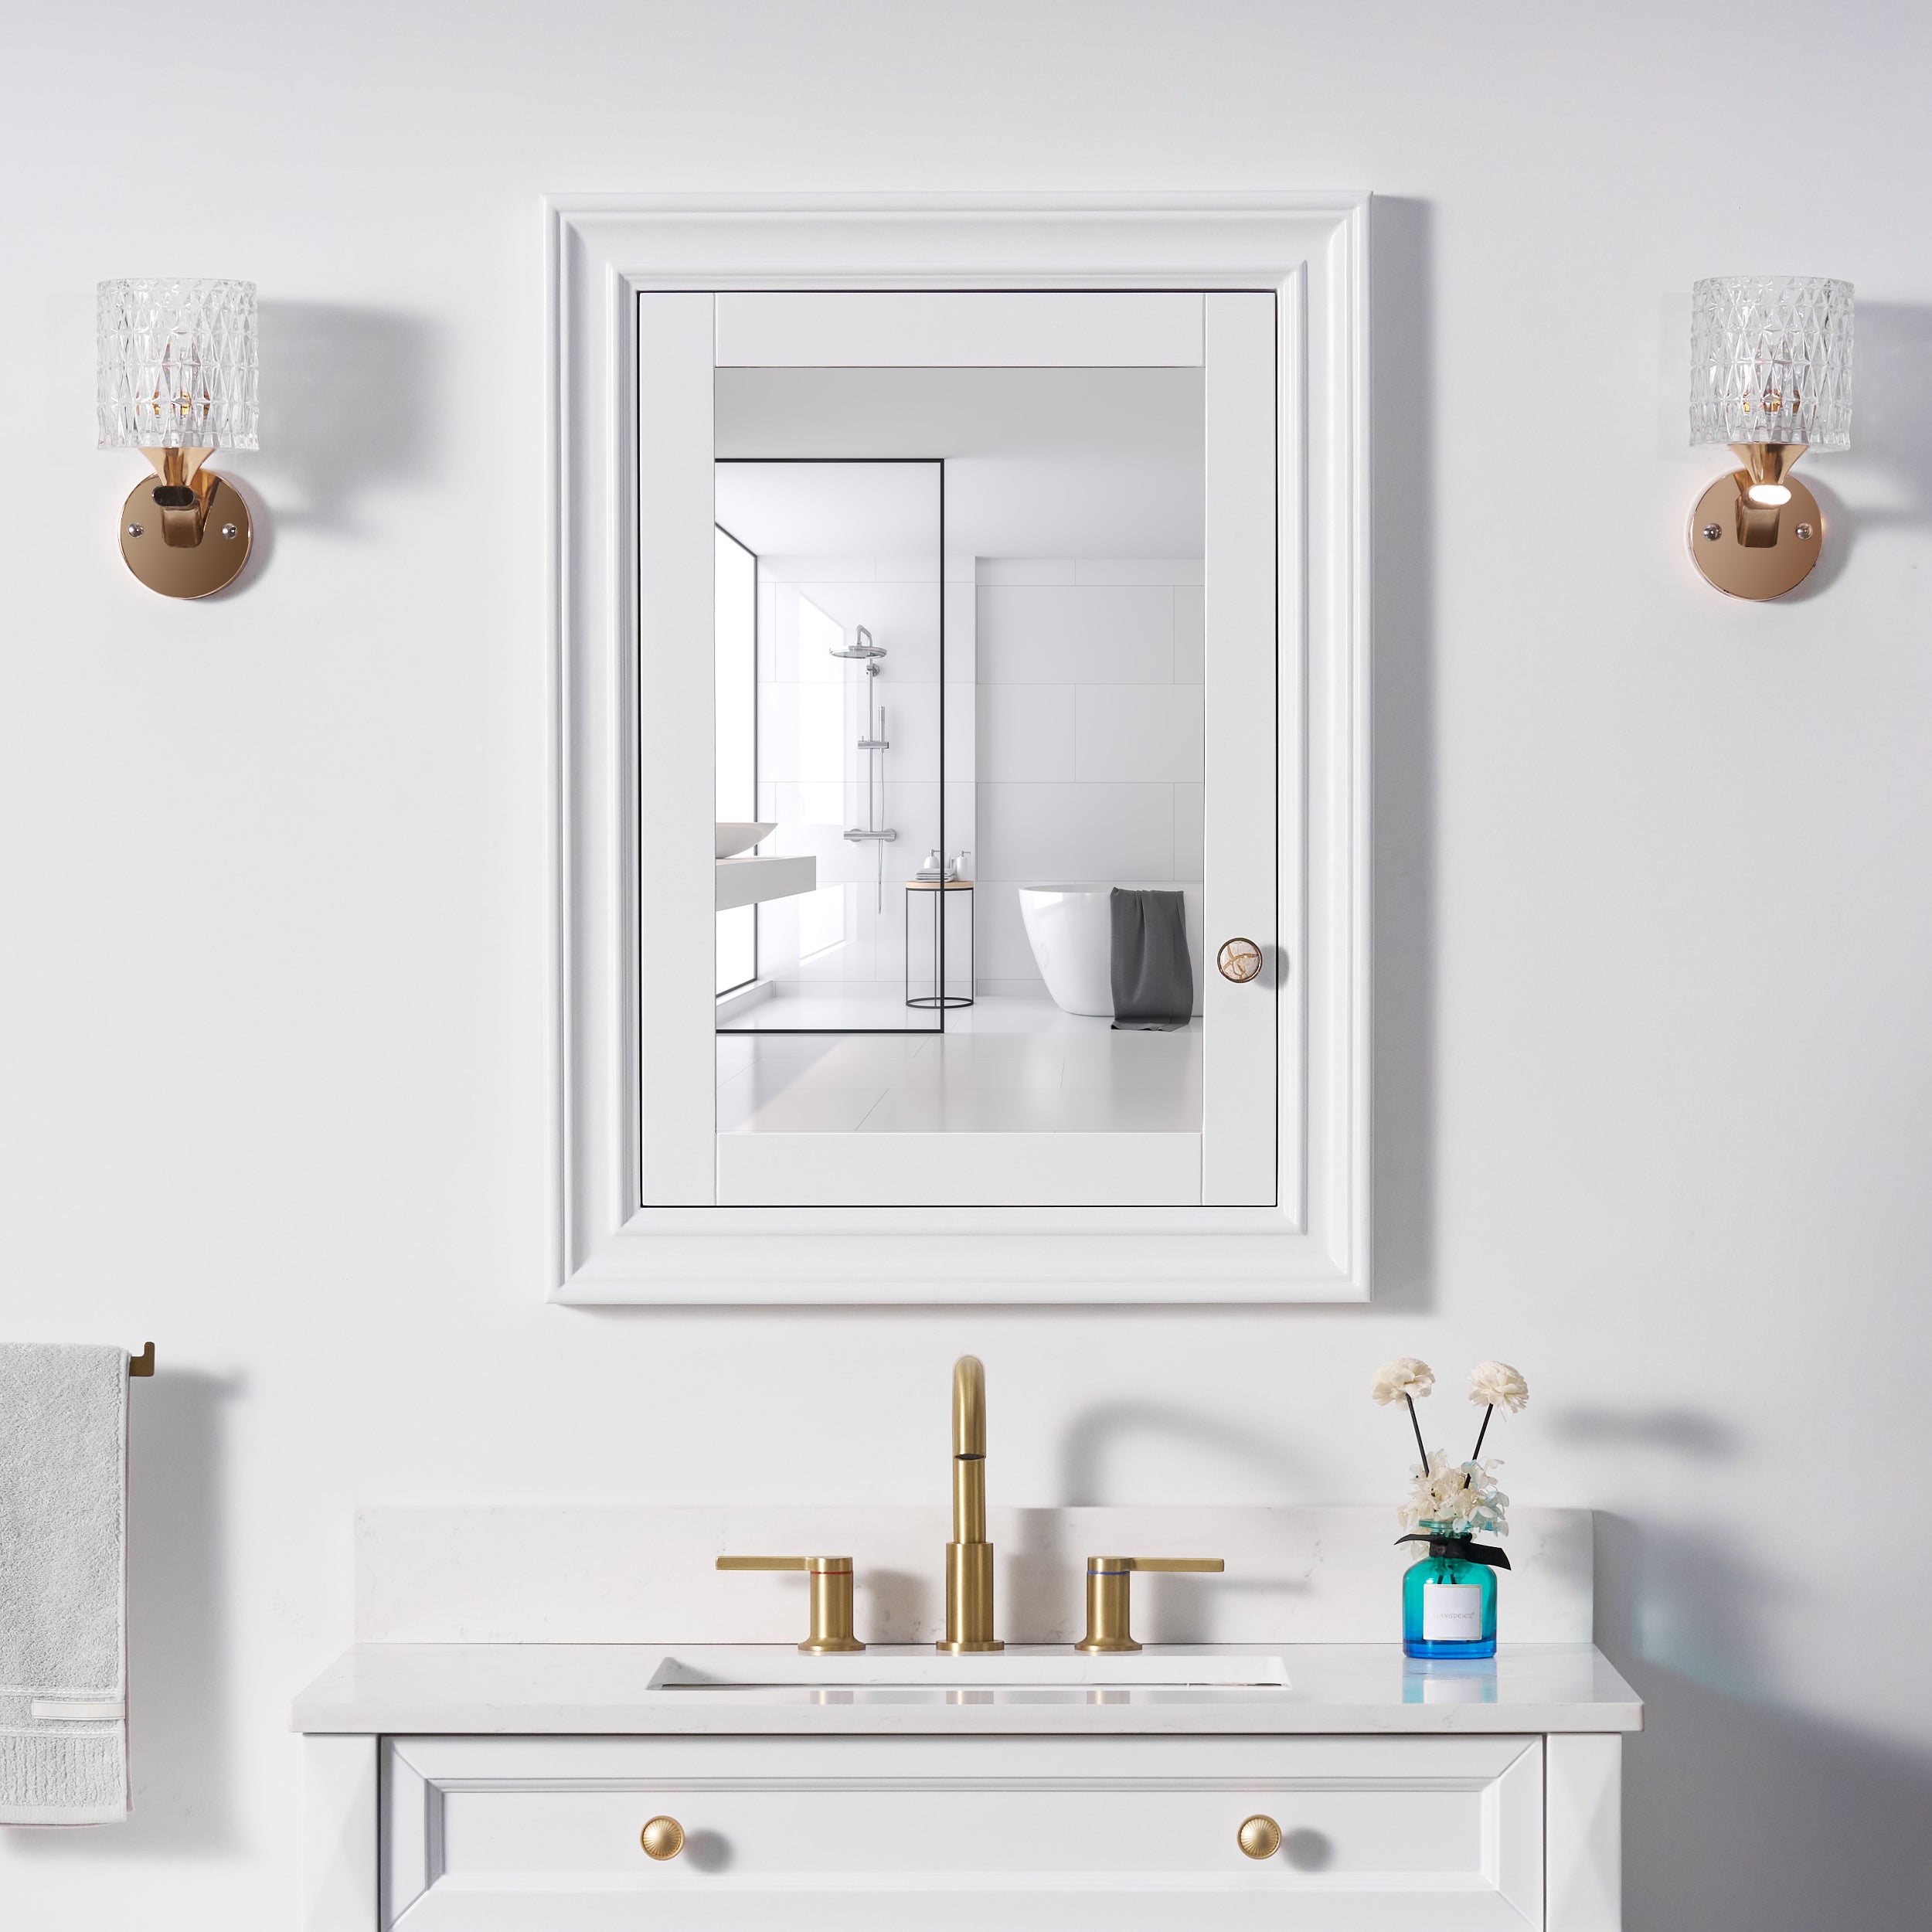
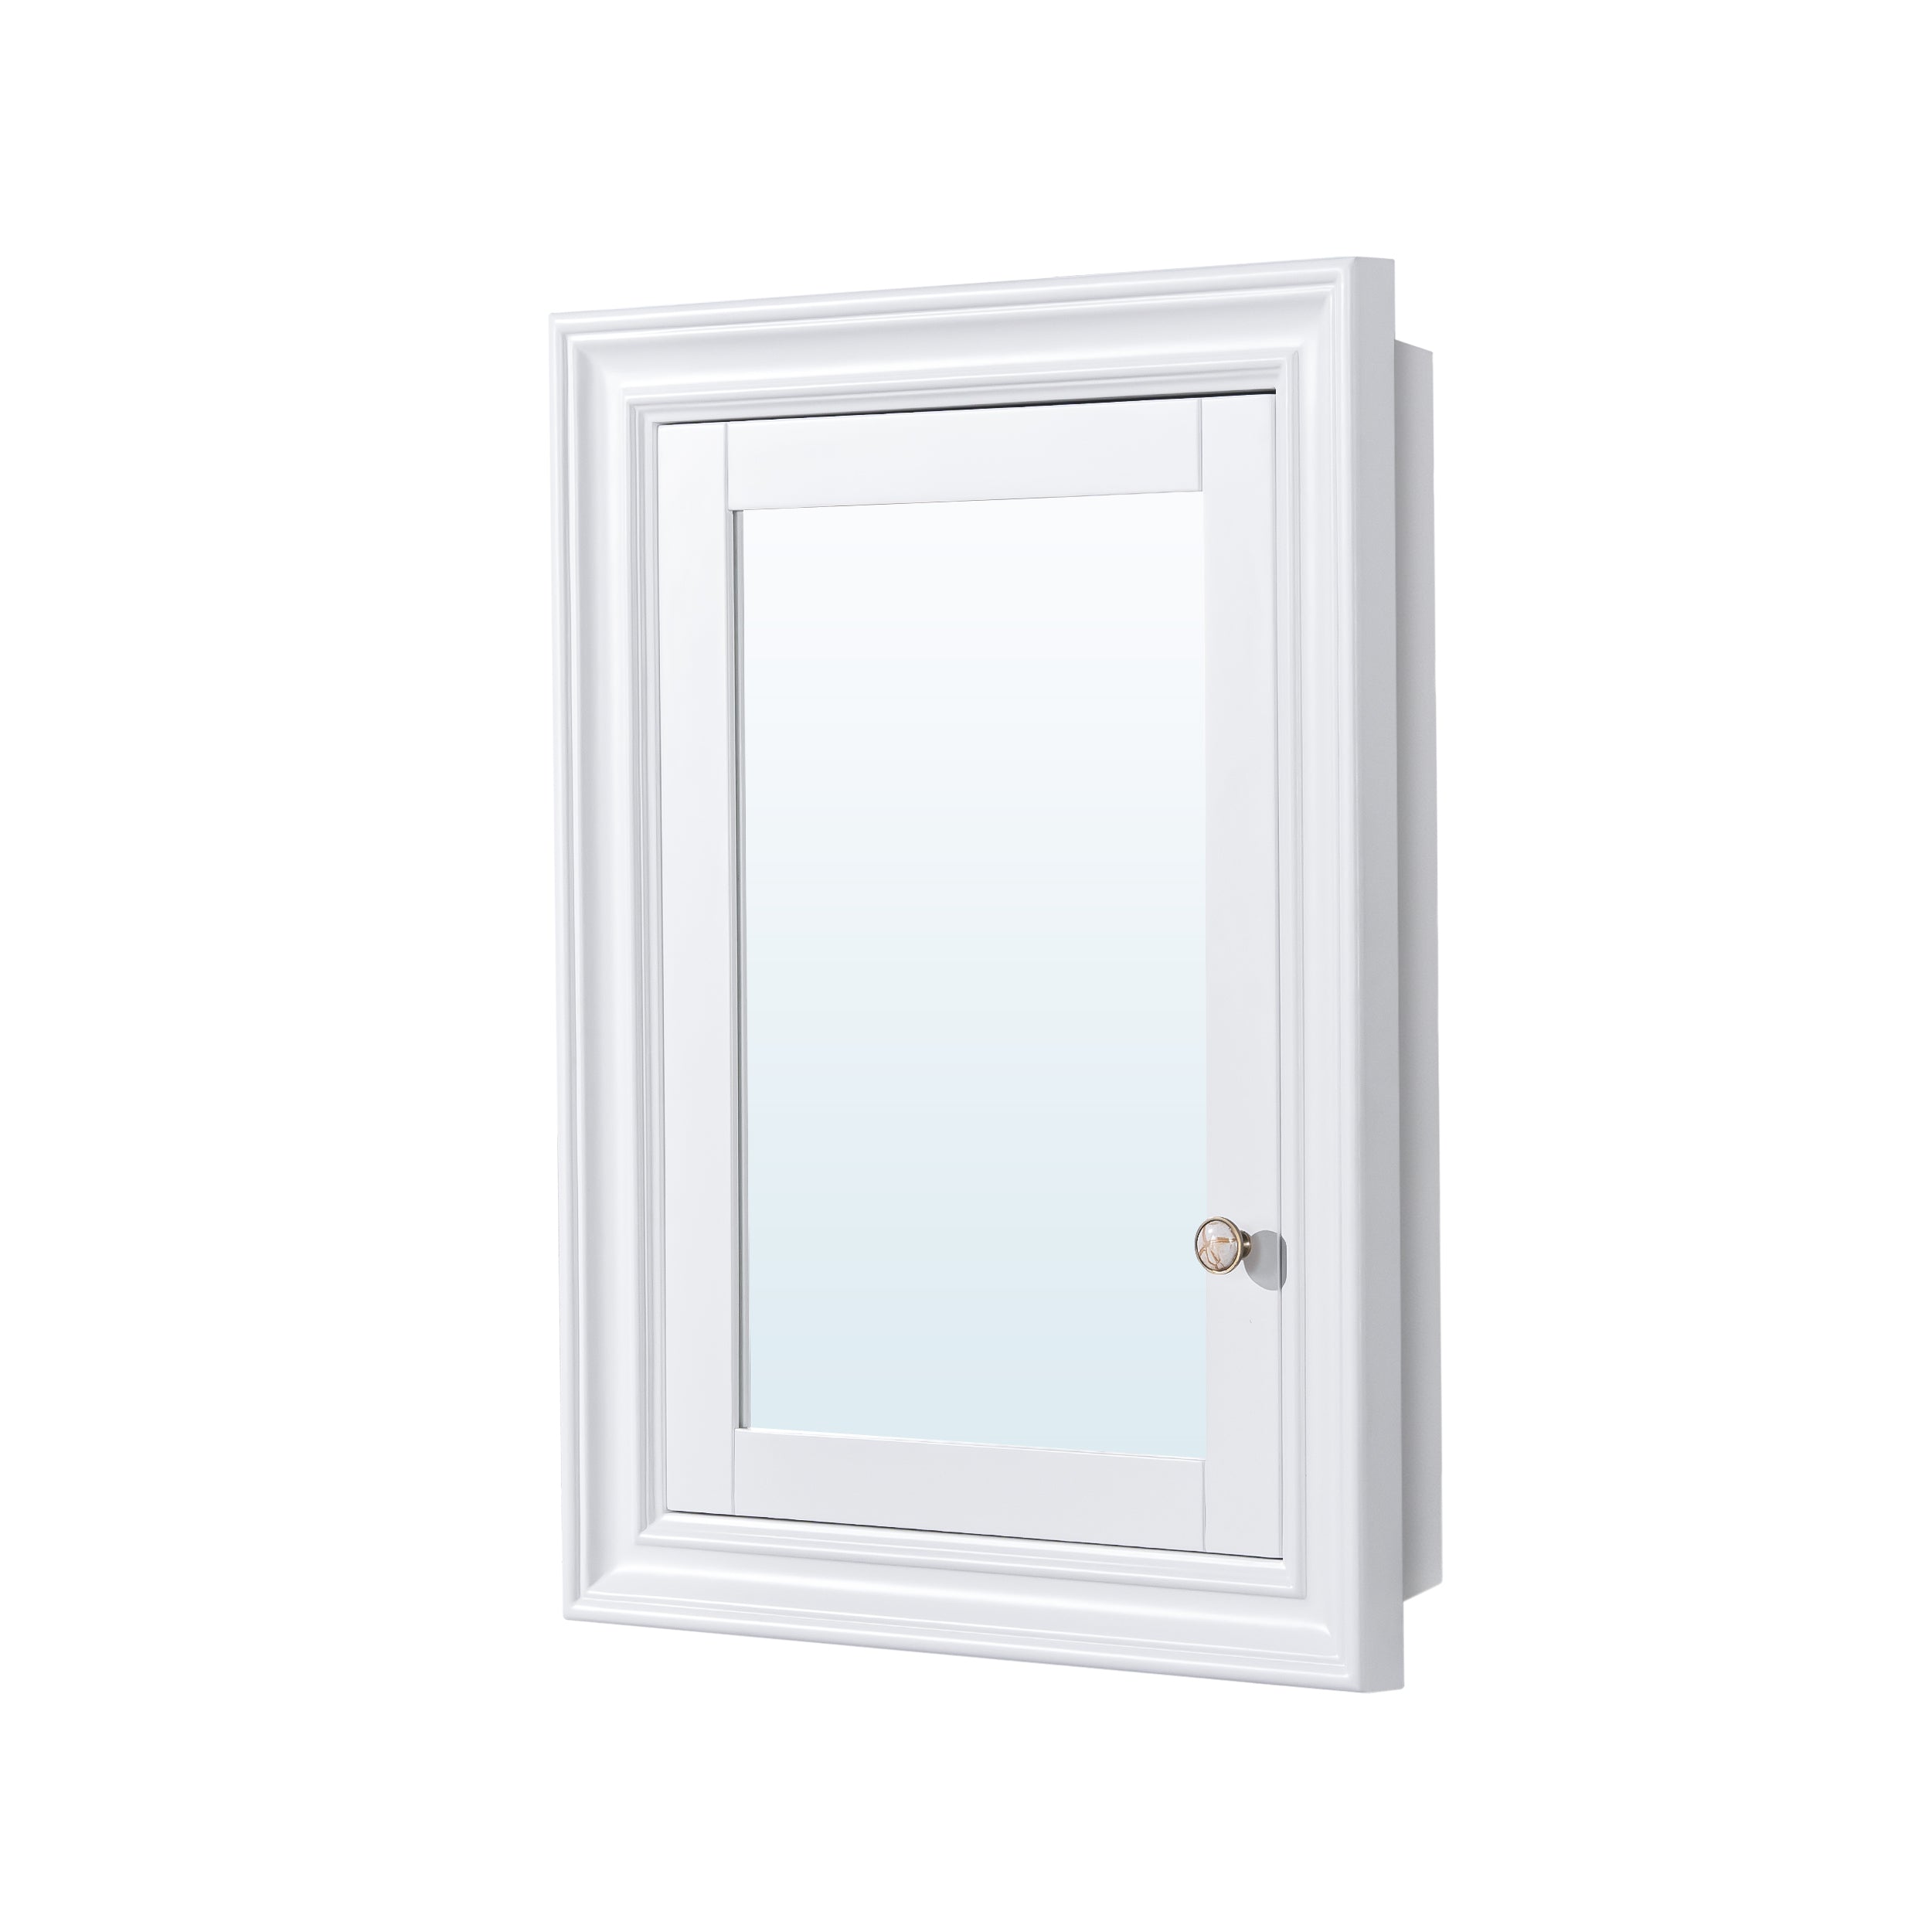
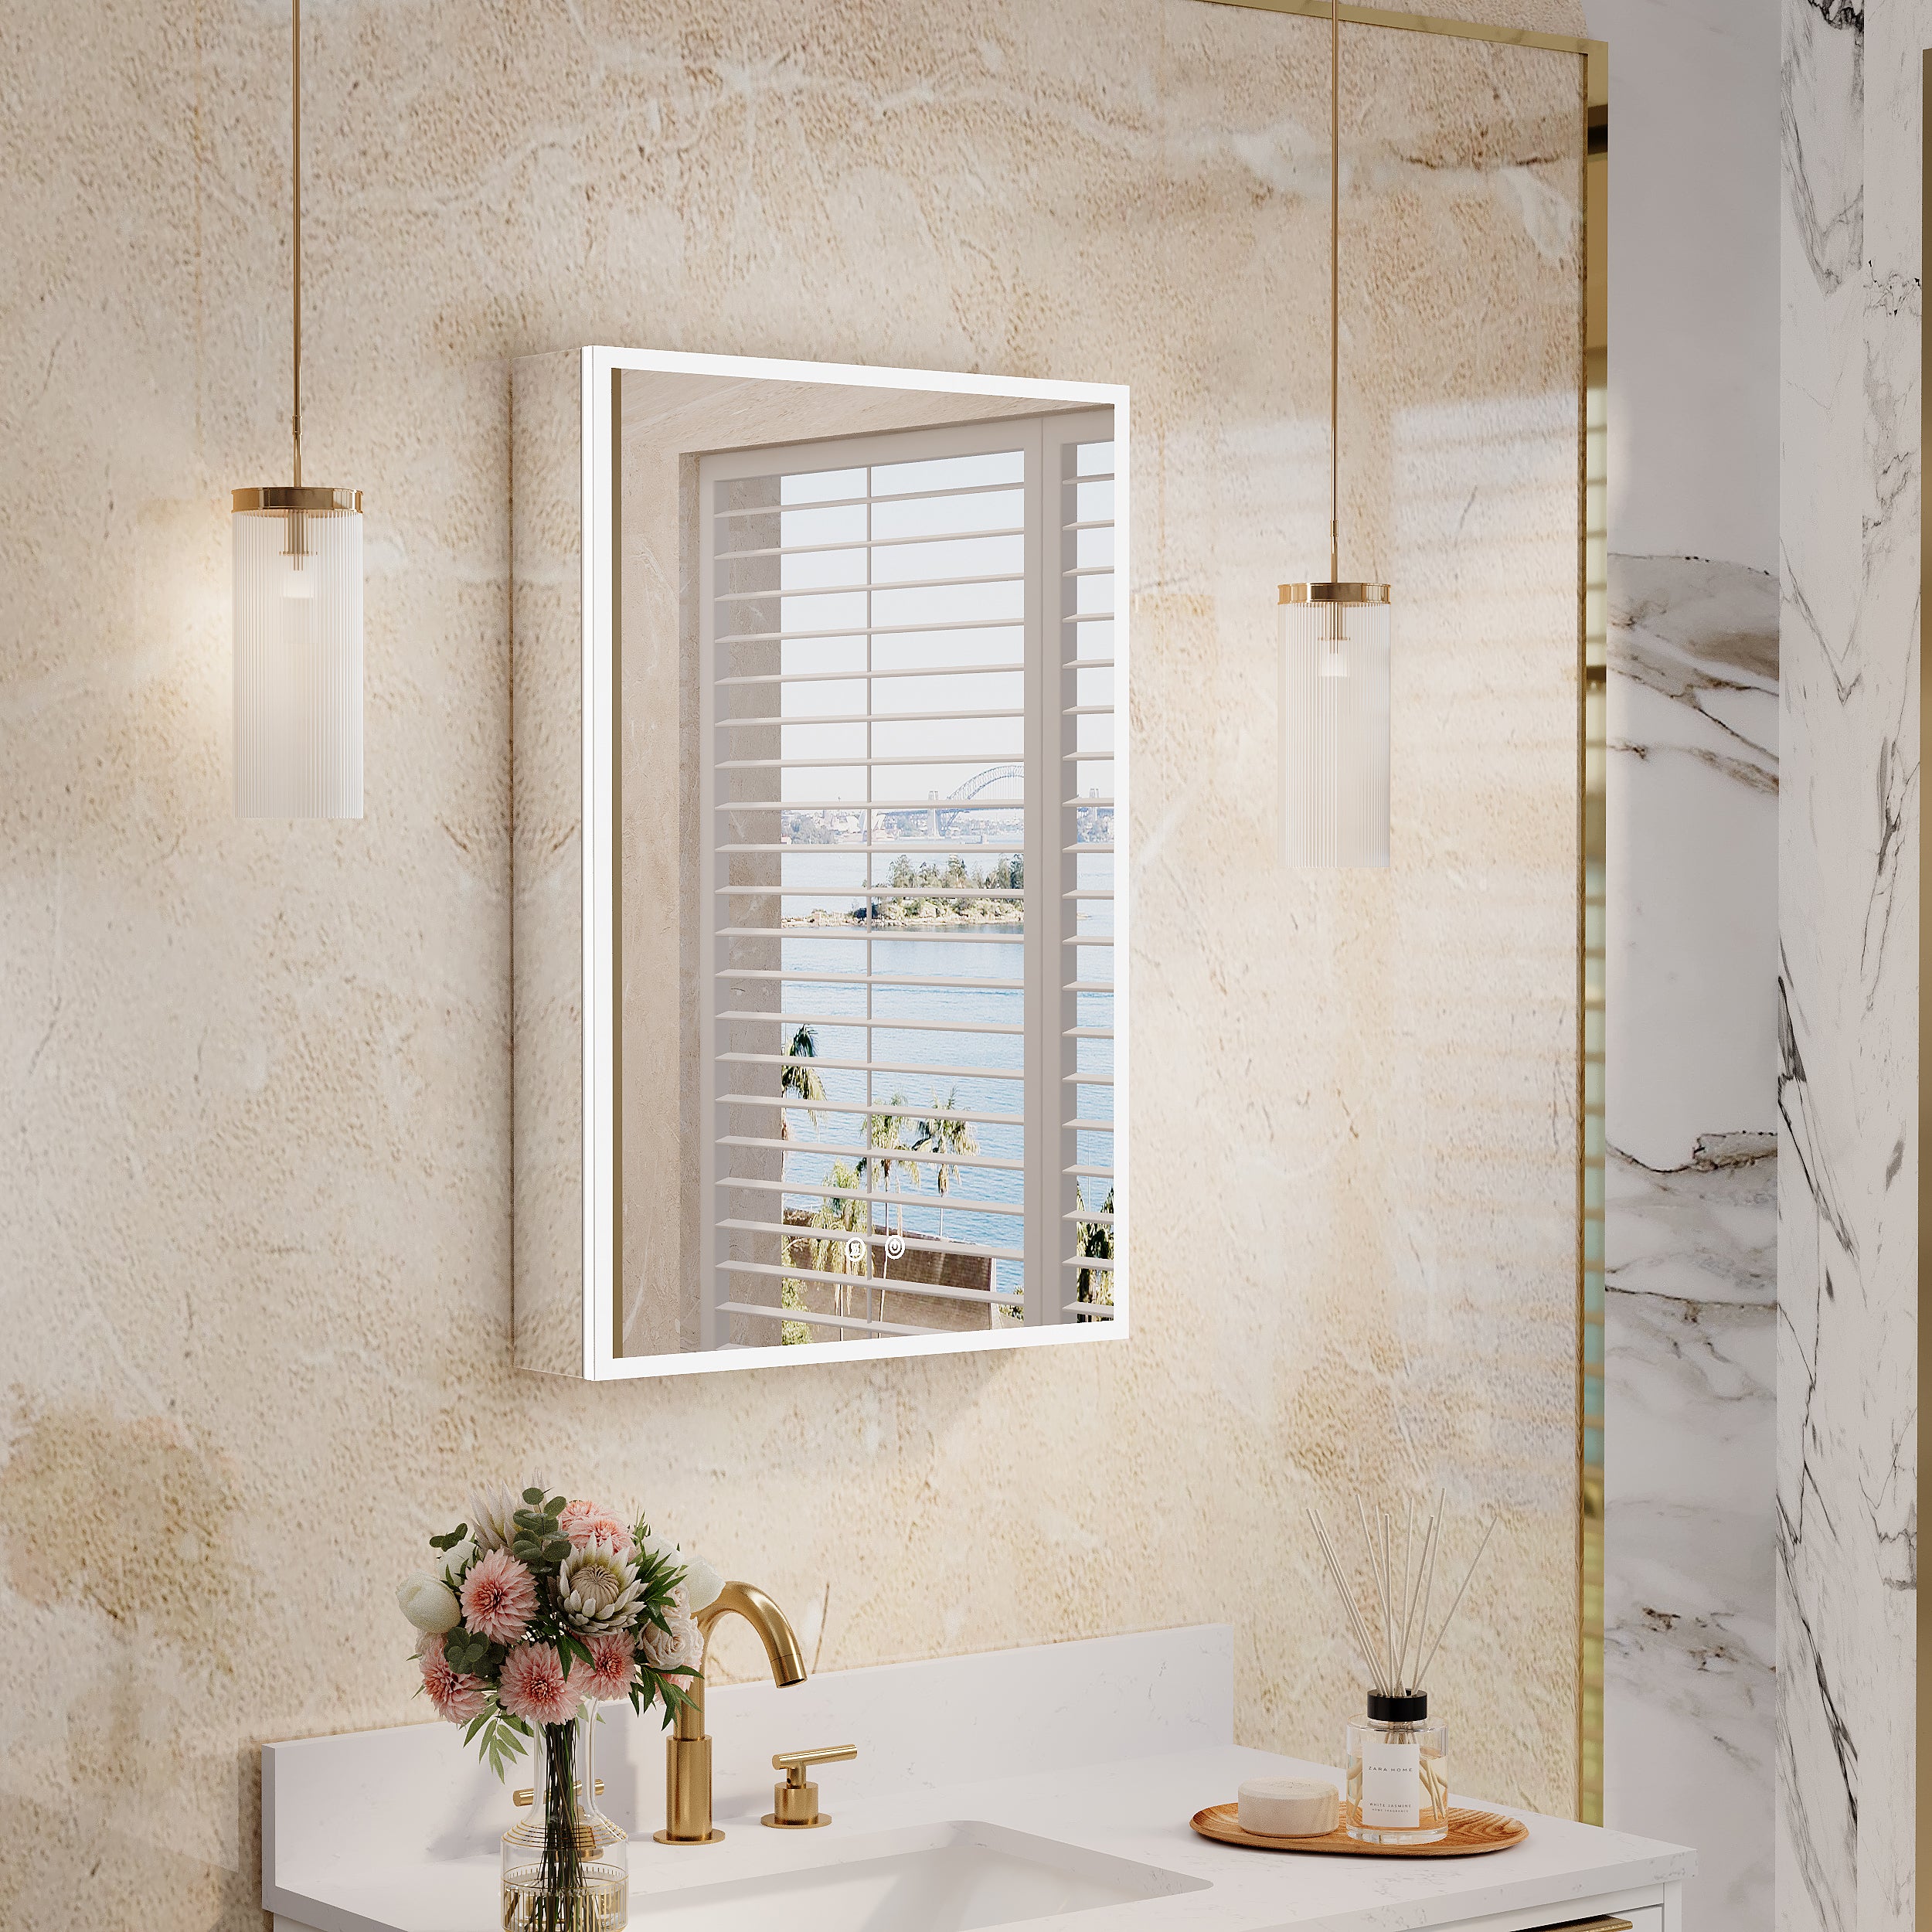
Whether you're opting for a sleek white medicine cabinet with a mirror, a medicine cabinet with mirror and lights, or a vintage medicine cabinet with a mirror, proper installation is crucial.
In this article, we'll guide you through the process of installing a powered bathroom cabinet so that you can enjoy the added convenience and improved ambiance in your bathroom.
Understanding Powered Bathroom Cabinets

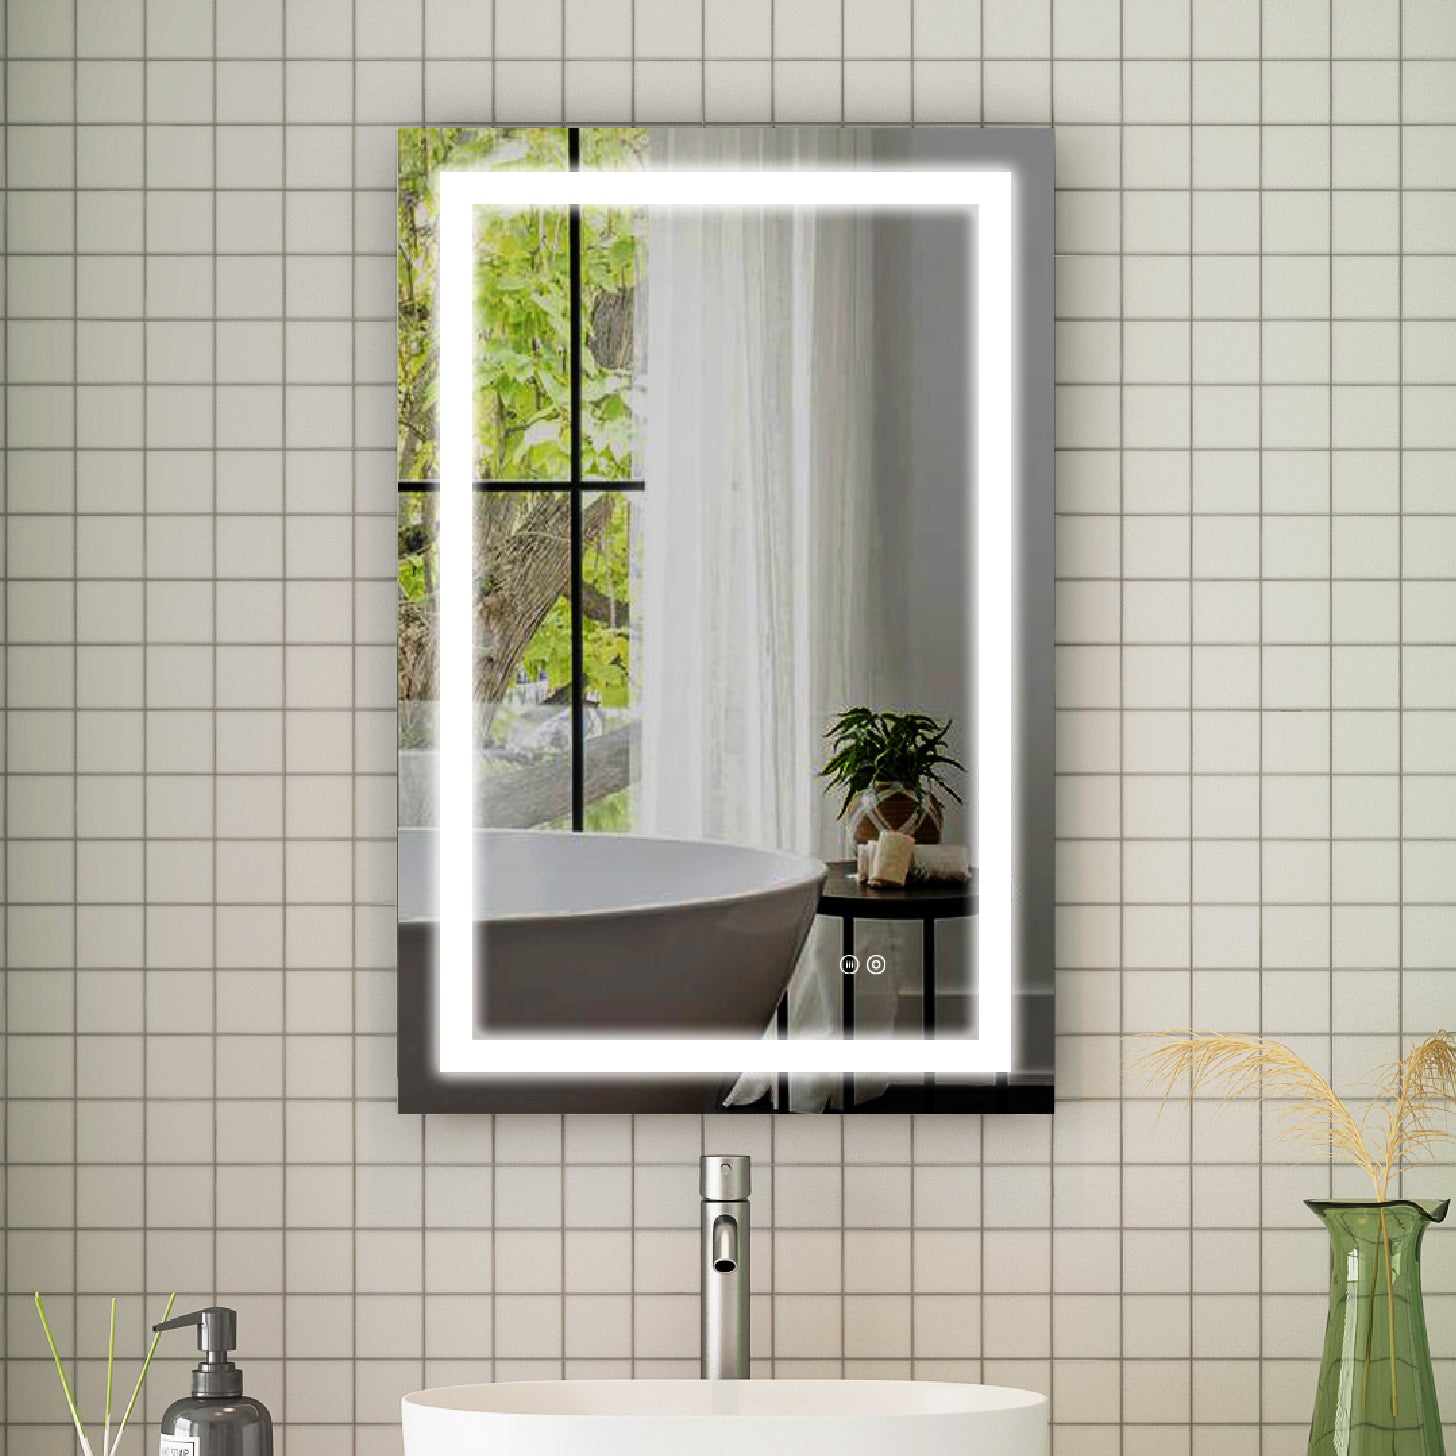
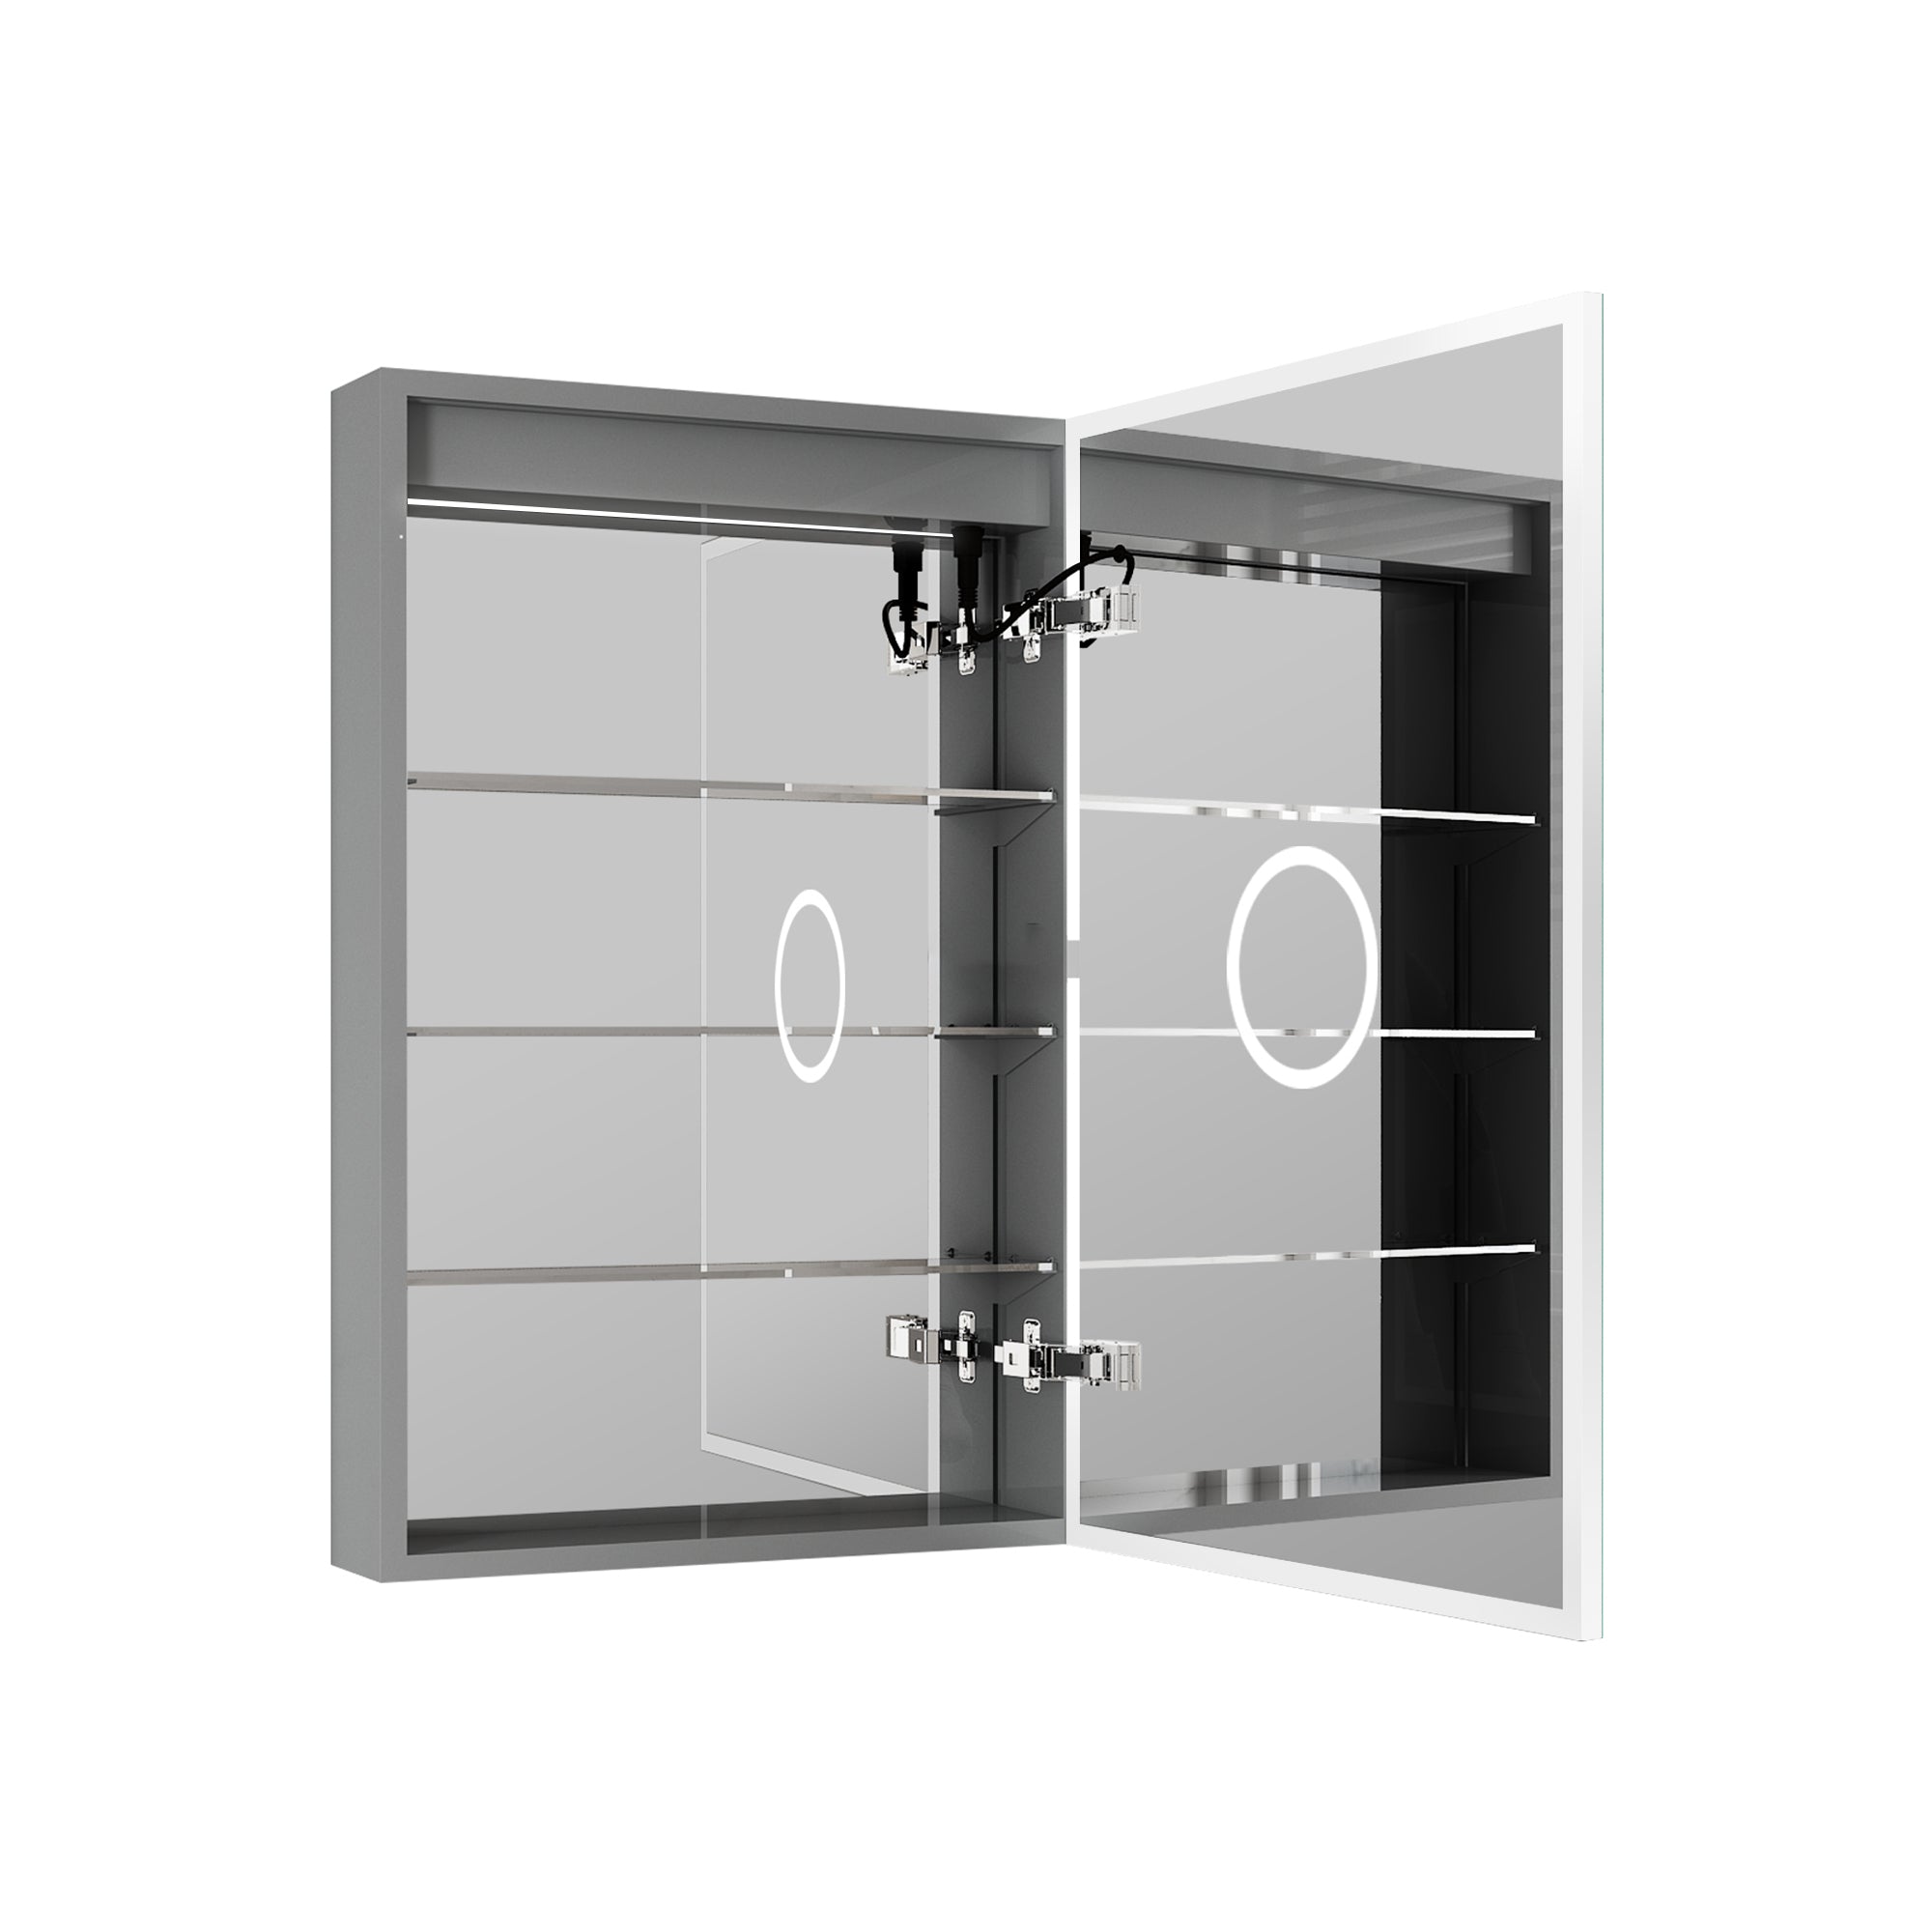
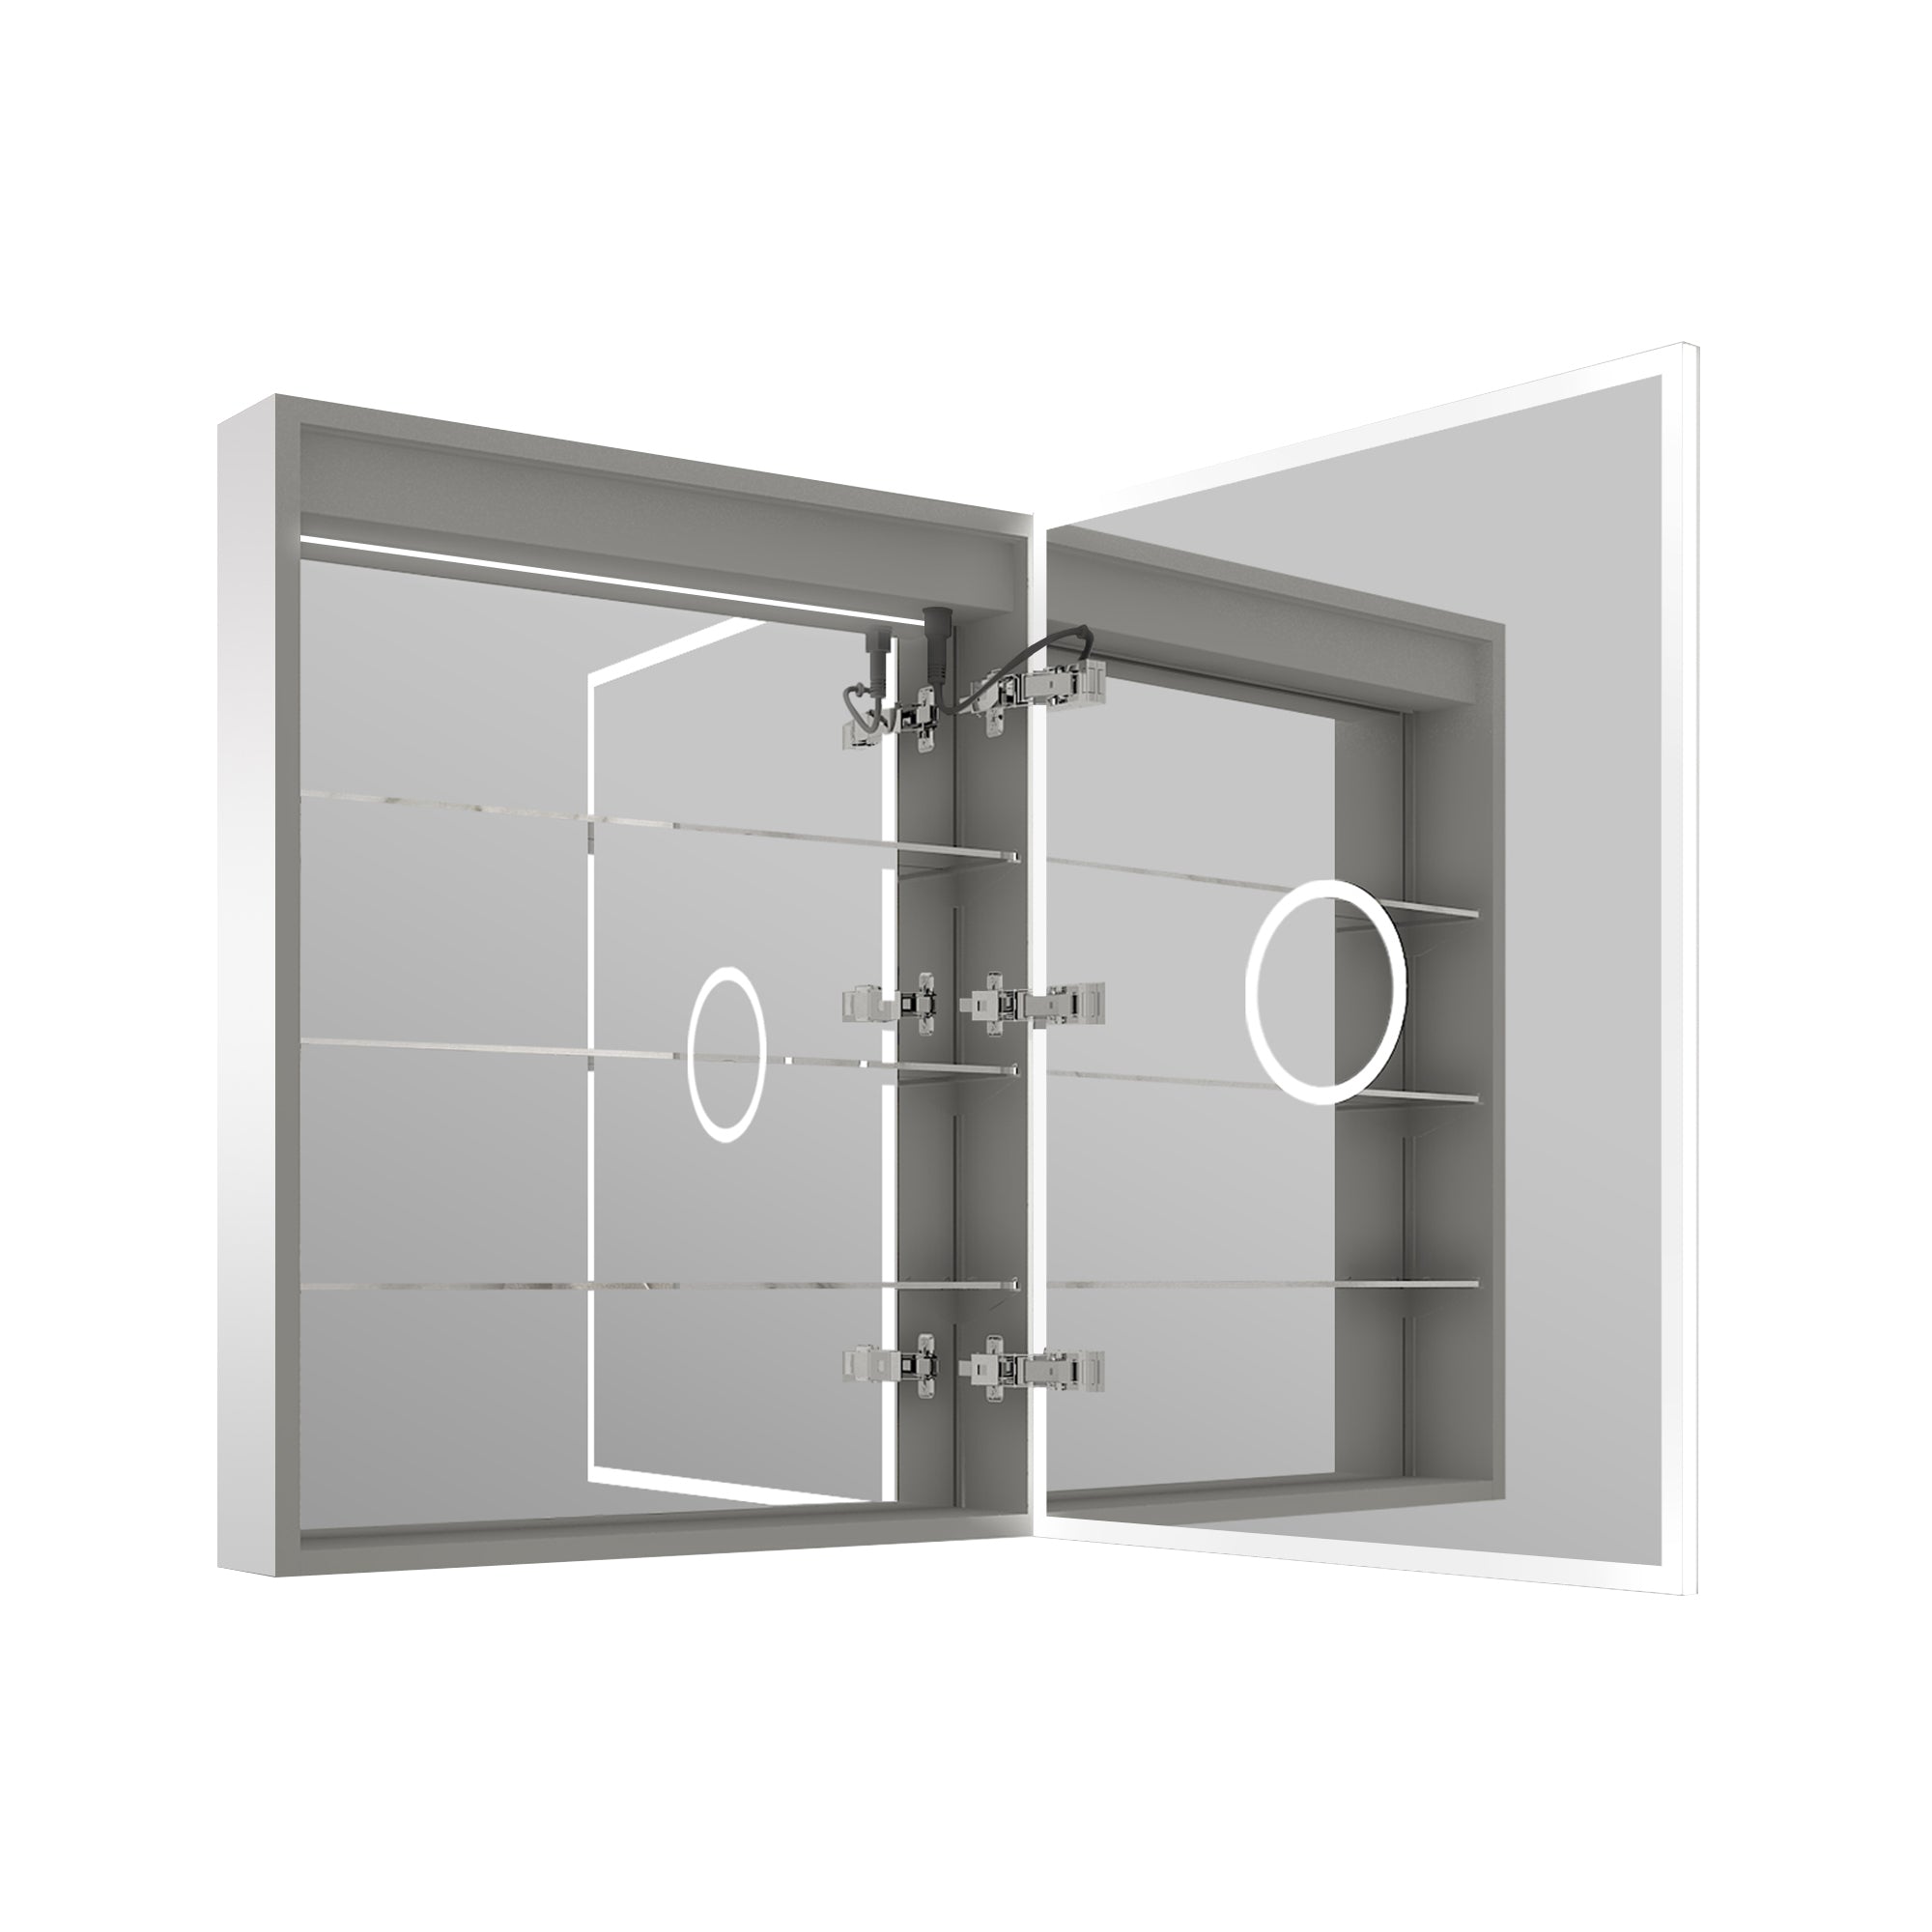
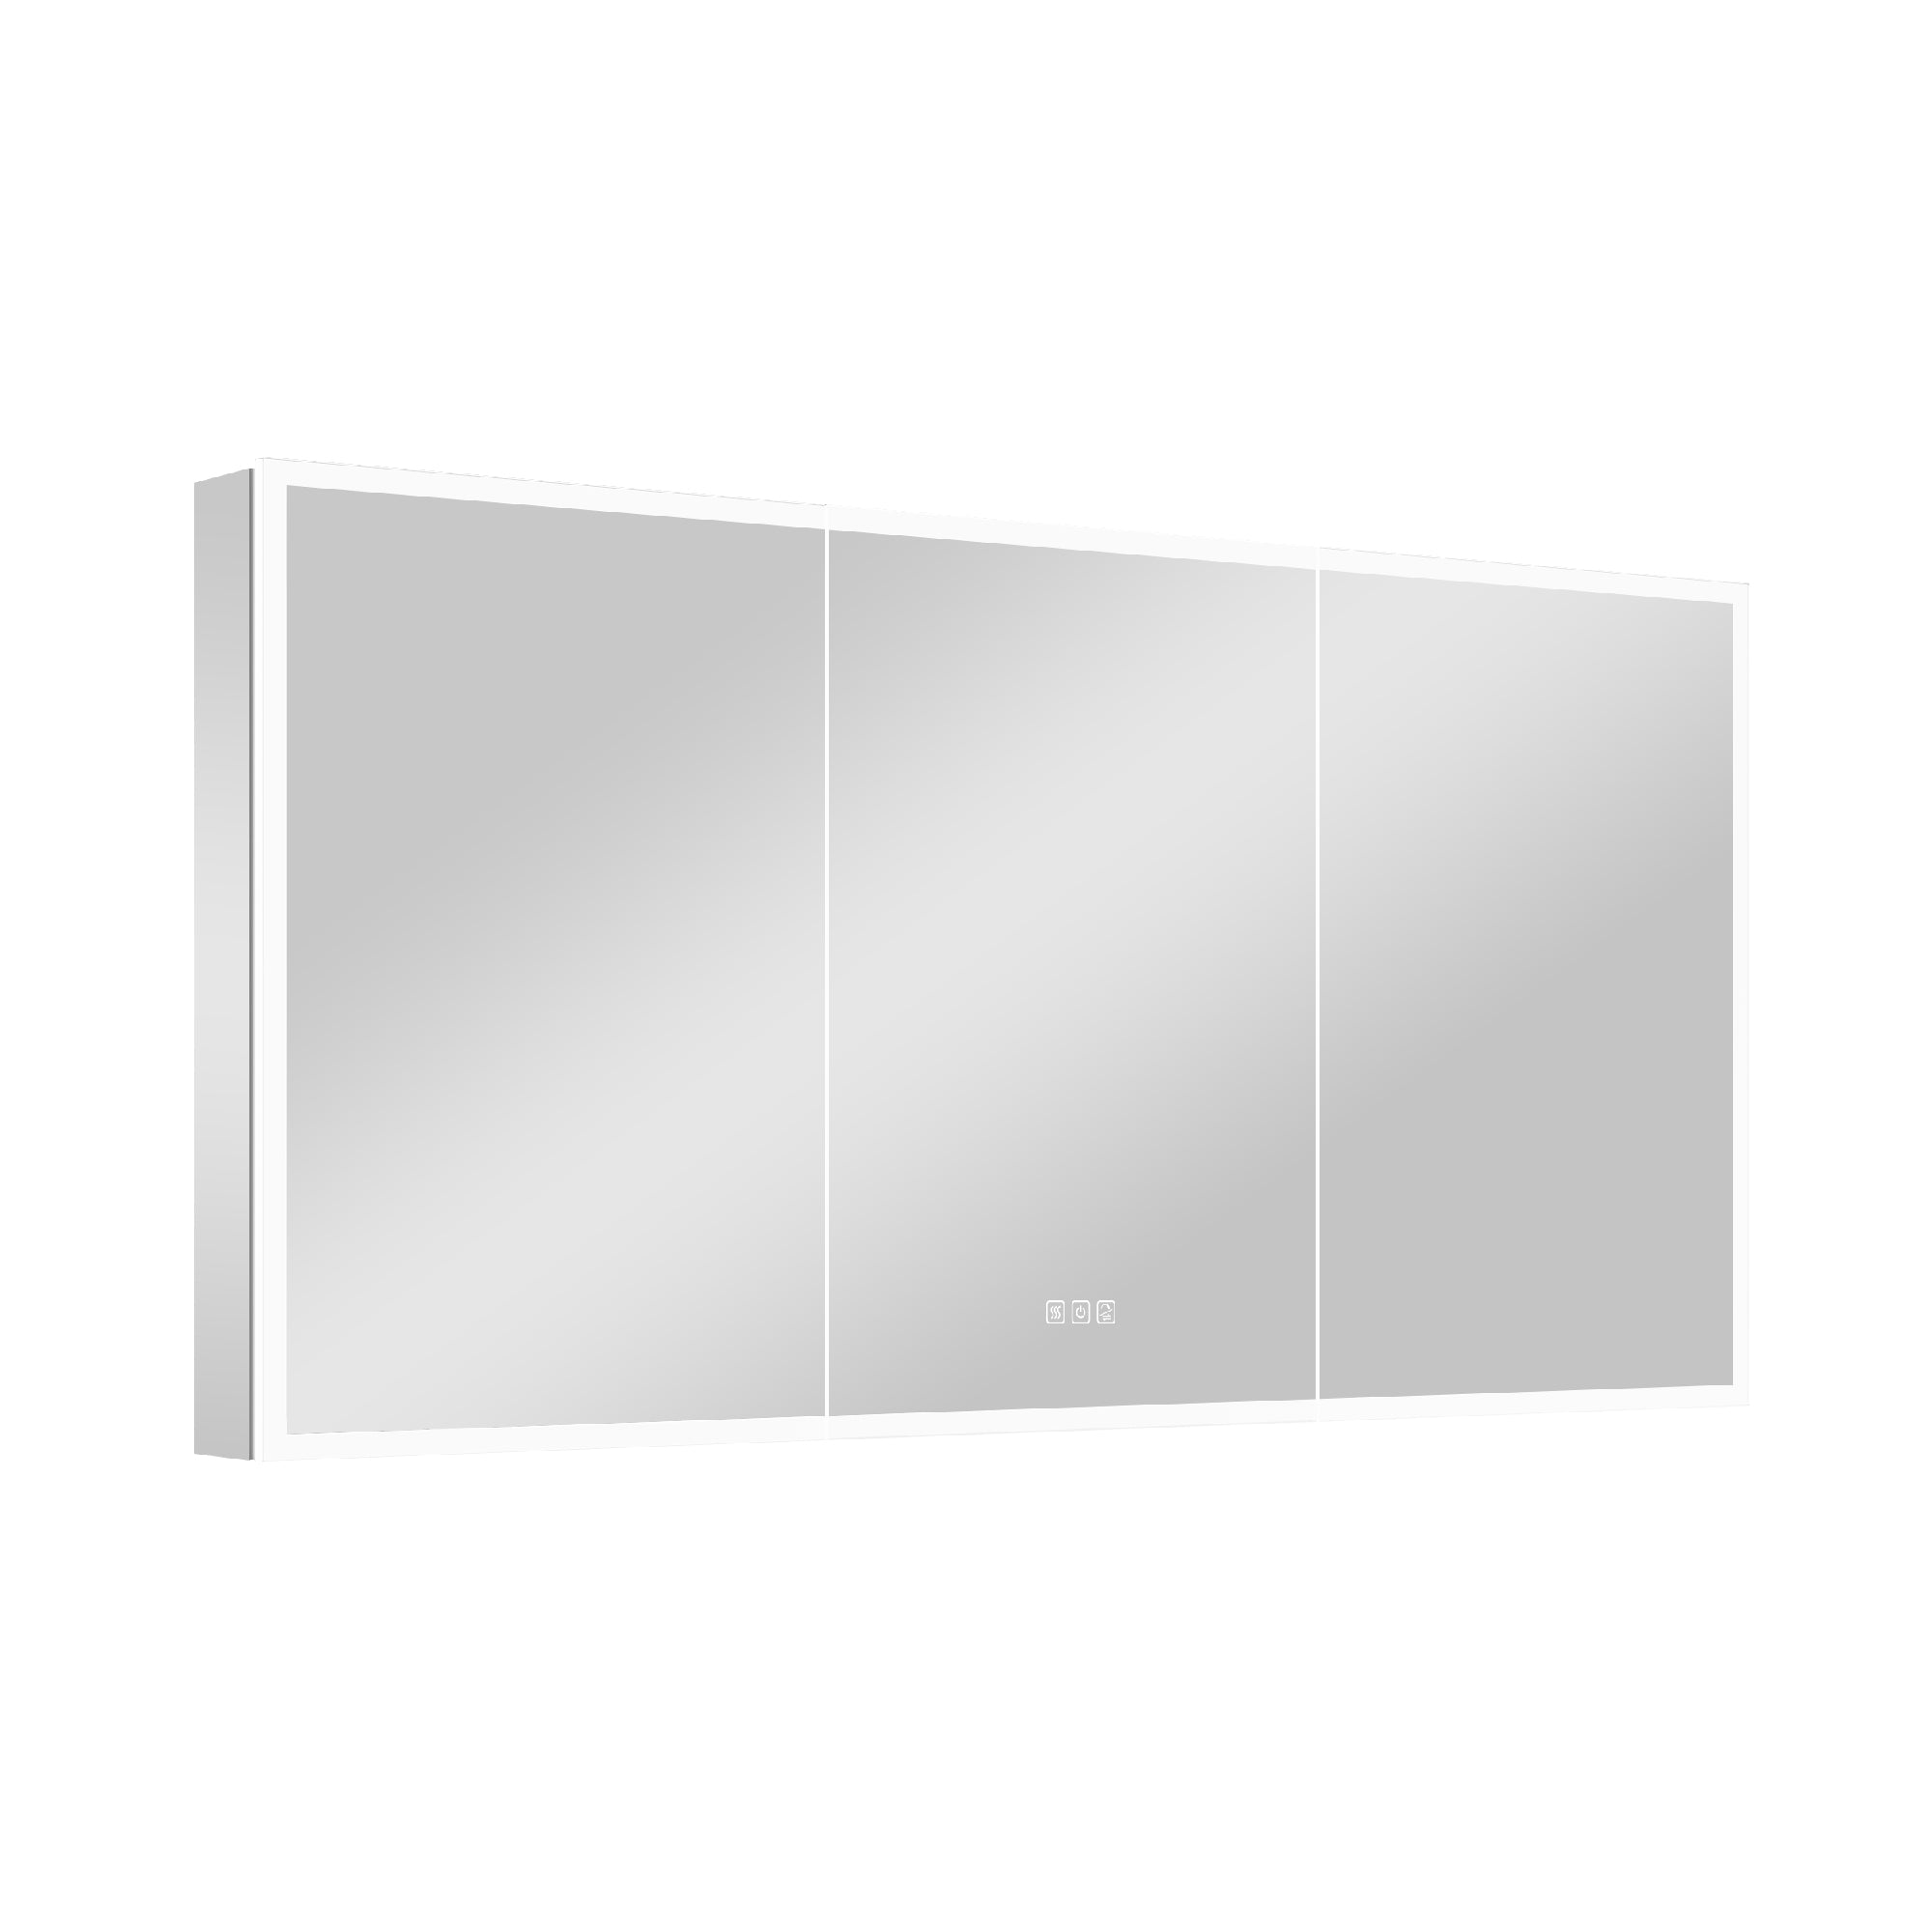
Before diving into the installation process, let's understand what a powered bathroom cabinet is. A powered bathroom cabinet typically includes integrated lighting, outlets, and sometimes even a defogging feature. These cabinets provide not just storage but also lighting, which is essential for tasks like applying makeup or shaving.
Choosing the Right Cabinet
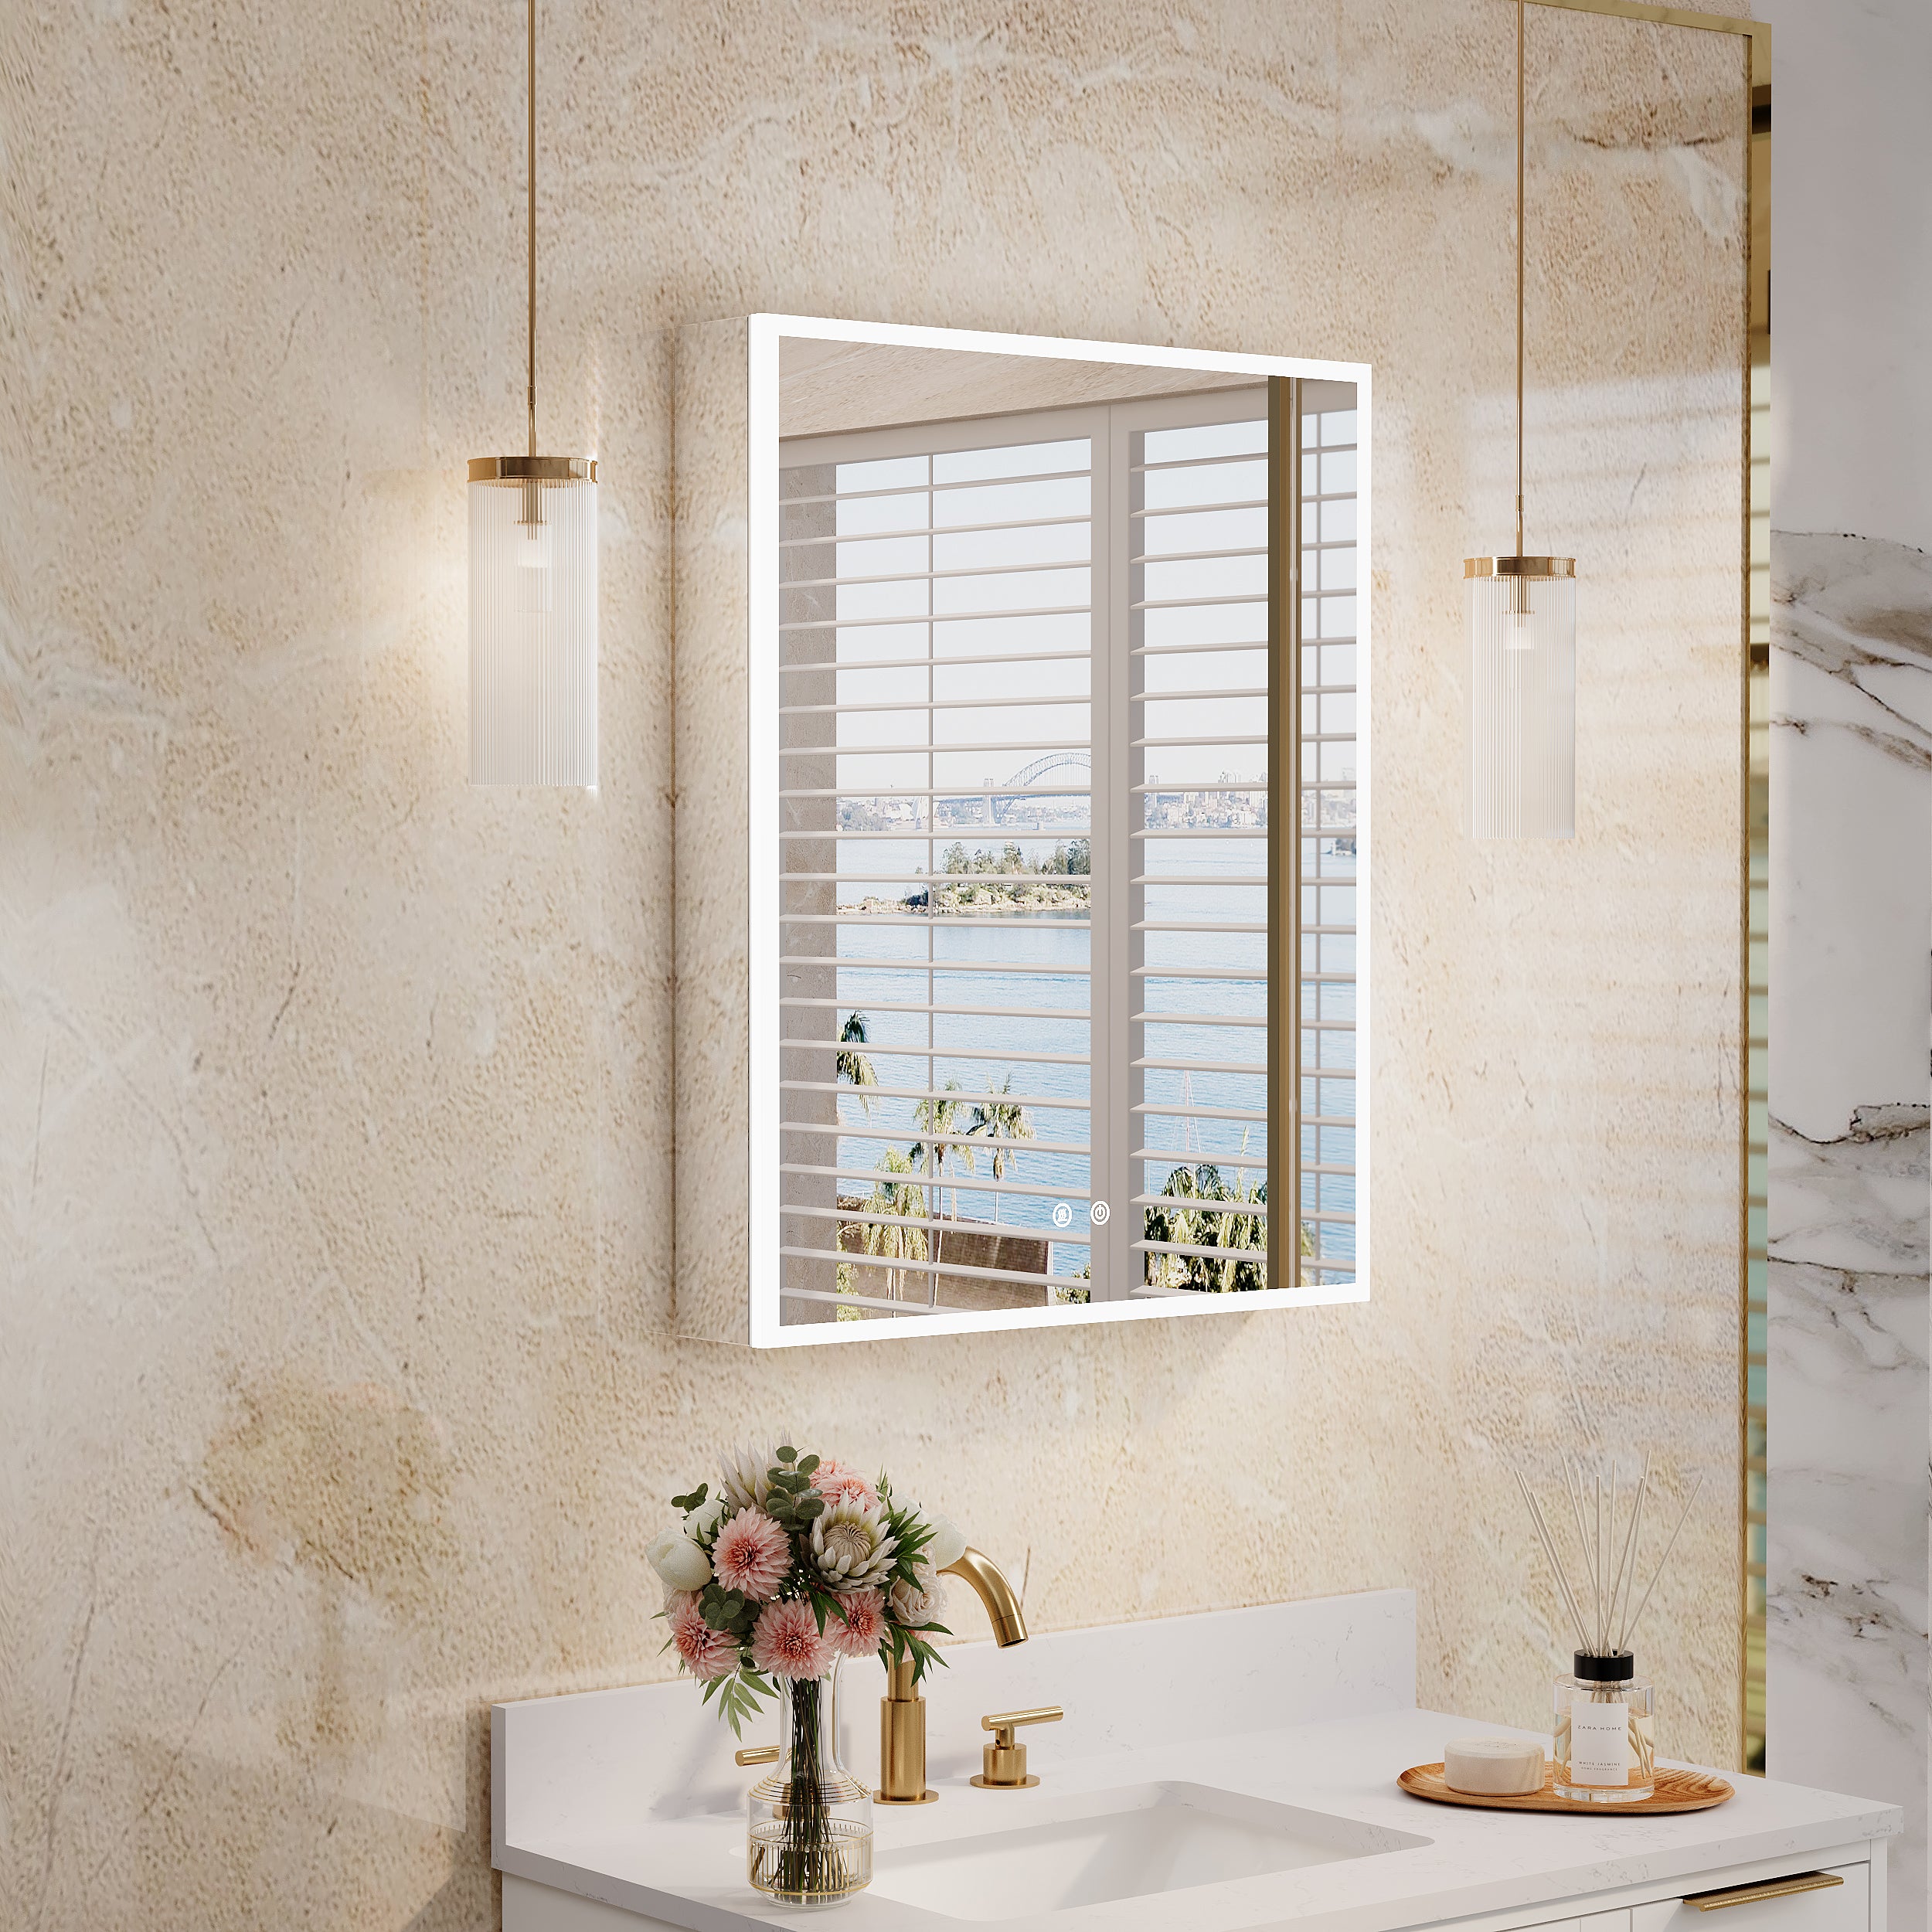
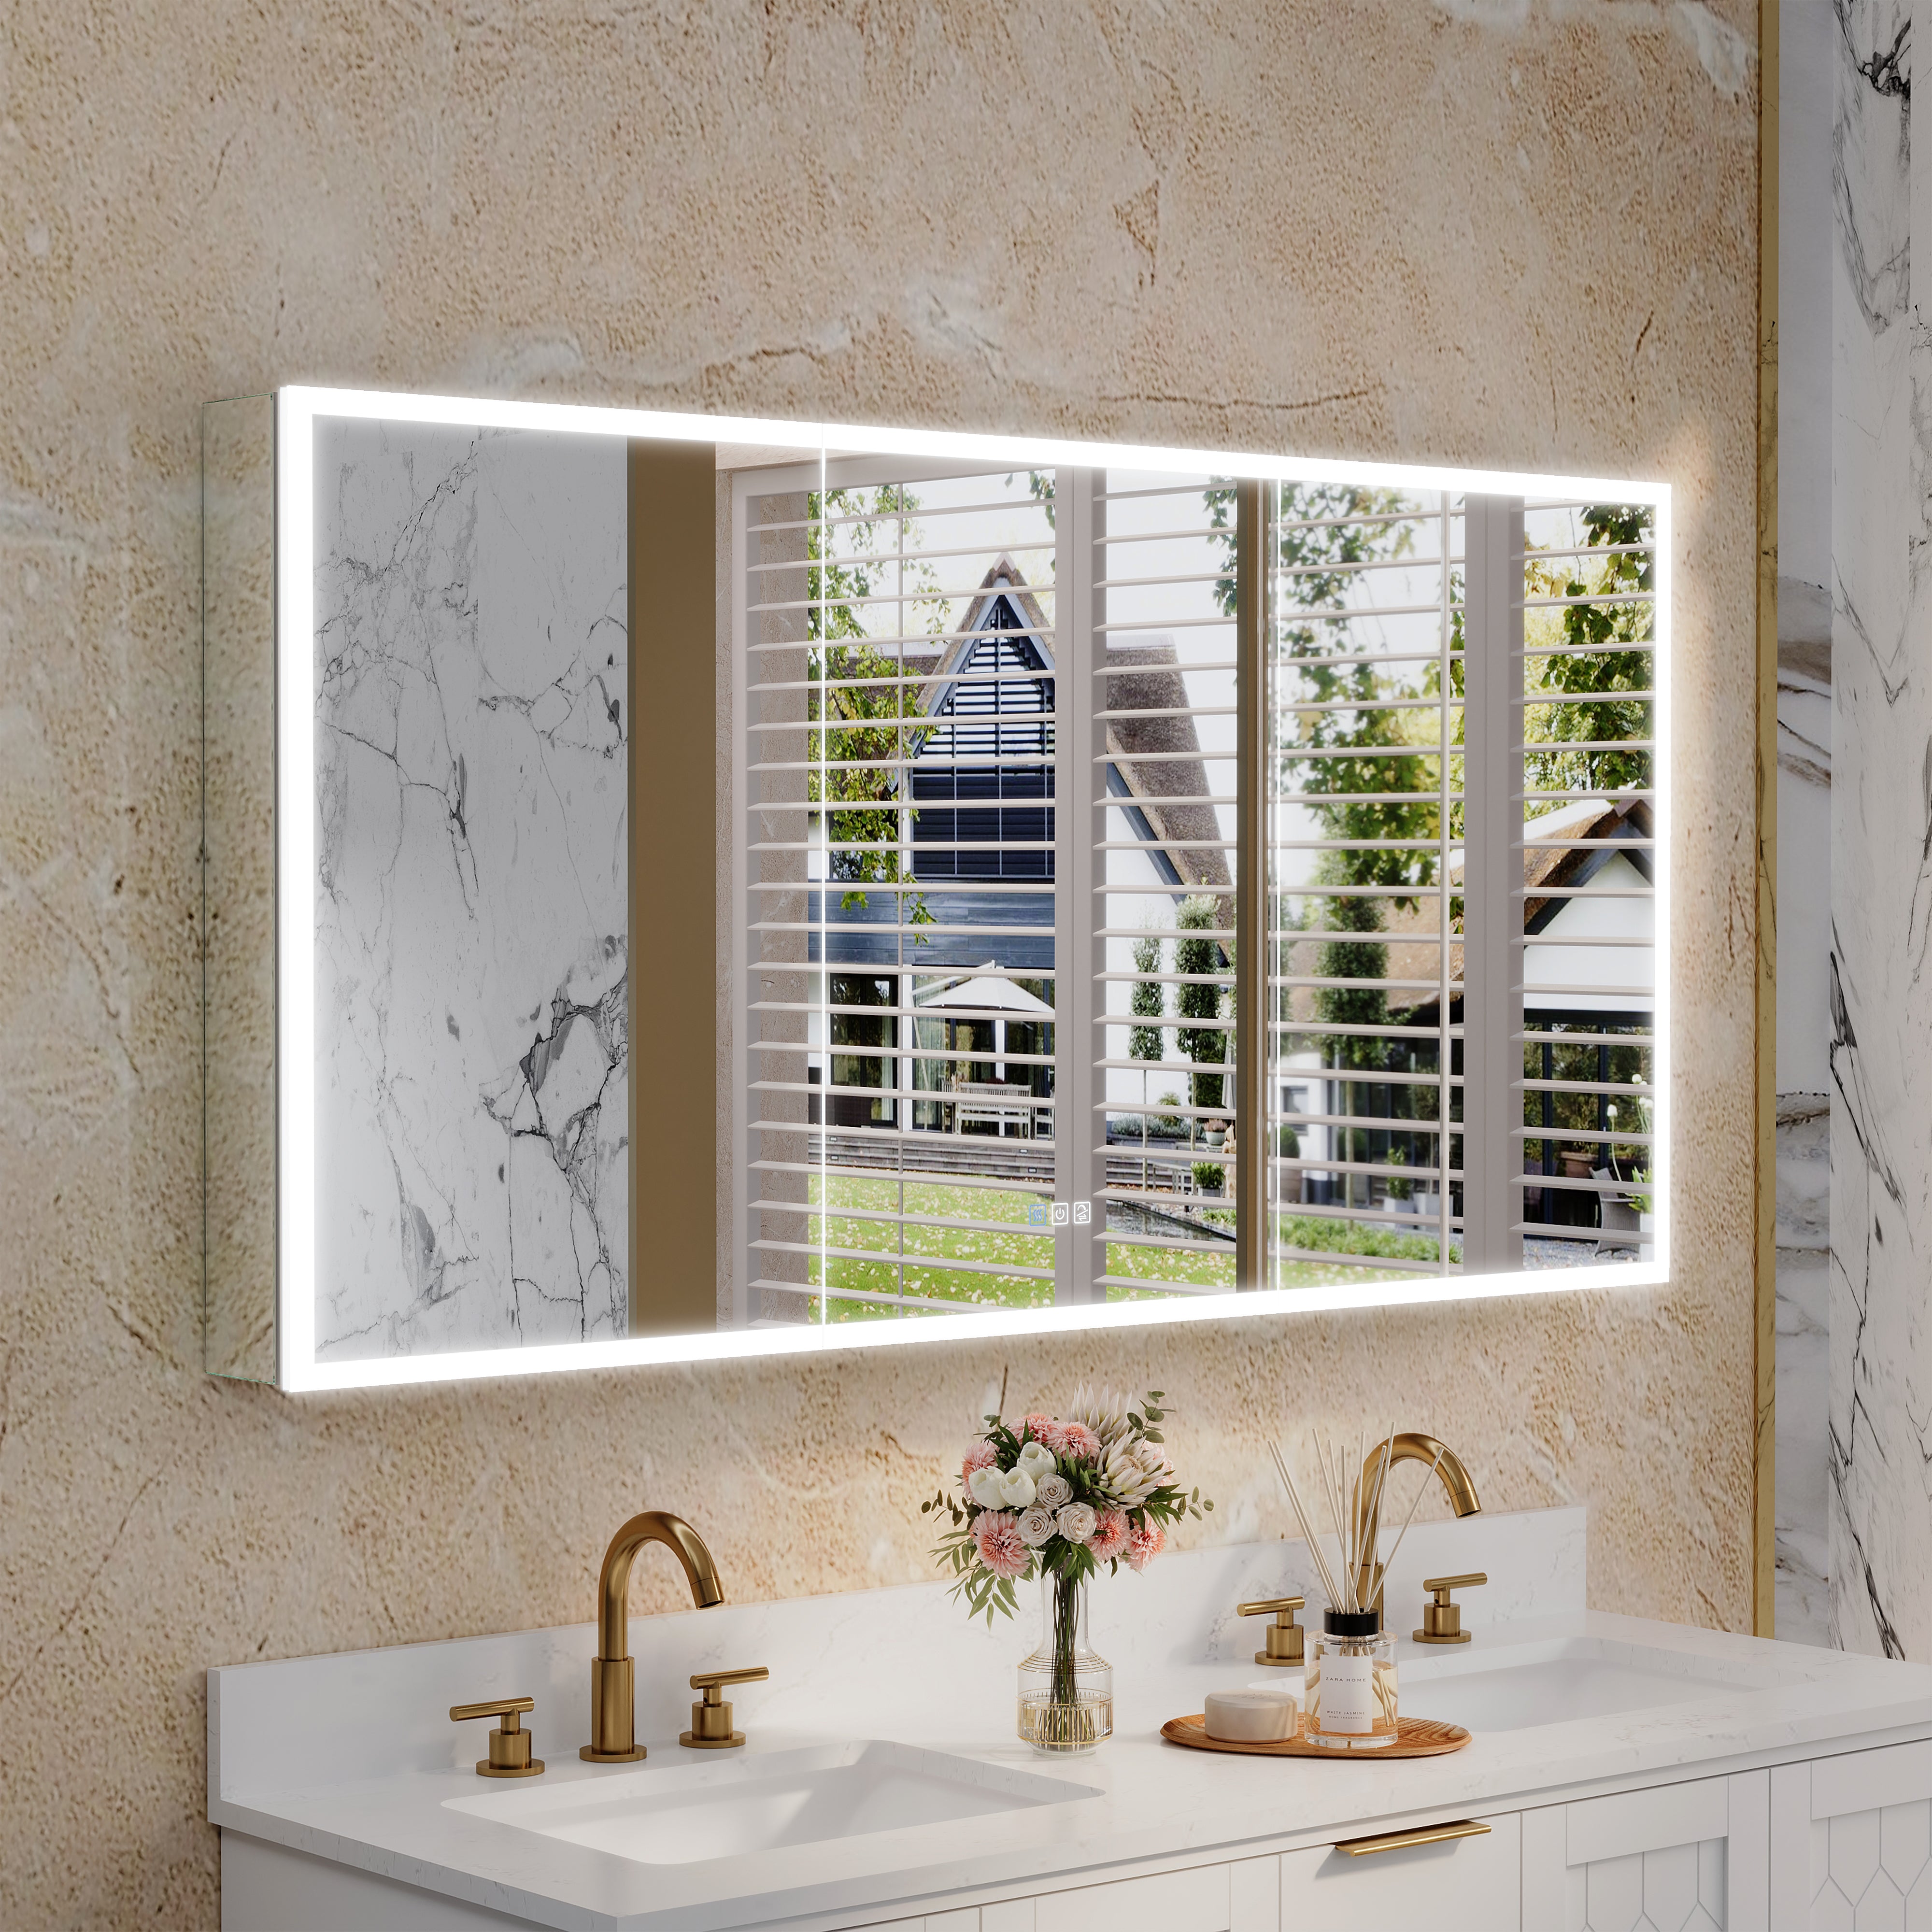
When selecting a powered bathroom cabinet, consider the design and functionality that will best suit your needs. The white medicine cabinet with mirror is popular for its clean look that fits any decor style. If you need more illumination, a medicine cabinet with a mirror and lights can be a great choice. For a touch of classic charm, a vintage medicine cabinet with a mirror can add character to your bathroom. Make sure the cabinet you choose fits the space and matches the electrical requirements for installation.
Planning the Installation
Before you start the installation process, you'll need to gather the necessary tools and materials. Here's what you'll typically need:
- Powered bathroom cabinet
- Stud finder
- Drill
- Screws and anchors
- Screwdriver
- Level
- Pencil
- Electrical wiring supplies (wire nuts, electrical tape, etc.)
- Safety glasses
- Gloves
Safety First
Safety should always be your top priority when working with electrical components. Turn off the power at the circuit breaker to the area where you'll be installing the cabinet. Use a voltage tester to ensure that the power is off before proceeding.
Locate the Studs
Using a stud finder, locate the studs in the wall where you'll be mounting the cabinet. Mark the stud locations with a pencil, as you'll want to secure the cabinet to these for added stability.
Installation Steps
Preparing the Cabinet
Unbox your new powered bathroom cabinet and place it on a clean, soft surface to prevent any scratches or damage. Review the manufacturer's instructions for any specific requirements related to your model.
Measuring and Marking
Measure the area where you'll be installing the cabinet. Use a level to draw a horizontal line where the top of the cabinet will be and mark the stud locations along this line. This will serve as your guide for drilling holes.
Drilling and Mounting
Drill pilot holes into the marked stud locations. Align the cabinet with the holes, and using screws, secure the cabinet onto the wall. Ensure that the cabinet is level as you tighten the screws.
Electrical Work
Running Power
If there's no existing power source where you're installing the cabinet, you may need to run a new electrical line. This is where you should consider hiring a licensed electrician, especially if you're not experienced with electrical work.
Connecting the Cabinet
If an electrical source is already present, you can proceed to connect the cabinet. Follow the manufacturer's wiring diagram to connect the wires from the cabinet to the power source using wire nuts. Secure all connections with electrical tape and carefully tuck the wires into the designated area of the cabinet.
Turning On the Power
Once all the electrical connections are made, turn the power back on at the circuit breaker. Test the cabinet's lighting and any other powered features to ensure they're working correctly.
Final Touches
Caulking and Sealing
To give your installation a professional finish, apply a bead of caulk around the edges of the cabinet where it meets the wall. This not only looks cleaner but also prevents moisture from getting behind the cabinet.
Cleaning Up
With the installation complete, clean the cabinet and the mirror to remove any fingerprints or debris. You can now start organizing your toiletries and enjoy the added functionality of your new powered bathroom cabinet.
Maintenance and Care
To keep your powered bathroom cabinet in top condition, regularly clean the mirror and cabinet surfaces with appropriate cleaners. Avoid using harsh chemicals that can damage the finish. Check the lights periodically and replace any bulbs as needed, following the manufacturer's instructions.
Final Thought
Installing a powered bathroom cabinet is a straightforward process that can significantly enhance the functionality and style of your bathroom. With the right tools, careful planning, and attention to detail, you can successfully install a white medicine cabinet with a mirror, a medicine cabinet with mirror and lights, or a vintage medicine cabinet with a mirror. Remember, when dealing with electrical components, safety is paramount. If you're ever in doubt, don't hesitate to reach out to a professional electrician for assistance.
By following this guide, you'll be able to enjoy the convenience and elegance of your new powered bathroom cabinet for years to come.



Leave a comment
This site is protected by hCaptcha and the hCaptcha Privacy Policy and Terms of Service apply.