
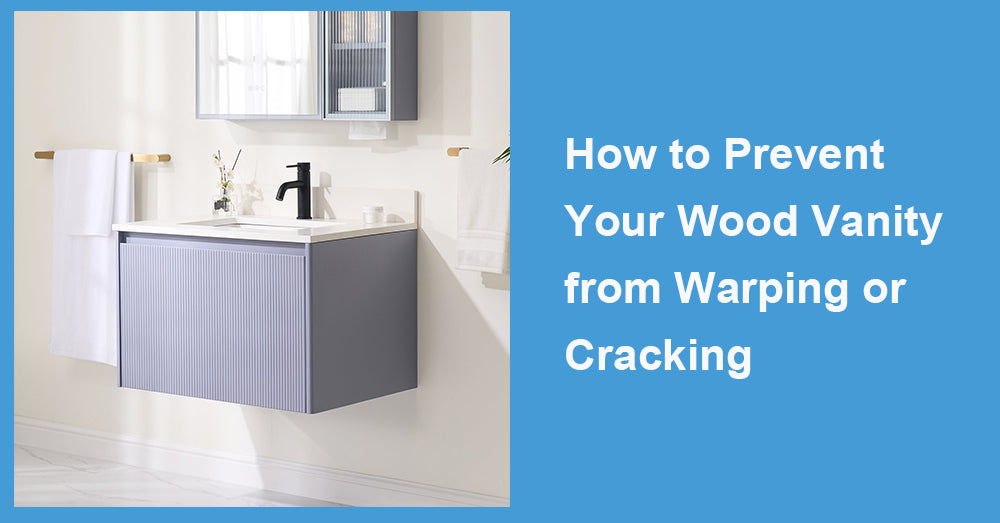
Wood vanities are a timeless addition to any bathroom, offering beauty, durability, and a natural charm. However, the bathroom’s high moisture levels and temperature fluctuations can sometimes lead to issues like warping and cracking. Taking preventive measures can ensure your all wood vanities remain in top condition for years to come.
In this article, we’ll explore practical tips and tricks to protect your wood vanity from damage, helping you maintain its integrity and appearance.
Why Do All Wood Vanities Warp or Crack?
Understanding the causes of warping and cracking in wood is the first step to preventing these issues.
1. Moisture Exposure
Bathrooms are naturally humid spaces, with high moisture levels from showers, baths, and sinks. Wood absorbs moisture from the air, which can cause it to swell, warp, or eventually crack as it dries.
2. Temperature Fluctuations
Sudden changes in temperature—like running hot showers on cold days—can stress the wood, leading to expansion and contraction.
3. Poor Sealing
Wood that isn’t properly sealed is more vulnerable to water damage and cracking. Sealants act as a barrier, protecting the wood from absorbing moisture.
4. Low Humidity
While excessive moisture is a problem, extremely dry conditions can also cause wood to lose its natural oils, leading to shrinkage and cracks.
Tips to Prevent Warping and Cracking in All Wood Vanities

1. Choose the Right Wood Type
Not all woods are created equal. Some woods are naturally more resistant to moisture and warping than others.
Teak: Known for its natural oils, teak is highly resistant to moisture, making it a top choice for bathrooms.
Oak: Durable and resilient, oak handles bathroom conditions well.
Maple: A dense hardwood that’s less likely to warp or crack.
When purchasing all wood vanities, opt for these moisture-resistant options for better durability.
2. Apply a High-Quality Sealant
Sealing your wood vanity creates a protective layer against moisture. Look for water-resistant finishes like polyurethane, lacquer, or marine-grade sealants for the best results.
Step-by-Step Guide to Sealing:
Clean the vanity’s surface thoroughly.
Sand the wood lightly to ensure the sealant adheres well.
Apply the sealant evenly, following the manufacturer’s instructions.
Allow it to dry completely before using the vanity.
Reapply the sealant every couple of years to maintain protection.
3. Improve Bathroom Ventilation
Reducing humidity levels in your bathroom is one of the most effective ways to protect your wood vanity.
Install an Exhaust Fan: An exhaust fan helps remove excess moisture from the air. Run it during and after showers to keep humidity levels low.
Open Windows: If your bathroom has windows, open them periodically to allow fresh air to circulate.
Use a Dehumidifier: In particularly humid climates, a dehumidifier can help keep your bathroom’s moisture levels in check.
4. Clean and Maintain Regularly
Proper cleaning helps prevent moisture buildup and keeps your wood vanity in good condition
Daily Maintenance: Wipe down the vanity with a dry or slightly damp cloth to remove water droplets and dirt.
Avoid Harsh Cleaners: Use mild, wood-safe cleaning products to prevent damage to the finish.
Dry Immediately: If water spills on the vanity, wipe it up immediately to avoid absorption.
5. Control Bathroom Humidity Levels
Maintaining a consistent humidity level in your bathroom can help prevent wood damage. Aim for a humidity range of 30% to 50%.
Use a hygrometer to monitor humidity levels.
Adjust ventilation or add a humidifier/dehumidifier to keep levels stable.
6. Avoid Direct Water Exposure
While vanities are designed for bathroom use, direct exposure to water can still cause damage over time.
Be Mindful of Splashes: Avoid excessive water splashing on the vanity. Install a backsplash to protect the wood from sink splashes.
Use Coasters or Trays: Place toiletries and other items on trays to prevent water rings or stains.
7. Choose a Proper Finish
The finish on your all wood vanity impacts its resistance to bathroom conditions.
Oil-Based Finishes: Penetrate the wood and provide deep protection.
Water-Based Finishes: Offer a more natural look but may require additional maintenance.
Wax Finishes: Add a soft sheen but need regular reapplication.
8. Install in an Ideal Location
The placement of your vanity can influence its exposure to moisture and temperature changes. Avoid installing the vanity too close to the shower or bathtub where it’s directly exposed to steam and splashes.
9. Periodically Refinish the Vanity
Over time, the protective finish on your wood vanity may wear off. Refinishing it every few years helps restore its protection and appearance.
Sand the surface lightly.
Reapply a wood-safe stain or sealant.
Polish for a smooth finish.
10. Check for Early Signs of Damage
Inspect your vanity regularly for signs of warping, cracking, or discoloration. Catching these issues early allows you to address them before they worsen.
Common Myths About Protecting All Wood Vanities
Myth 1: Wood Doesn’t Belong in Bathrooms
While wood is sensitive to moisture, proper sealing and maintenance make it perfectly suitable for bathrooms.
Myth 2: All Sealants Are the Same
Not all sealants are created equal. Choose a water-resistant, bathroom-grade sealant for the best protection.
Myth 3: Daily Cleaning Isn’t Necessary
Regular cleaning helps prevent water and dirt buildup, extending the life of your wood vanity.
Final Thoughts
Protecting your all wood vanities from warping and cracking is all about prevention and care. By choosing the right materials, applying quality sealants, improving ventilation, and maintaining your vanity regularly, you can ensure it remains a beautiful and functional centerpiece in your bathroom for years to come.


Leave a comment
This site is protected by hCaptcha and the hCaptcha Privacy Policy and Terms of Service apply.