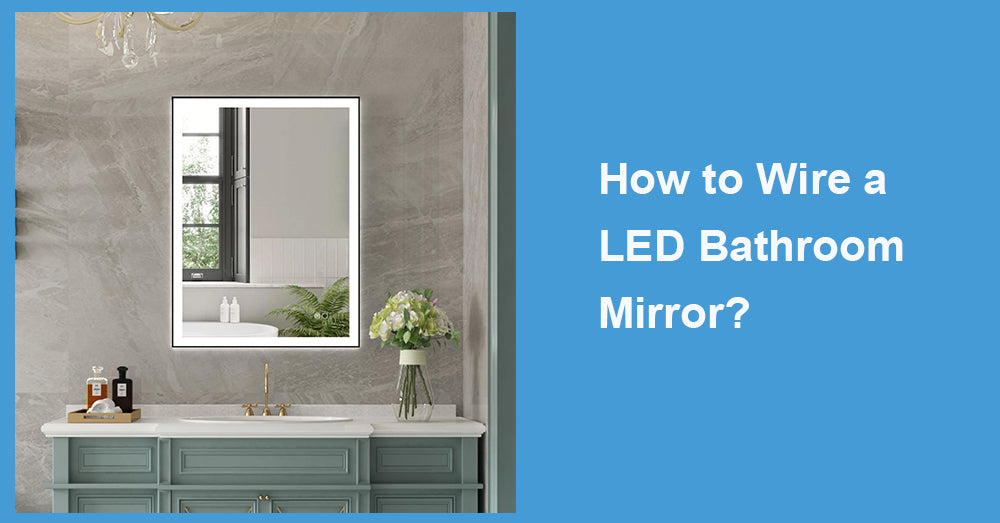
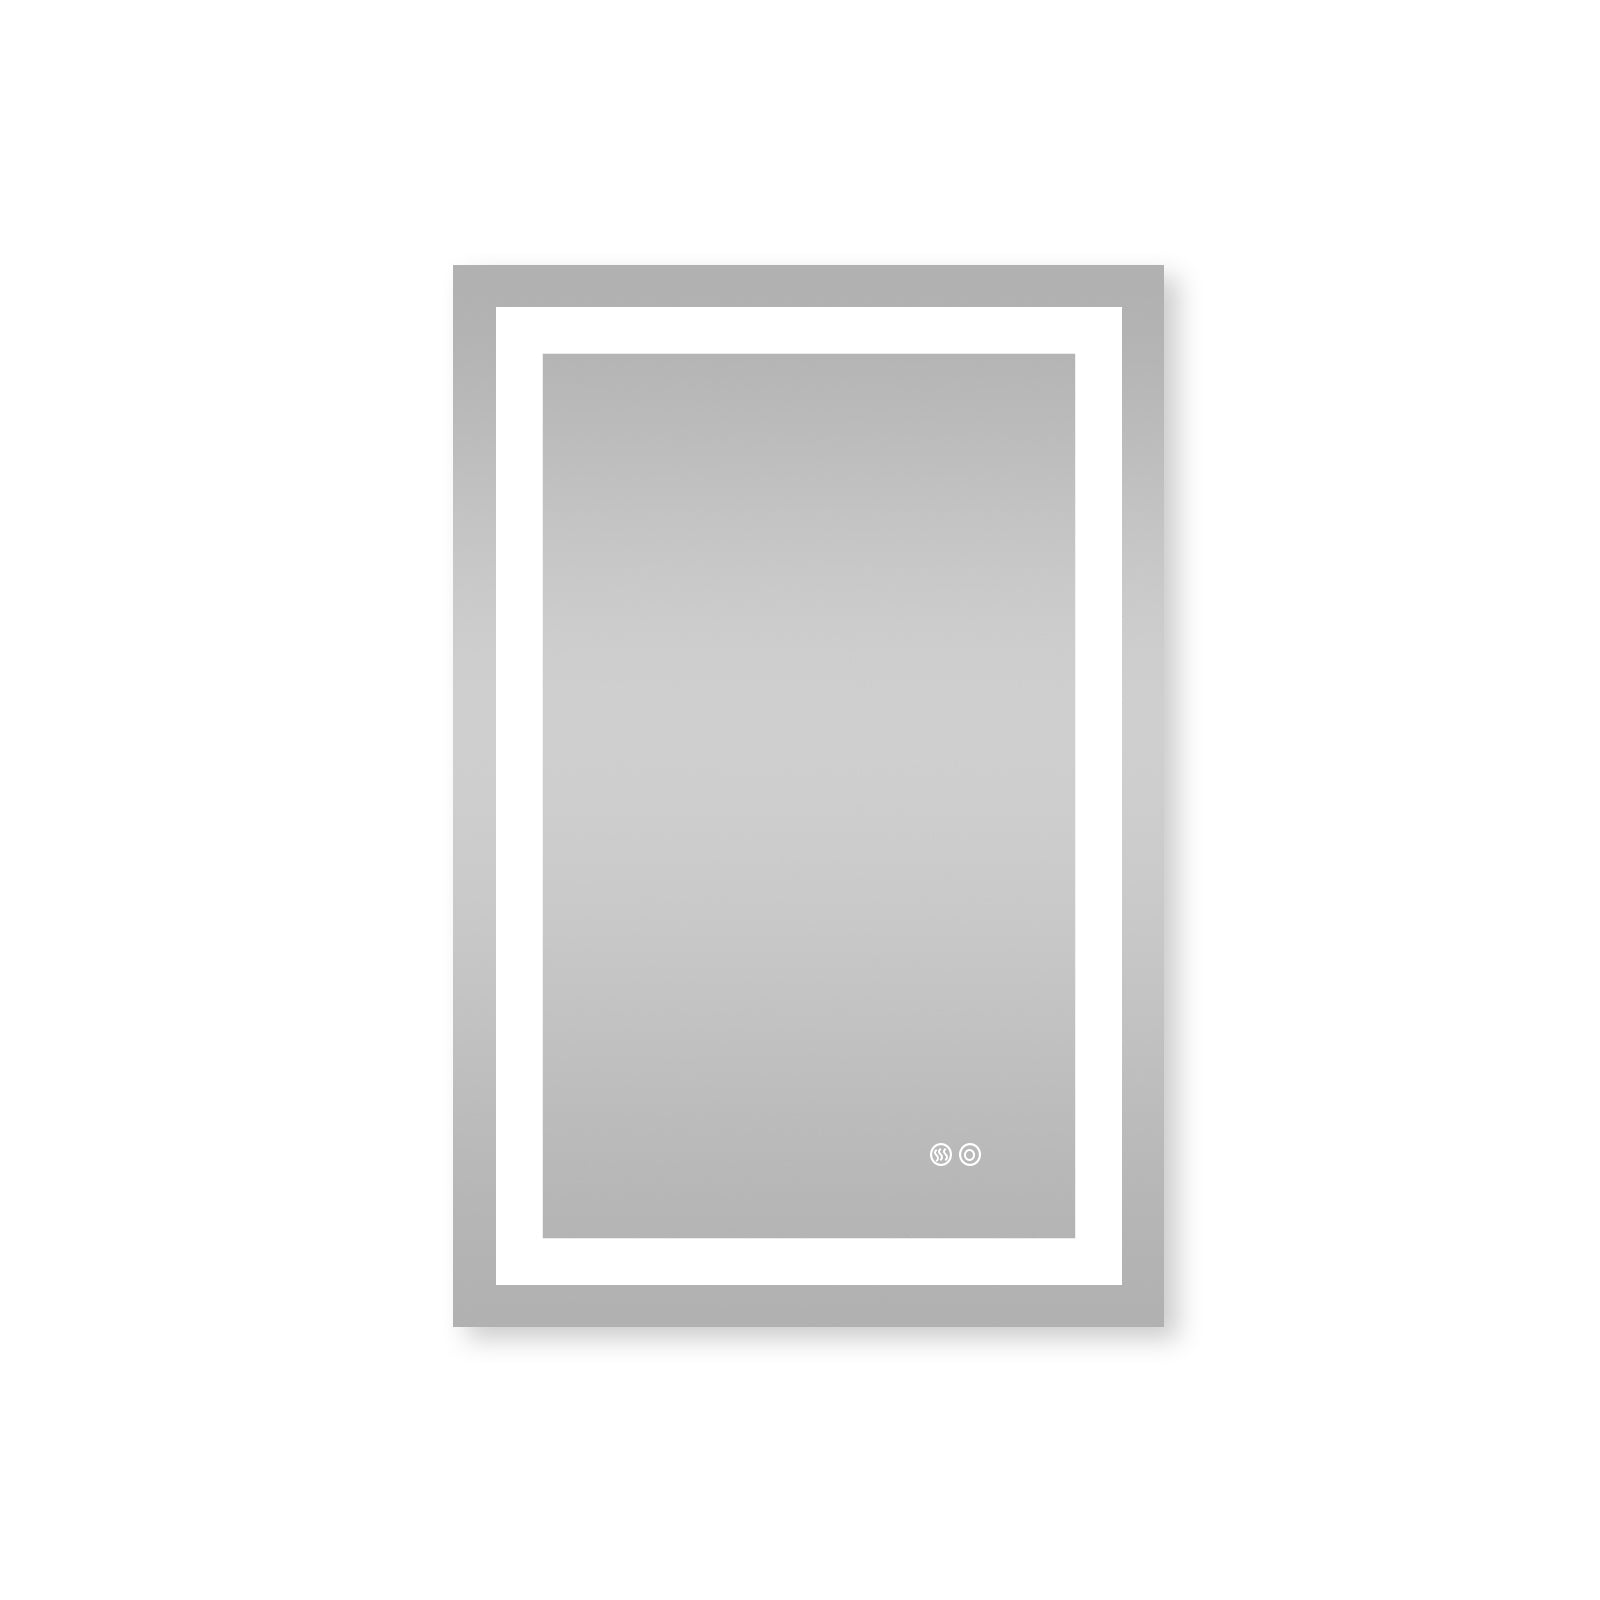
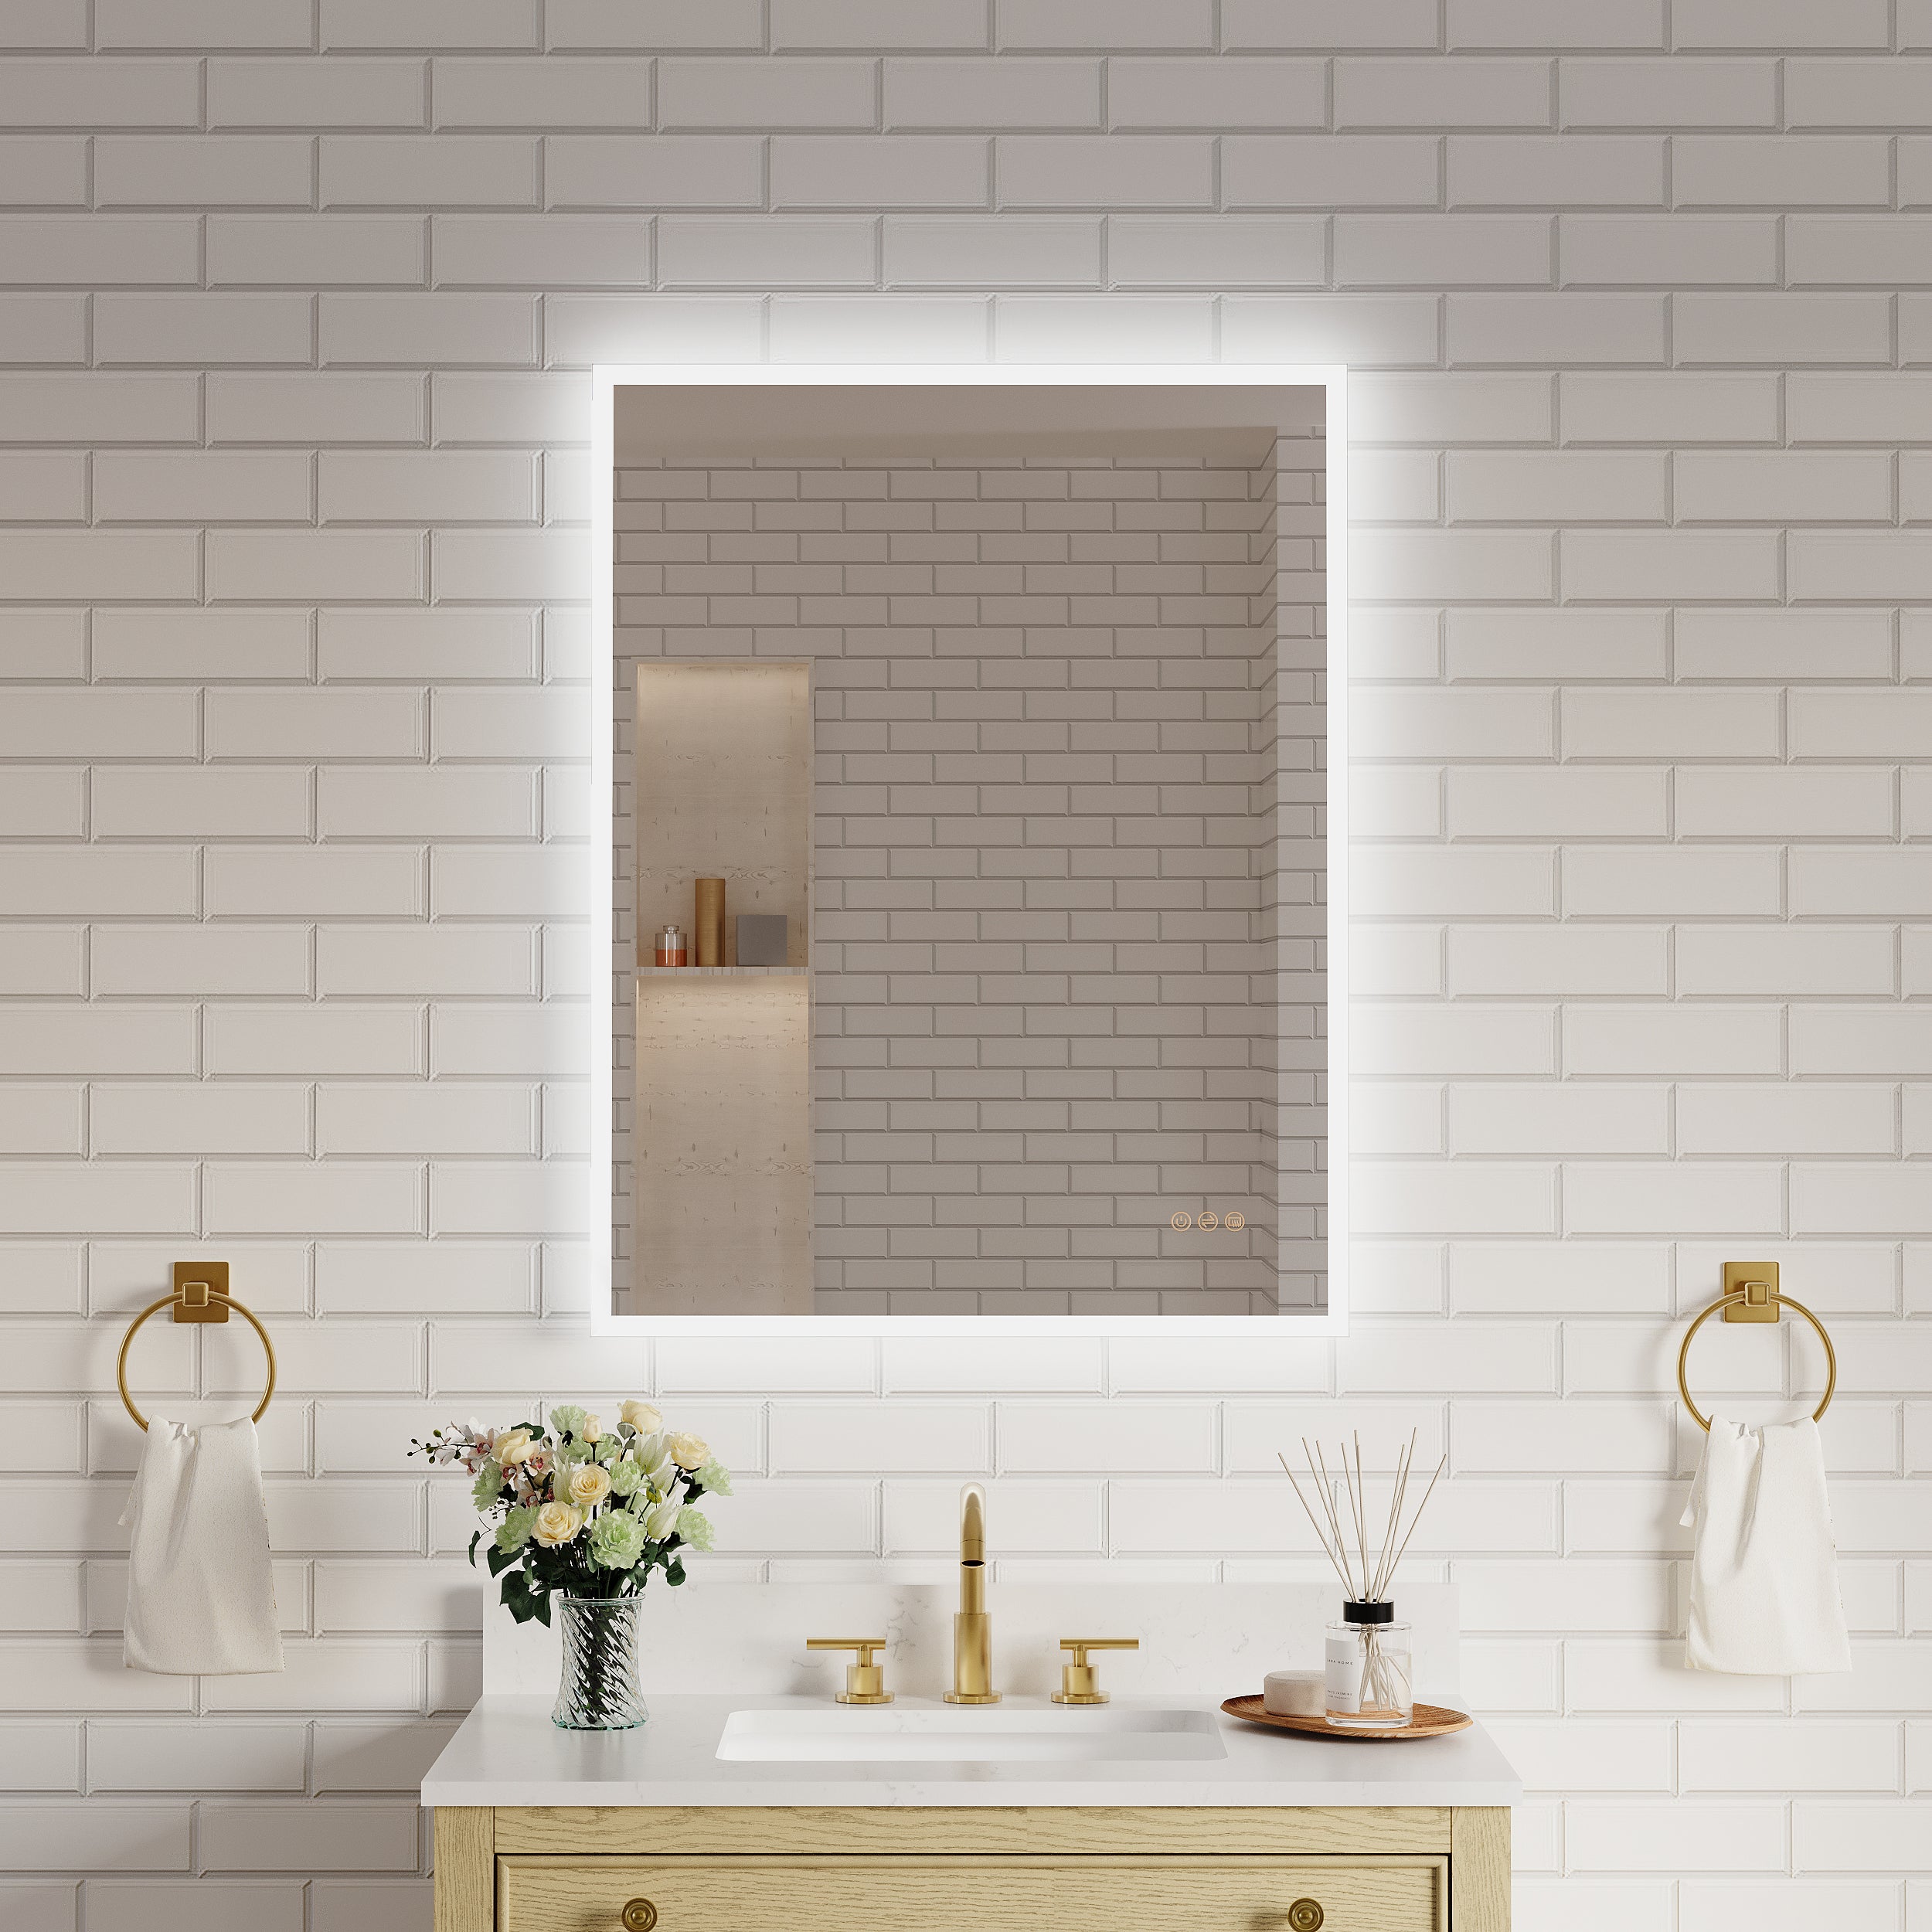
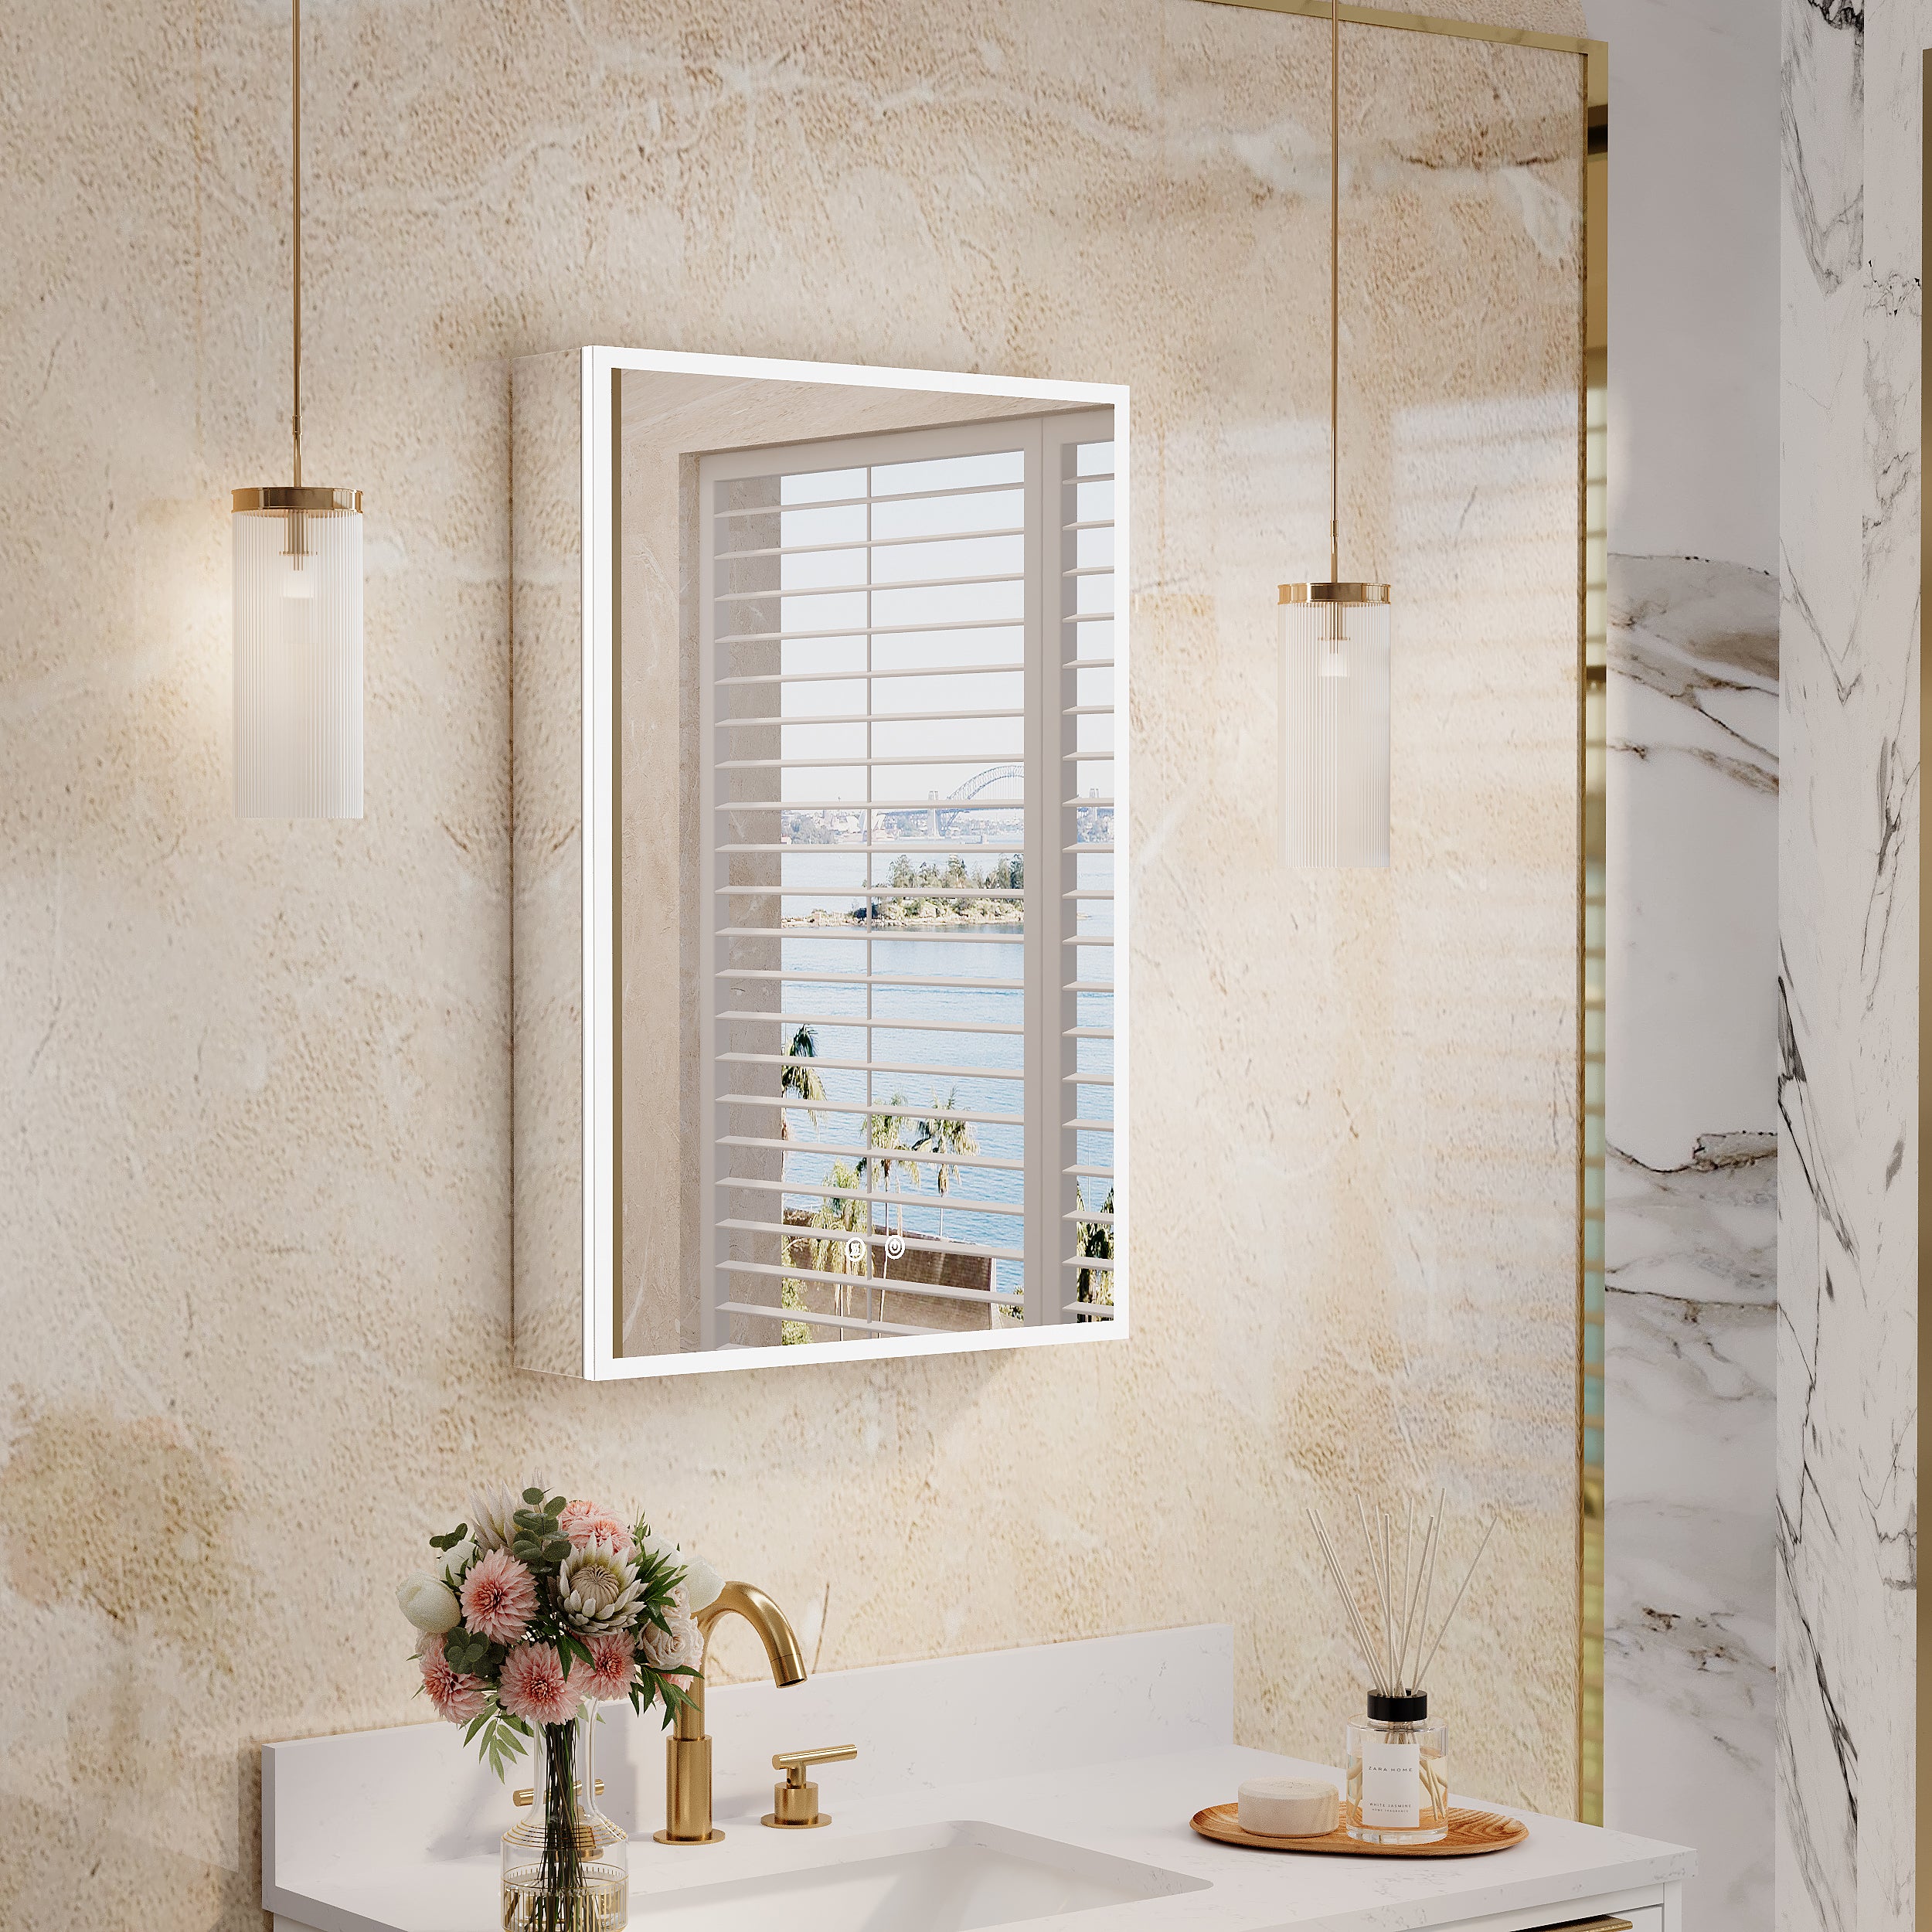
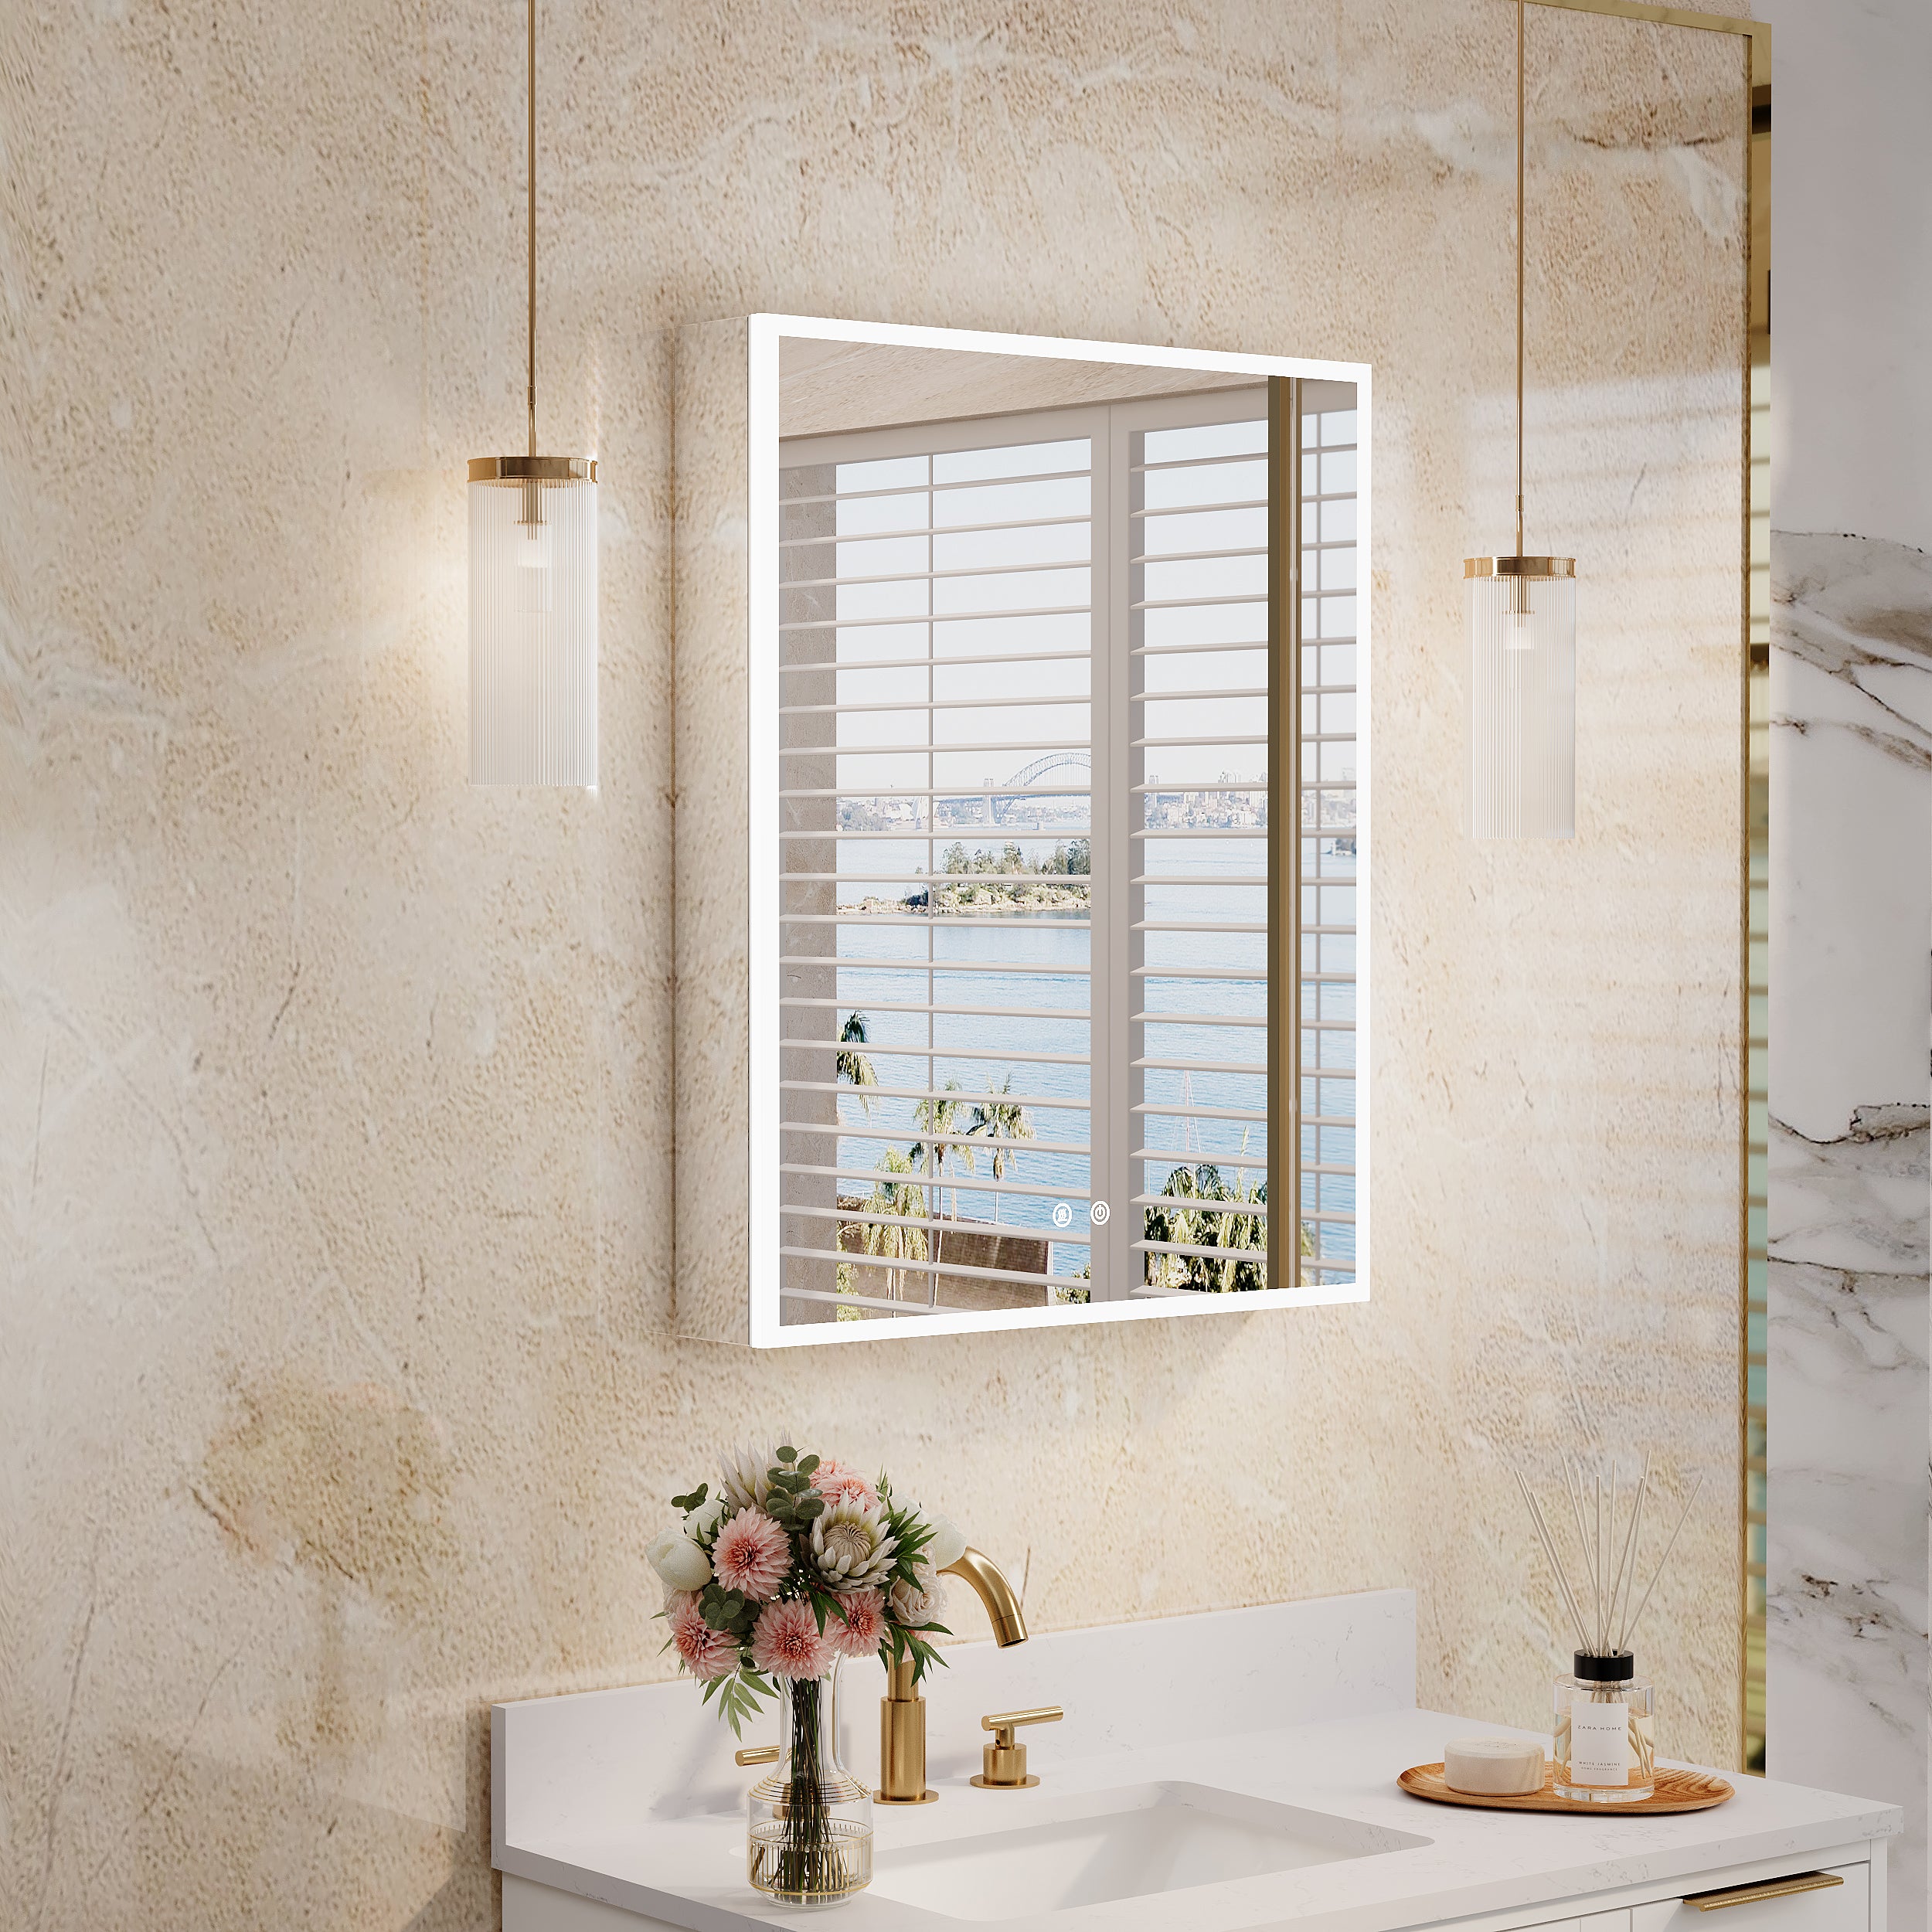
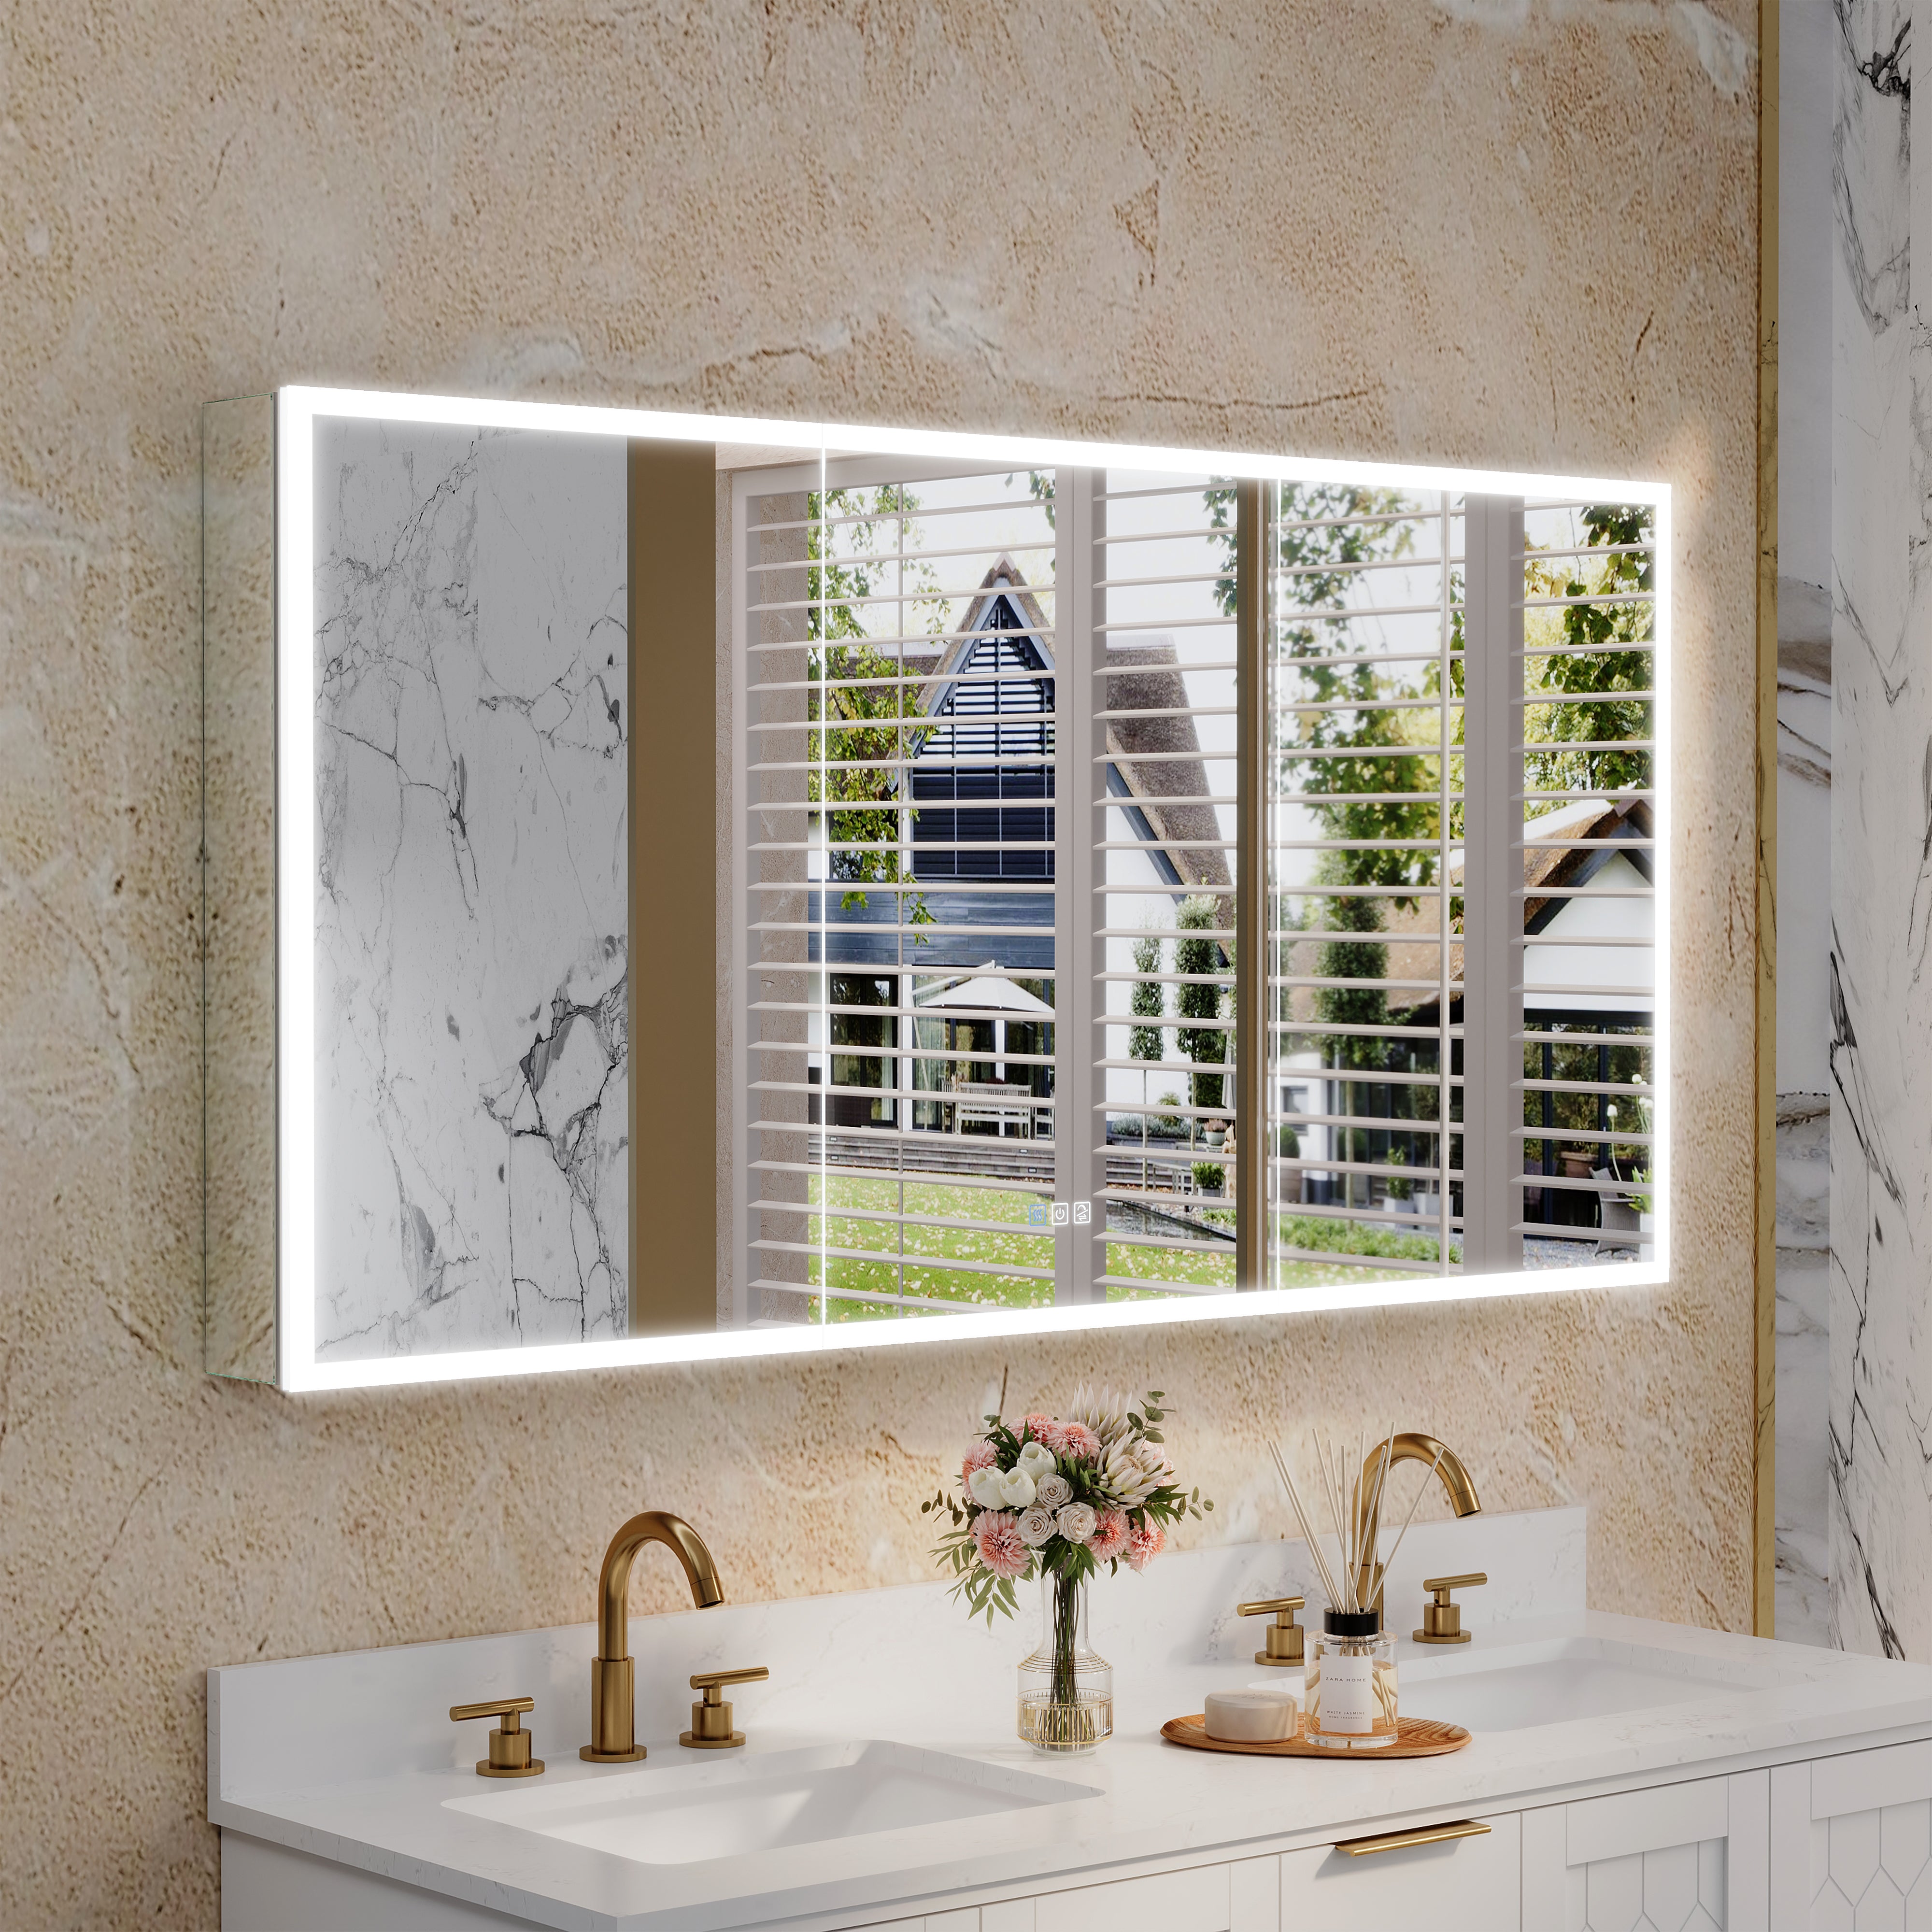
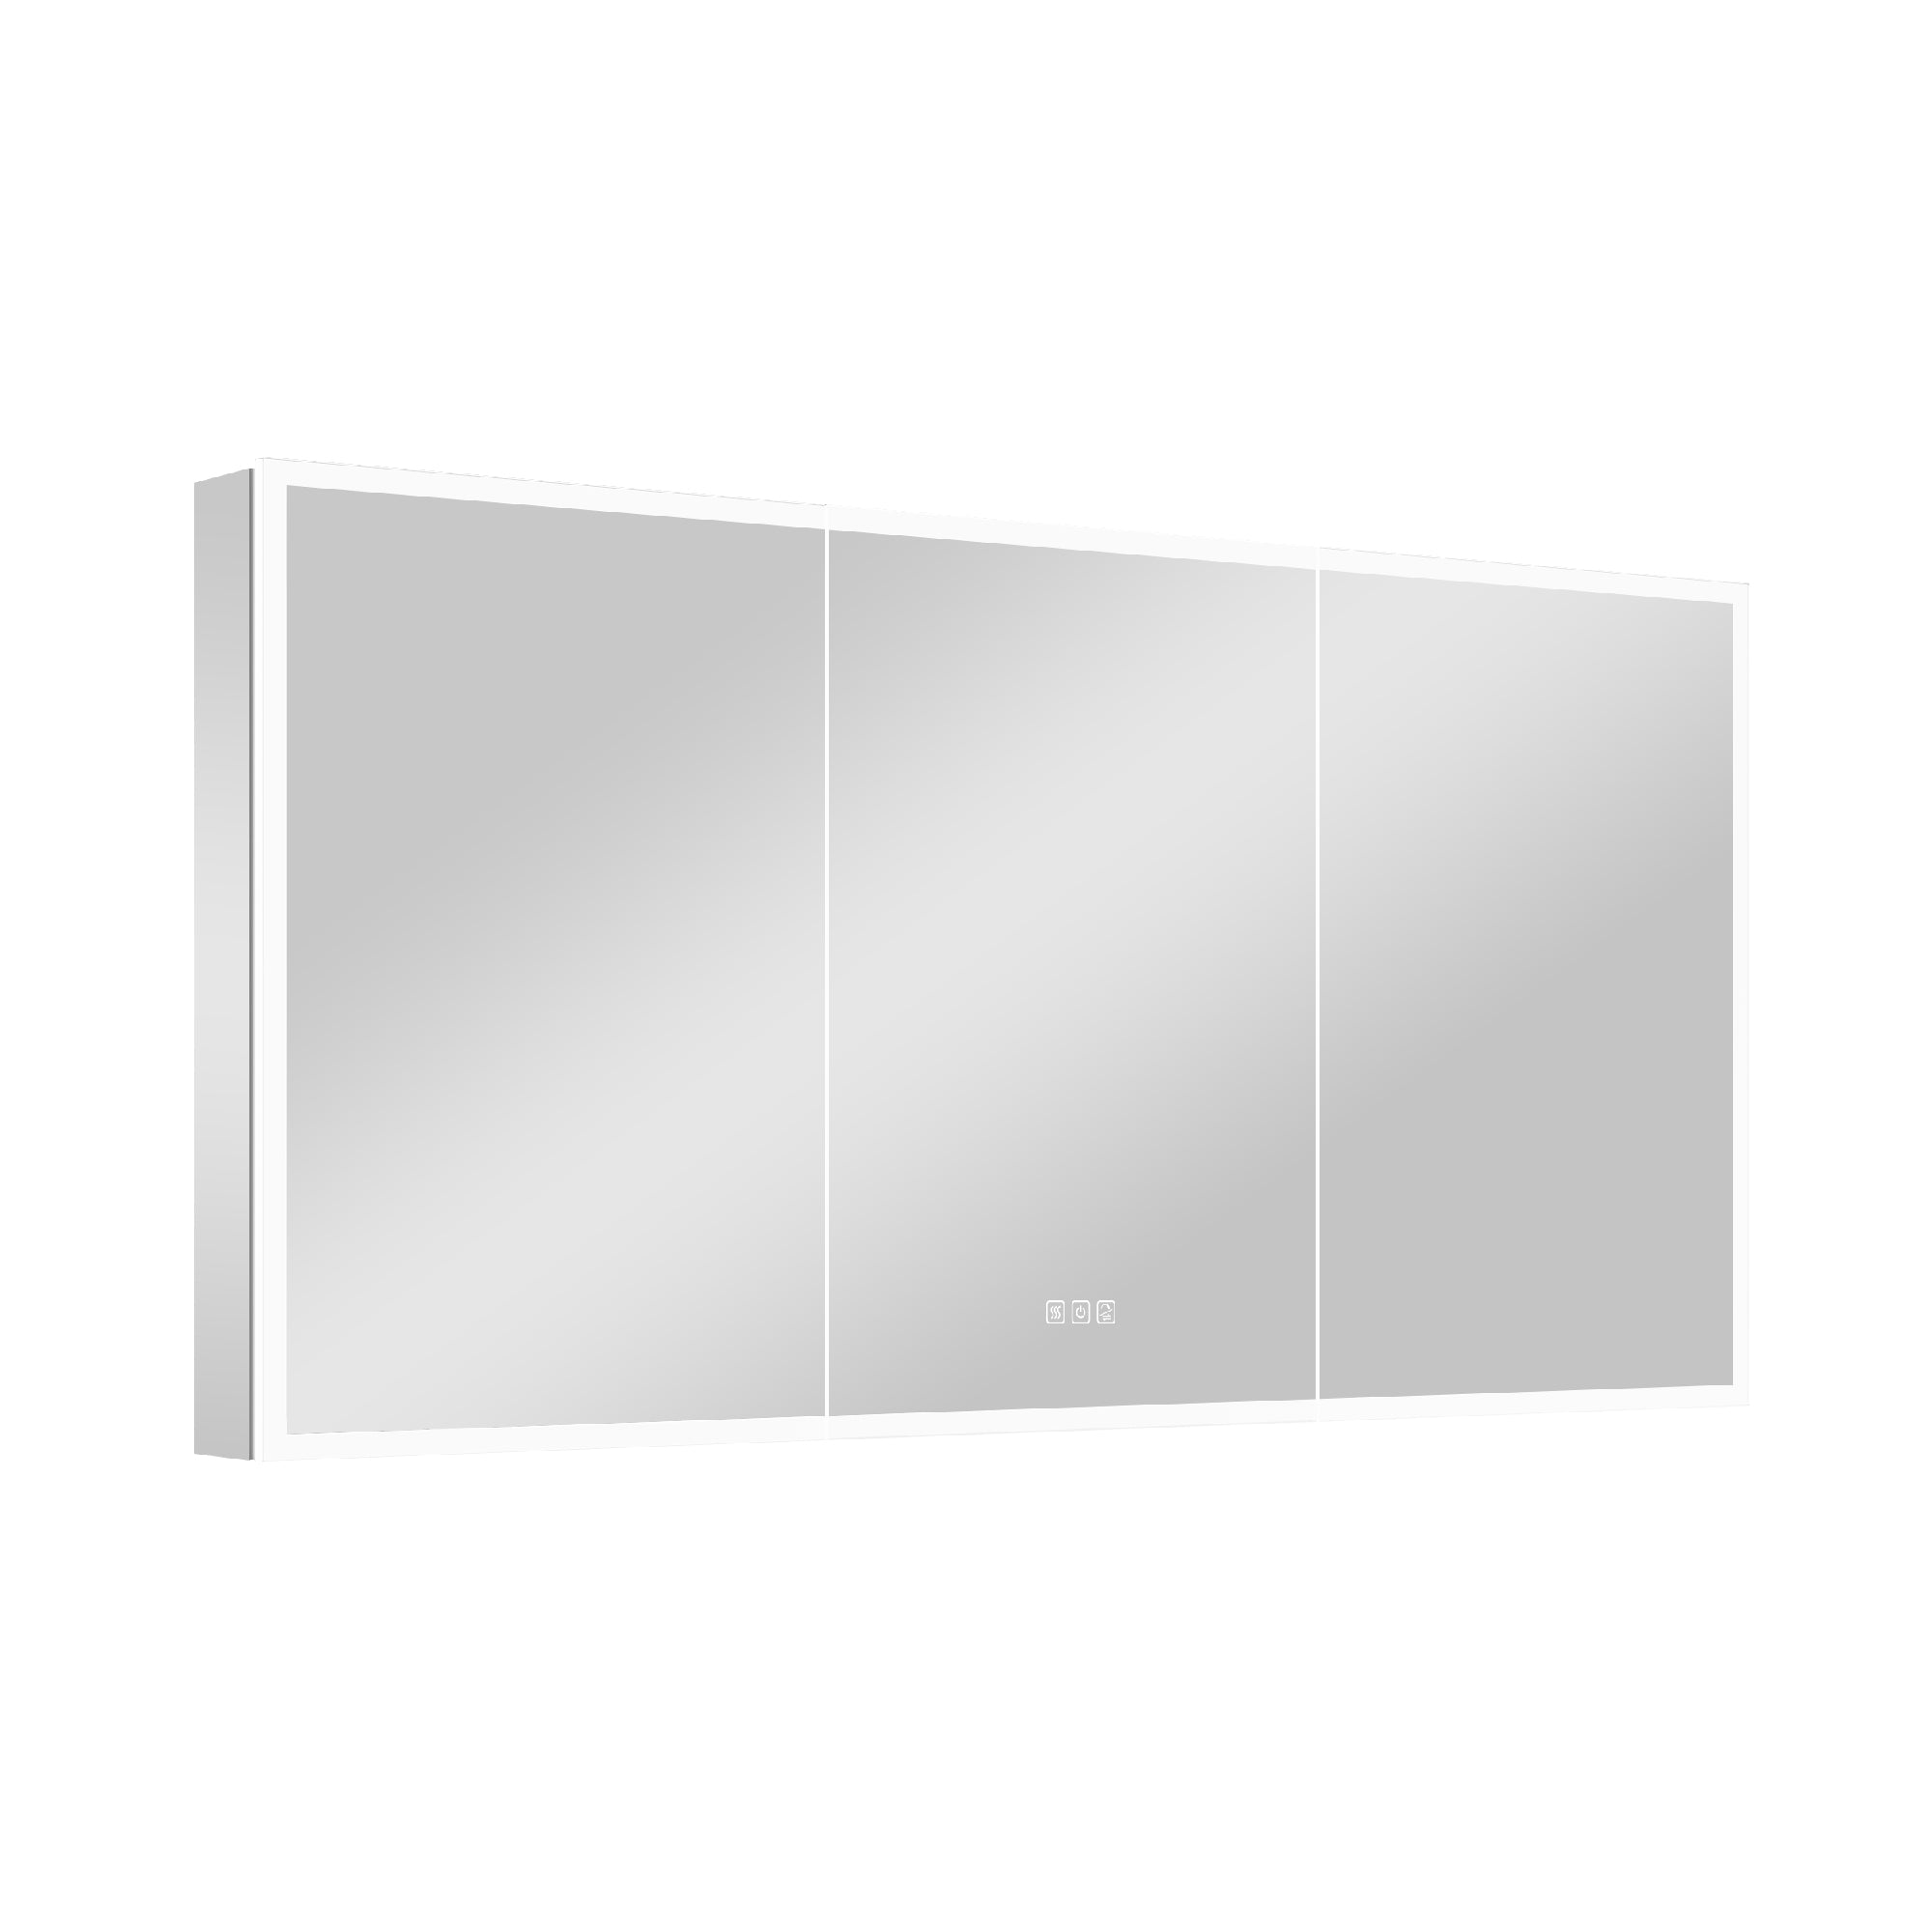
Adding a LED mirror to your bathroom can instantly transform the space. Not only do these mirrors offer a sleek, modern look, but they also provide excellent lighting for grooming and makeup application. If you’re planning to install one yourself, it’s crucial to know how to wire it safely and correctly. In this guide, we'll walk you through the process step by step. Don't worry; we'll keep things simple and human-friendly!
Why Install a LED Mirror in Your Bathroom?
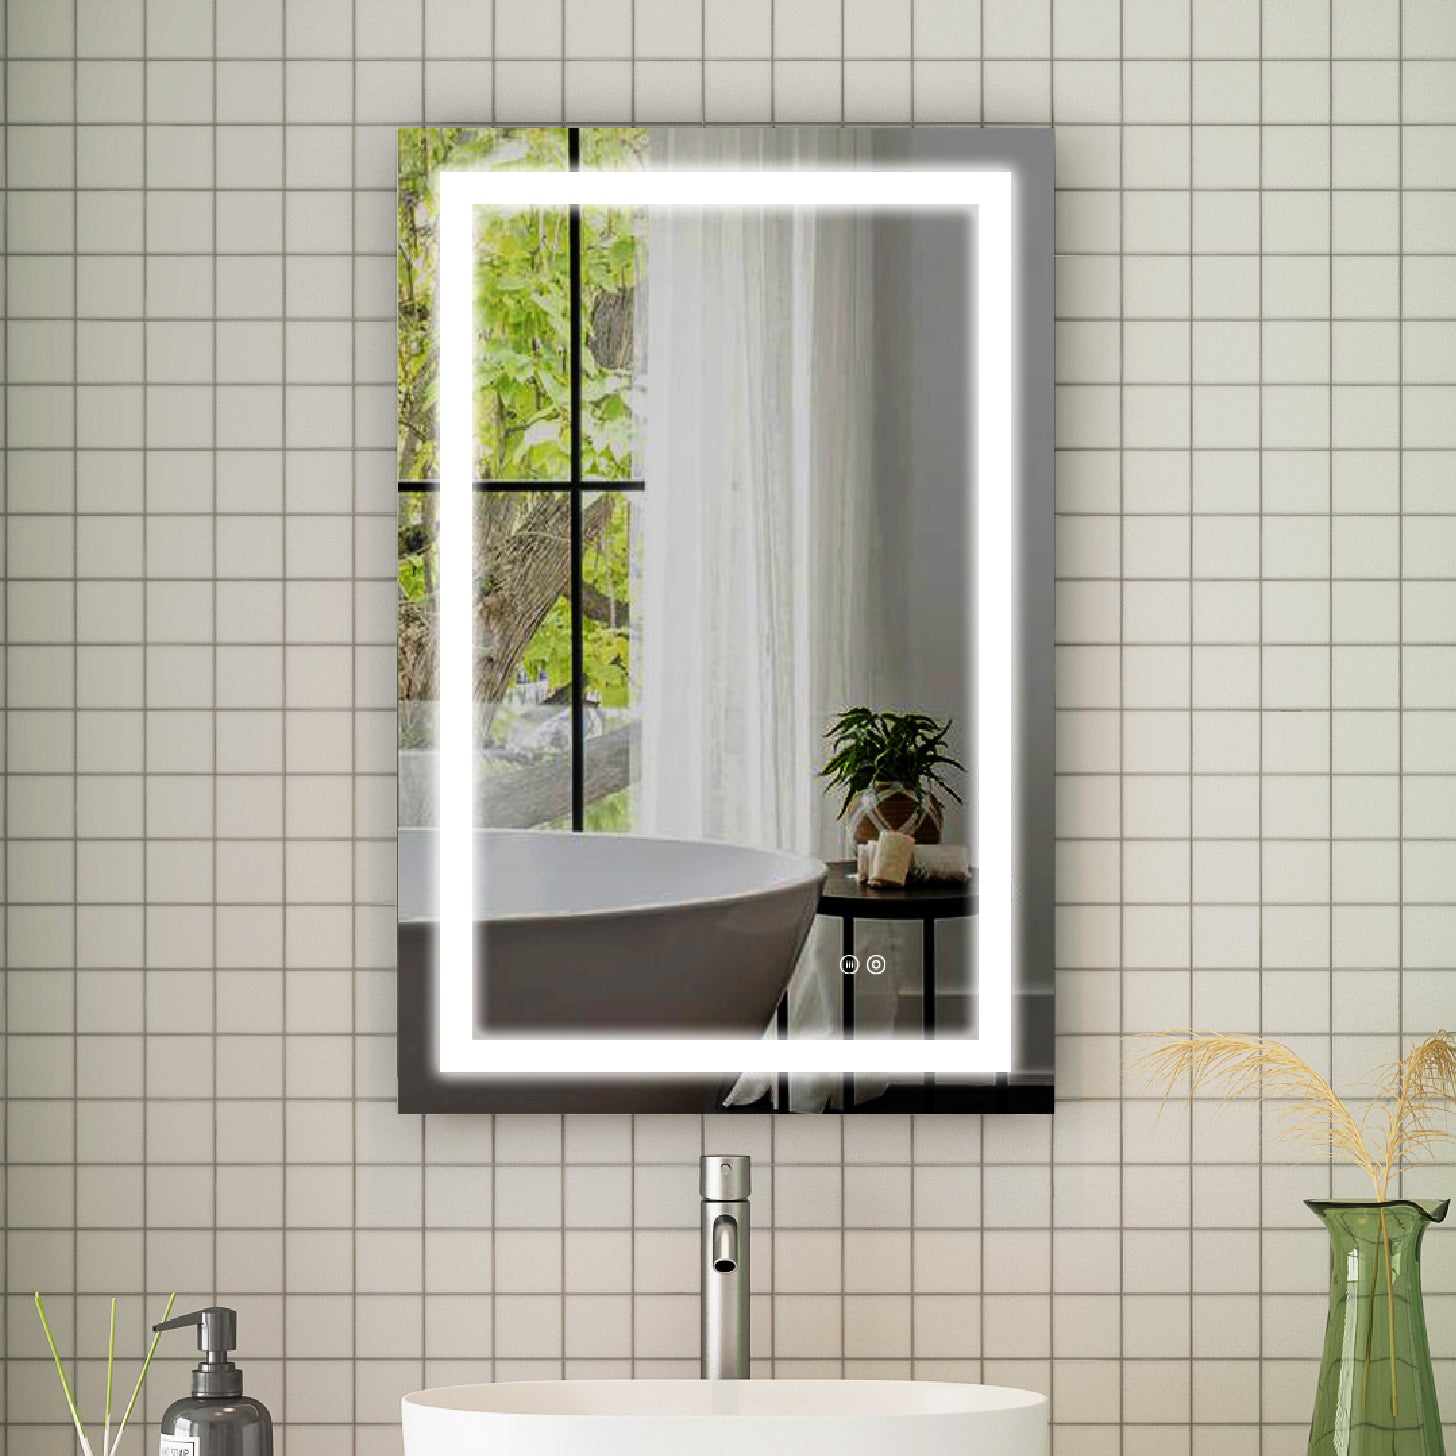
Before diving into the wiring process, let’s discuss why a LED mirror is such a great addition to any bathroom. LED mirrors are energy-efficient, long-lasting, and can provide a soft, natural light that's perfect for everyday tasks. Whether you’re doing your makeup, shaving, or simply freshening up, the clarity and brightness of a LED mirror enhance your bathroom experience.
Now, let’s get started on how to wire a LED bathroom mirror!
Tools and Materials You Will Need
Before jumping into the wiring process, gather the necessary tools and materials:
- LED mirror (with pre-installed LED lights)
- Electrical wire
- Wire strippers
- Wire nuts
- Electrical tape
- A voltage tester
- Drill and screws (if not already mounted)
- Screwdriver
- Level
Make sure you have these ready to go, and don’t forget to turn off the electricity at the circuit breaker before starting any wiring work. Safety first!
Step 1: Choose the Right Location for Your LED Mirror
The placement of your LED mirror is important. It should be at a comfortable height and near a power source. Keep in mind that bathroom electrical codes often require mirrors with lights to be connected to a switch, so you'll likely need access to an existing electrical connection.
Tip: If you’re unsure where to place the mirror, consider centering it above the bathroom sink. It’s the most practical spot for daily tasks.
Step 2: Prepare the Wiring
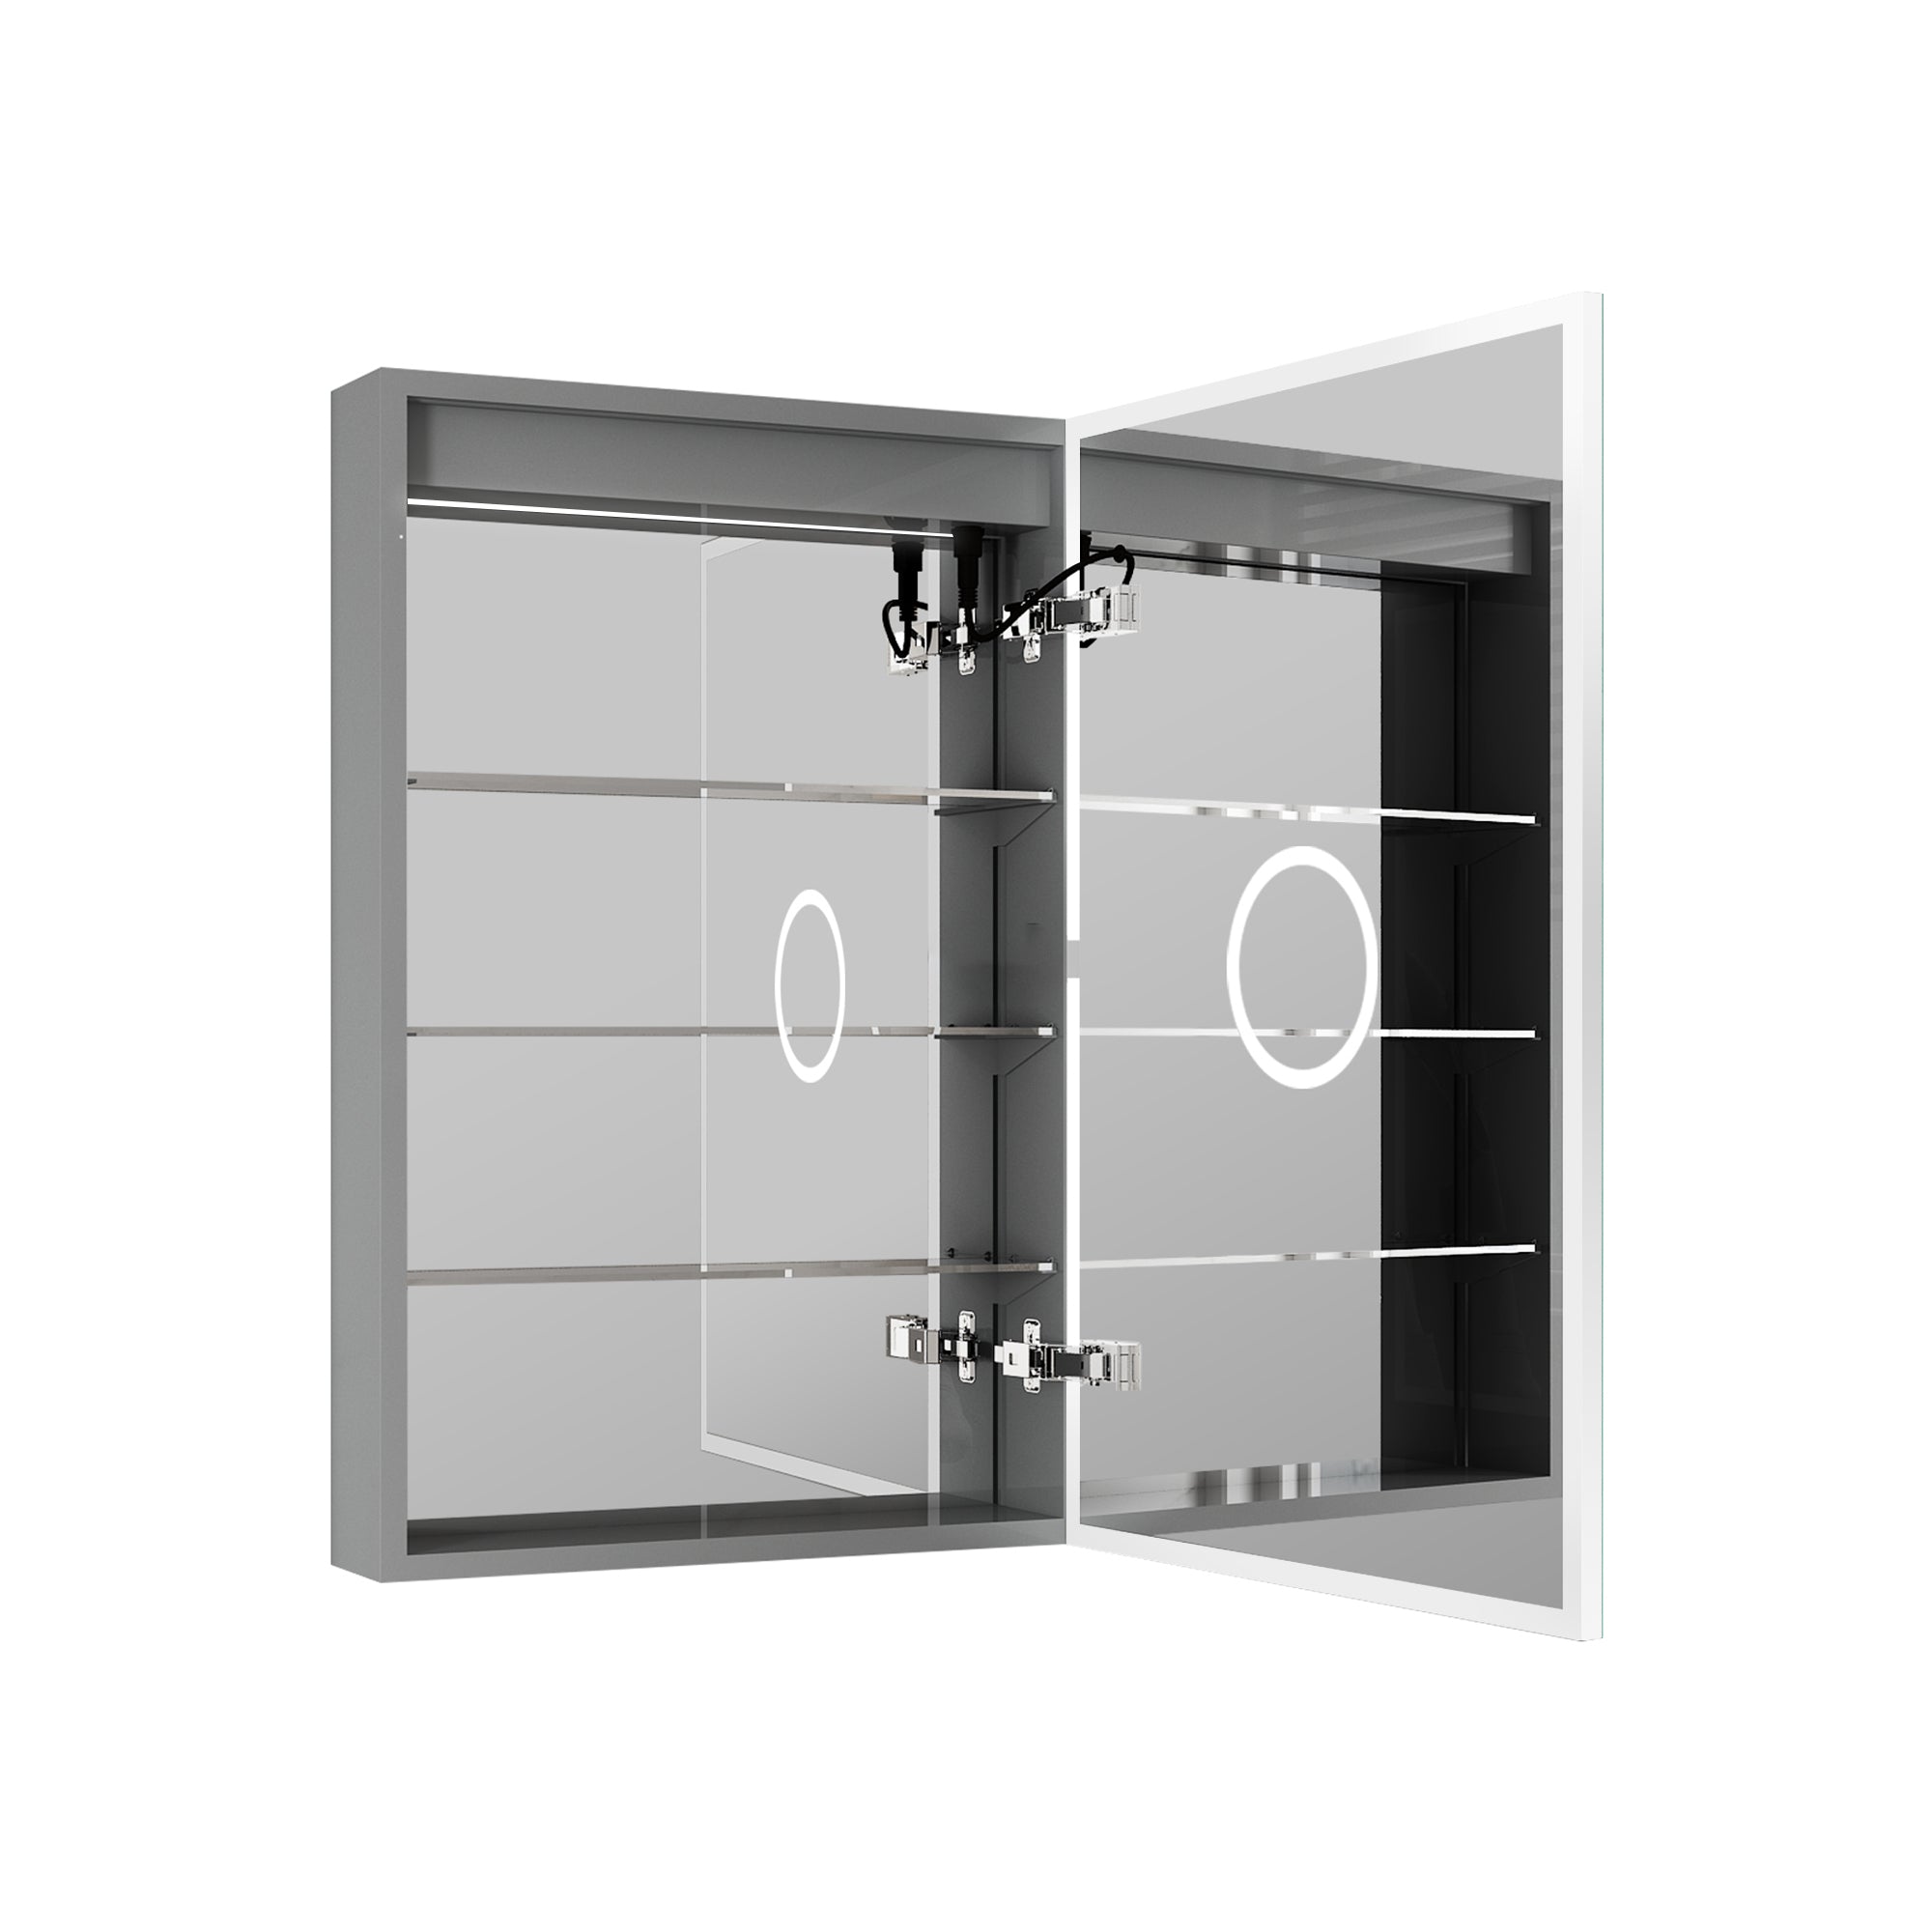
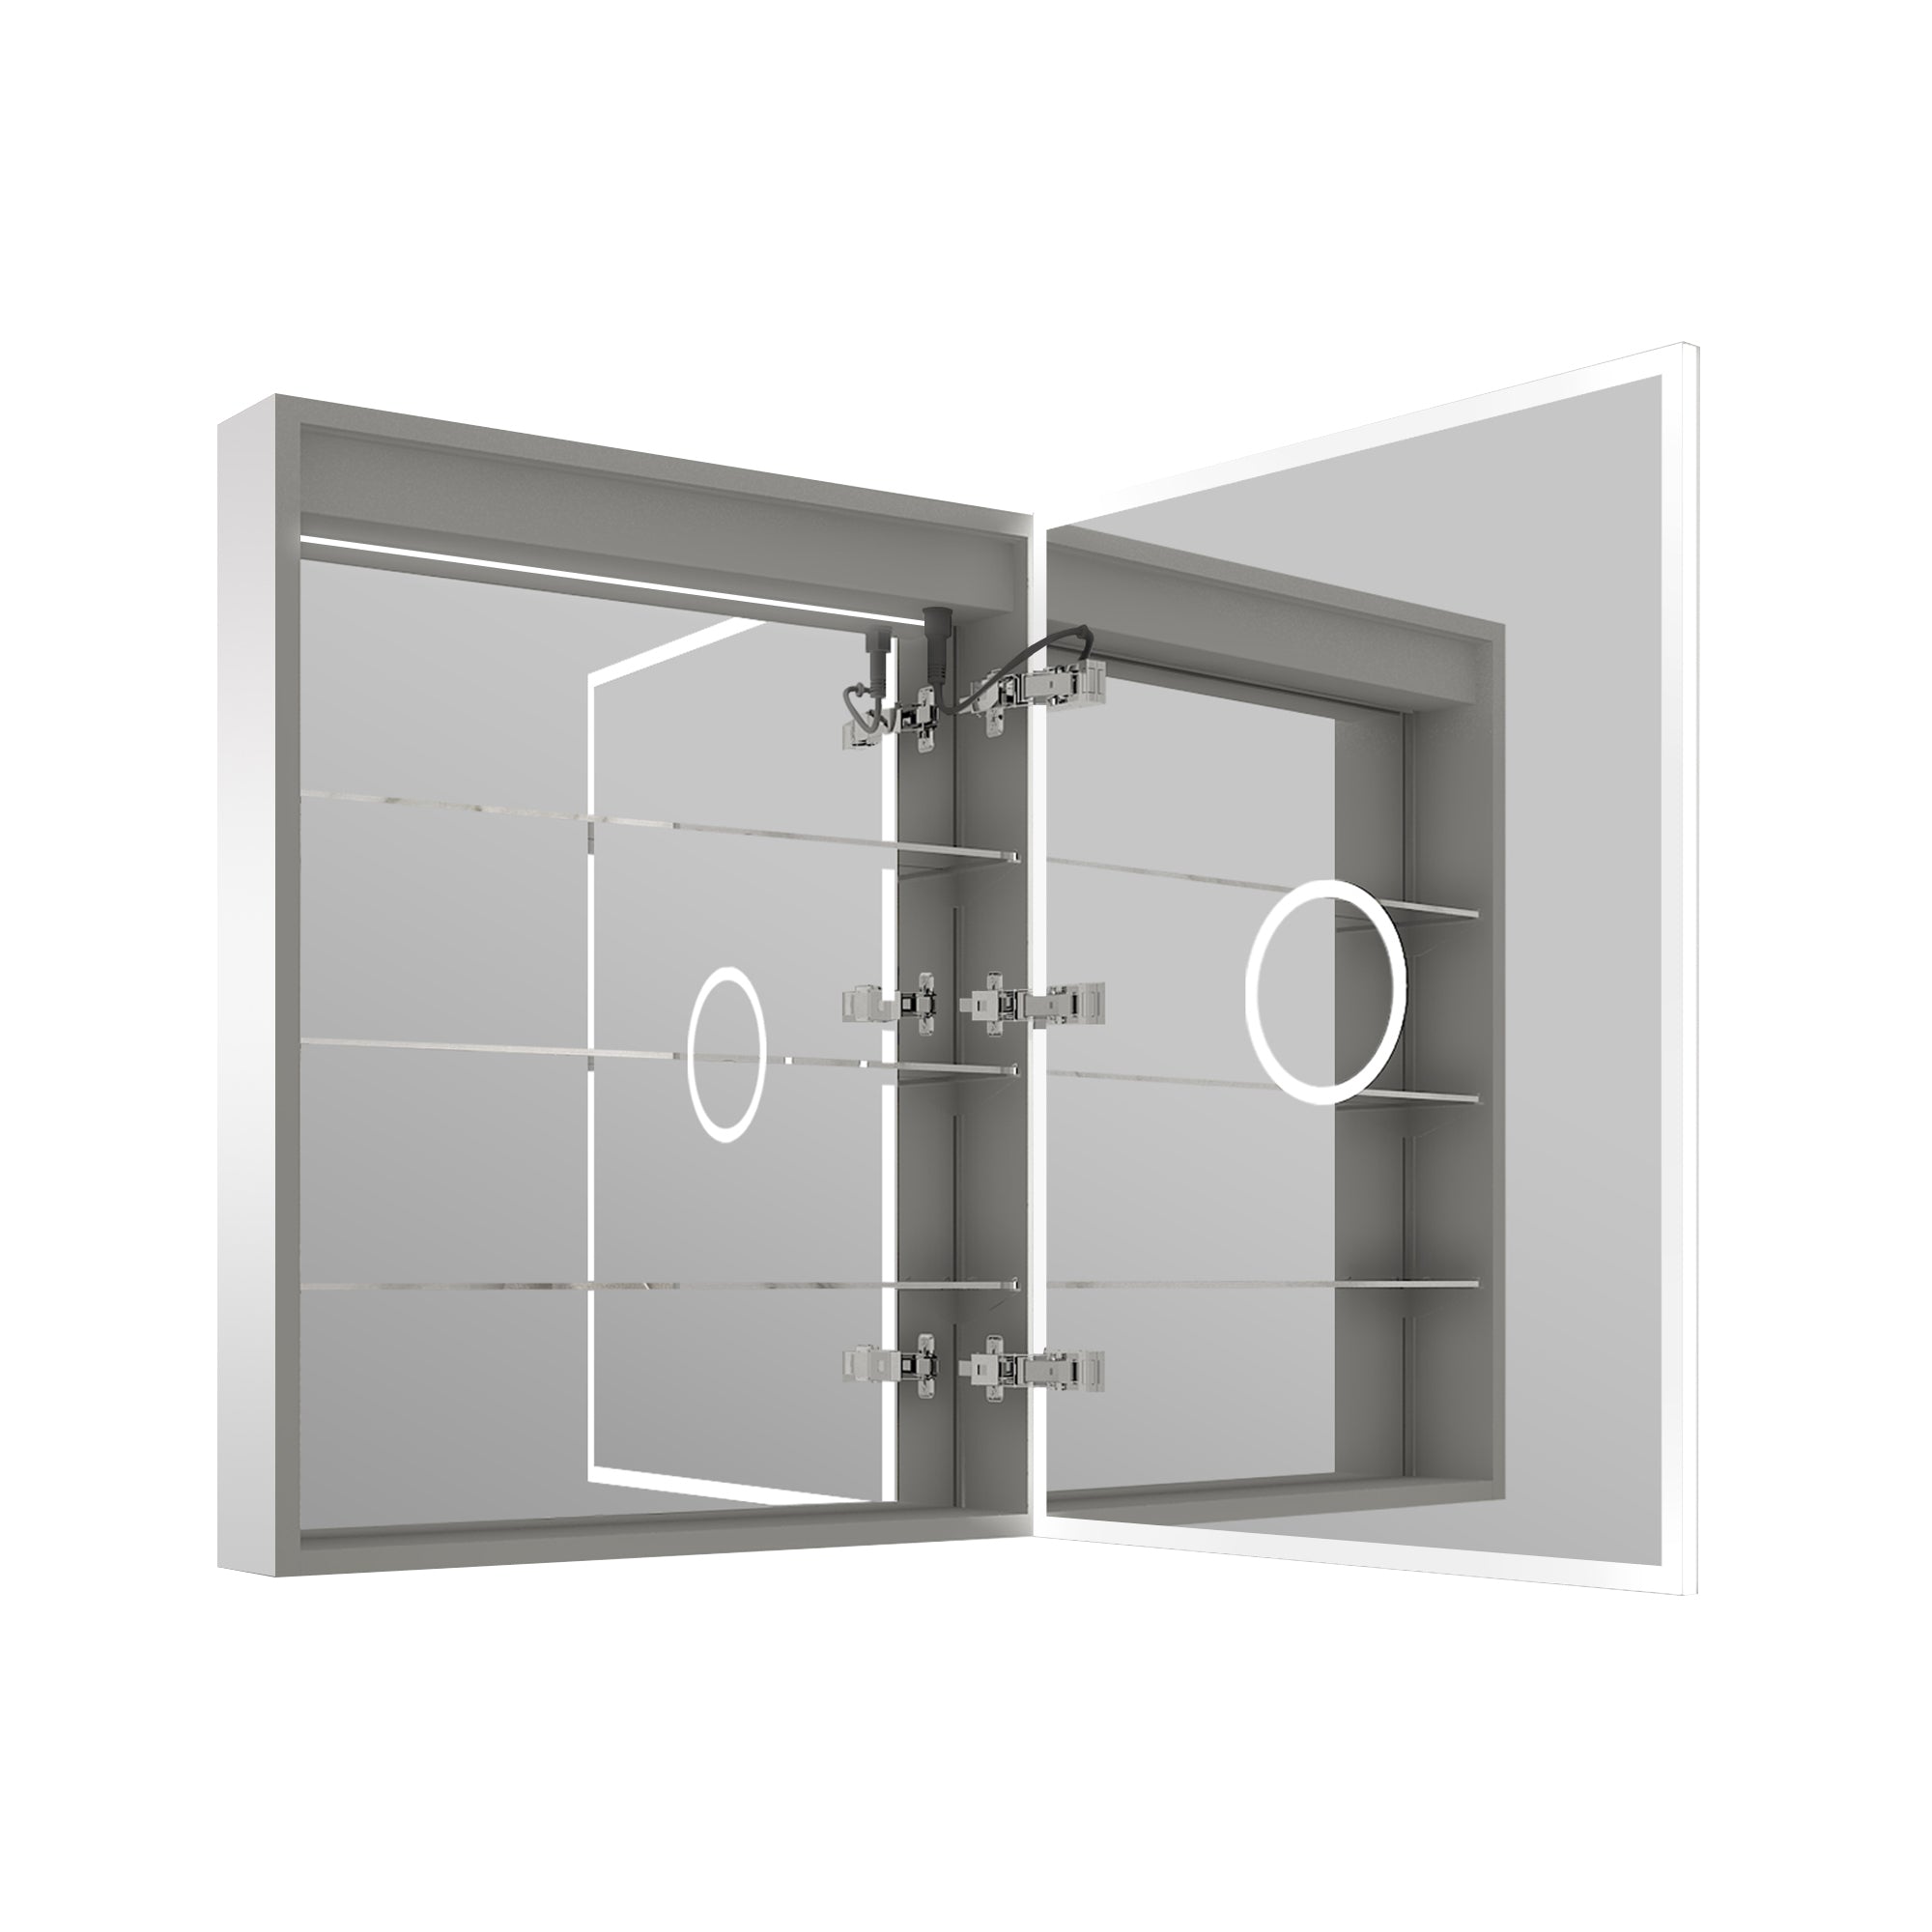
With your LED mirror in hand, locate the electrical wiring on the back of the mirror. Most mirrors will come with a pre-wired LED strip or lighting system.
Steps to Follow:
- Turn off the powerat the breaker box to the bathroom.
- Use a voltage testerto confirm there is no electricity flowing in the wires you will be working on.
- Locate the existing electrical wires behind your bathroom wall. These wires will connect to the mirror's electrical leads.
If your mirror didn't come with a pre-wired LED strip, you may need to run a new wire from the switch to the mirror's location.
Step 3: Connect the Wires
Wiring your LED mirror is relatively straightforward. However, if you’re unfamiliar with basic wiring, it's always a good idea to consult an electrician for safety reasons.
Here’s a simple breakdown of the wiring process:
- Strip the wires: Using wire strippers, carefully strip the insulation off the ends of the electrical wires coming out of the wall and the wires attached to your mirror.
- Match the wires: Typically, you’ll find three different wires: a black (live), a white (neutral), and a green or bare wire (ground).
-
Connect the wires:
- Twist the black (live) wire from the wall to the black wire from the mirror.
- Connect the white (neutral) wires in the same way.
- Attach the ground wires (green or bare wire).
- Secure the connections: Use wire nutsto twist the wires together securely. Afterward, wrap each connection with electrical tape to ensure that the connections stay tight and safe.
Once all connections are made, carefully push the wires back into the wall.
Step 4: Mount the LED Mirror
Now that the wiring is done, it’s time to mount the LED mirror onto the wall.
Follow these steps:
- Position the mirror: Hold the mirror up to the desired spot on the wall. Use a levelto make sure it’s perfectly straight.
- Mark the mounting points: With a pencil, mark where the screws will go based on the mounting brackets attached to the back of the mirror.
- Drill pilot holes: Use a drill to create small pilot holes for the screws.
- Attach the mirror: Screw the mirror into place, ensuring that it’s securely fastened to the wall.
Step 5: Test the LED Mirror
Once the mirror is securely mounted and the wiring is complete, it’s time to test the LED mirror.
- Turn the power back onat the breaker.
- Flip the switch or plug the mirror in (depending on your mirror’s setup).
- Check to ensure that the lights are working properly.
If everything is working as expected, congratulations! You’ve successfully wired and installed your LED bathroom mirror.

Common Mistakes to Avoid
Even though the wiring process is relatively simple, there are a few mistakes that people commonly make:
- Forgetting to turn off the power: Always ensure the electricity is off before starting any electrical work.
- Loose wire connections: If the wires aren’t securely connected, the lights might flicker or not work at all. Double-check each connection before sealing it with tape.
- Mounting issues: Make sure your mirror is securely mounted. A loose mirror can be dangerous, especially in a bathroom where humidity can weaken adhesives.
Maintenance Tips for LED Mirrors
Now that your LED mirror is installed, you'll want to keep it in top condition:
- Regularly clean the surfacewith a soft, damp cloth to avoid streaks.
- Check the wiring annuallyto ensure no connections are becoming loose.
- If your LED lights begin to dim over time, consult your user manual or manufacturer for instructions on replacing the LEDs.
Final Thoughts
Wiring a LED mirror is a relatively simple DIY task that can dramatically enhance your bathroom's ambiance and functionality. With this step-by-step guide, you now have everything you need to safely and correctly wire and install your mirror. Remember, always prioritize safety, and if you're unsure about any step, don't hesitate to call a professional electrician.
Adding a LED mirror to your bathroom not only enhances the aesthetic but also improves practicality. So, go ahead and enjoy the improved lighting as you tackle your day-to-day grooming tasks!


Leave a comment
This site is protected by hCaptcha and the hCaptcha Privacy Policy and Terms of Service apply.