

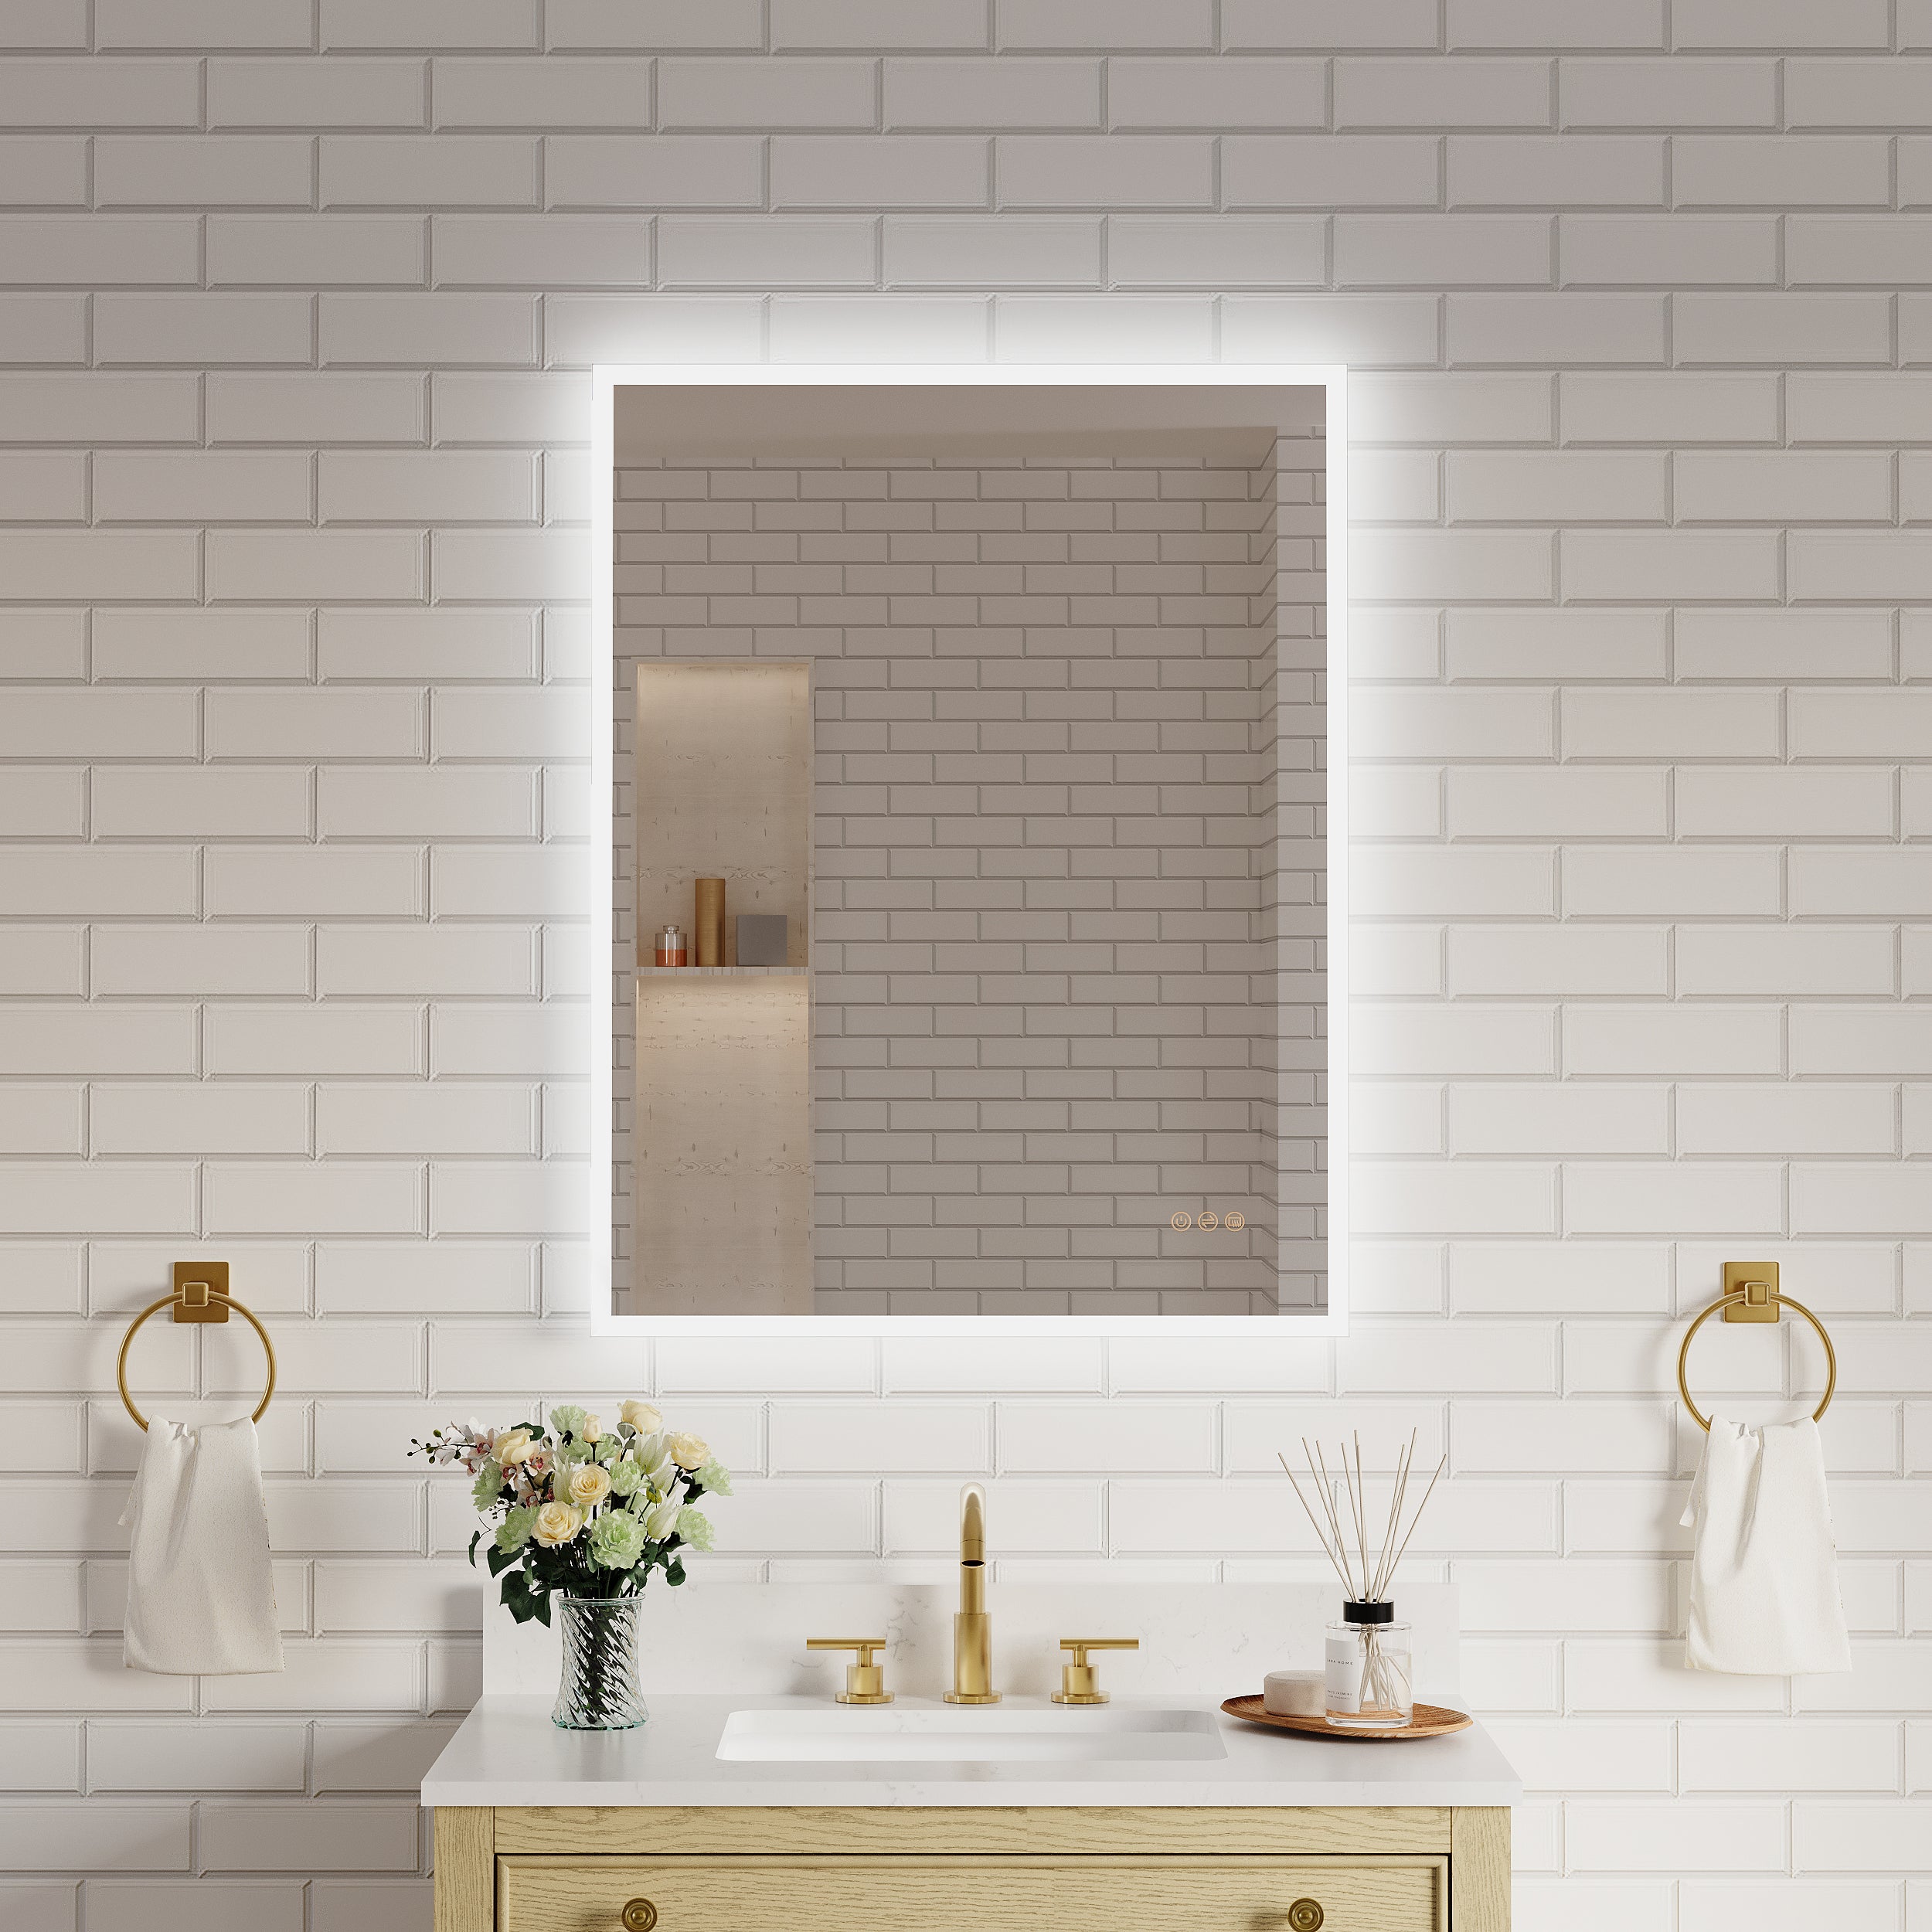
Installation of a bathroom vanity is probably one of the most metamorphic upgrades possible for your bathroom. Whether it be the renovation of an older bathroom or the decoration of a new build, a wood bathroom vanity with sink brings aesthetic touch and utility to the room. Proper installation is the secret to a pro-style finish that lasts for years. That said, in this guide we’re going to cover the general installation guidelines so that your bathroom vanity ends up being installed the right way.
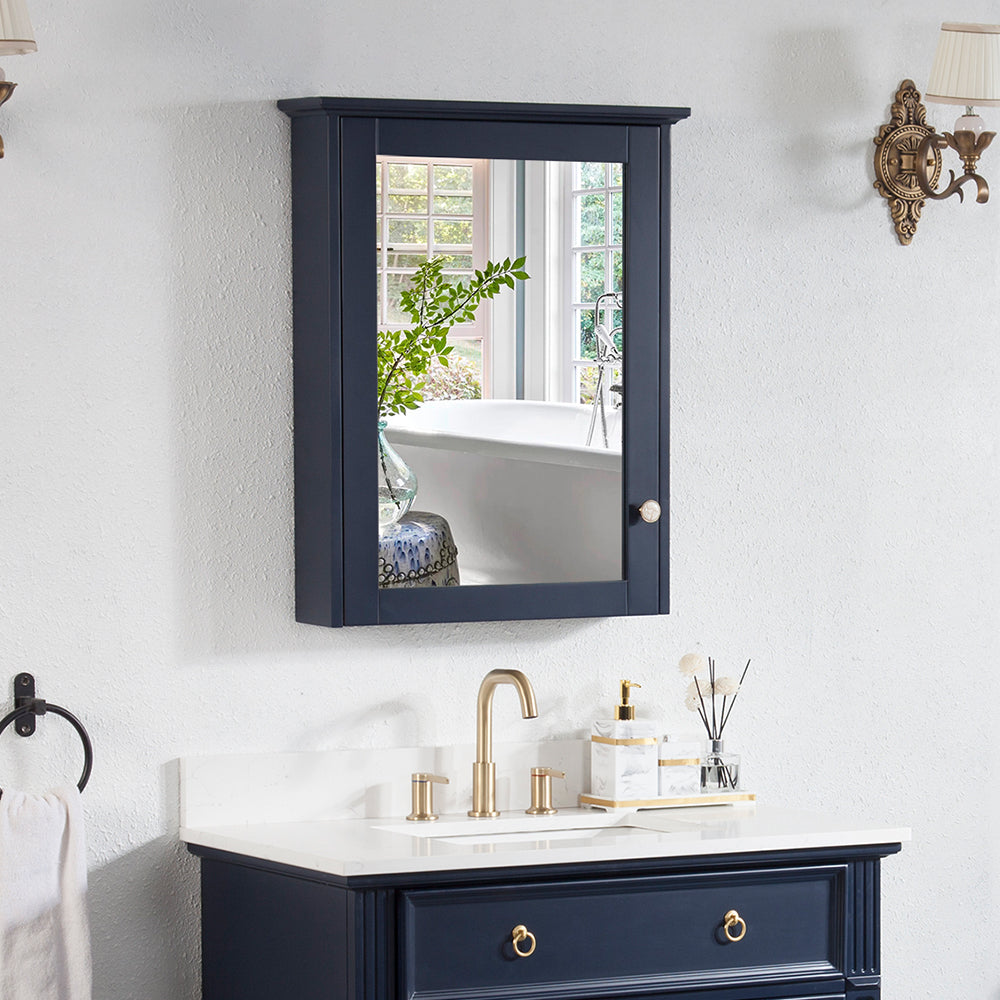
Why Choose a Wood Bathroom Vanity with Sink?
Before diving into the installation steps, let’s take a moment to appreciate why a wood bathroom vanity with sink is such a popular choice:
Natural Beauty: The rich texture and grain of wood add warmth and character to any bathroom.
Durability: High-quality wood vanities are built to withstand the test of time, especially when properly sealed against moisture.
Versatility: A variety of wood types, finishes, and designs allow you to find a vanity that matches your bathroom’s style, from rustic to modern.
Eco-Friendly: Many wood vanities are made from sustainably sourced materials, making them an environmentally conscious choice.
Now, let’s move on to the step-by-step process for installing your new wood vanity with a sink.
Tools and Materials You’ll Need
Before you begin, gather the following tools and materials:
- Tape measure
- Level
- Screwdriver (manual or electric)
- Adjustable wrench
- Drill and drill bits
- Stud finder
- Silicone caulk
- Plumber’s tape
- Plumbing wrench
- Screws and wall anchors
- Towels or rags
Step-by-Step Guide to Installing a Bathroom Vanity

Step 1: Prepare the Space
Before installing your vanity, ensure the bathroom is ready for the new addition:
Turn Off the Water Supply: Shut off the water supply to the sink. This usually involves turning off the valves under the sink or shutting off the main water line.
Remove the Old Vanity: If replacing an existing vanity, carefully disconnect the plumbing and remove the old unit. Be cautious to avoid damaging the walls or floor.
Clean the Area: Clear away any debris, adhesive, or caulk residue to create a clean surface for installation.
Step 2: Mark the Placement
Measure and Align: Use a tape measure to mark the position where the vanity will be installed. Consider the height, width, and depth to ensure the unit fits comfortably in the space.
Locate Studs: Use a stud finder to locate wall studs for secure mounting. Mark the studs with a pencil for reference.
Position the Vanity: Place the vanity against the wall and use a level to ensure it is straight. Adjust as needed.
Step 3: Secure the Vanity to the Wall
Drill Pilot Holes: Drill pilot holes through the back of the vanity into the wall studs. This prevents the wood from splitting and ensures secure attachment.
Attach the Vanity: Use screws to secure the vanity to the wall. If no studs are available, use wall anchors for added stability.
Step 4: Connect the Plumbing
Install the Faucet and Drain: Install the faucet and drain assembly to the sink as per the manufacturer’s instructions (if it isn’t already attached). Tighten with plumber’s tape to avoid leaks.
Reconnect Water Supply Lines: Reconnect the water supply lines to the faucet. Use an adjustable wrench to tighten connections, but do not over-tighten.
Reconnect the P-Trap: Attach the P-trap connecting the sink drain to the wall pipe Make sure all the connections are tight to avoid leaks.
Step 5: Seal the Edges
Apply Silicone Caulk: Run a bead of silicone caulk along the back edges of the vanity where it meets the wall. This seals the gap and prevents water from seeping behind the unit.
Smooth the Caulk: Use your finger or a caulk smoothing tool to create a clean, finished look.
Step 6: Test for Functionality
Turn on the Faucet: Slowly turn on the water source and check for any leaks. If necessary, tighten all connecting components.
Test Vanity Sink: Let the water flow through the faucet, and check the drainage system to ensure everything is functioning properly.
Tips for a Successful Installation
1. Choose the Right Size Vanity
You have to measure the bathroom space to avoid overcrowding with a vanity. Standard vanities come in various sizes, so pick one that works best for your layout and storage needs.
2. Prioritize Proper Ventilation
Wood bathroom vanities can be sensitive to moisture. Ensure your bathroom has adequate ventilation, such as a fan or window, to reduce humidity and prolong the life of the wood.
3. Opt for a Pre-Assembled Vanity
Many vanities come pre-assembled, saving you time and effort during installation. If you’re a beginner, this can simplify the process significantly.
4. Enlist Help When Needed
Vanities can be heavy, especially those made of solid wood. Enlist a helper to assist with positioning and securing the unit to the wall.
Why Hire a Professional?
While installing a bathroom vanity can be a rewarding DIY project, there are situations where hiring a professional is beneficial:
- Complex plumbing adjustments
- Uneven walls or floors that require additional modifications
- Custom or oversized vanities that need specialized tools and expertise
A professional installer can ensure your wood bathroom vanity with sink is installed safely and efficiently, giving you peace of mind.
Final Thoughts
Installing a bathroom vanity can be daunting. With the right tools, materials, and instructions, one can install a wood bathroom vanity with a sink that will transform your bathroom into a practical and stylish room. Whether you want to tackle the project yourself or bring in a pro, the result will be a stunning, long-lasting improvement to your home.


Leave a comment
This site is protected by hCaptcha and the hCaptcha Privacy Policy and Terms of Service apply.