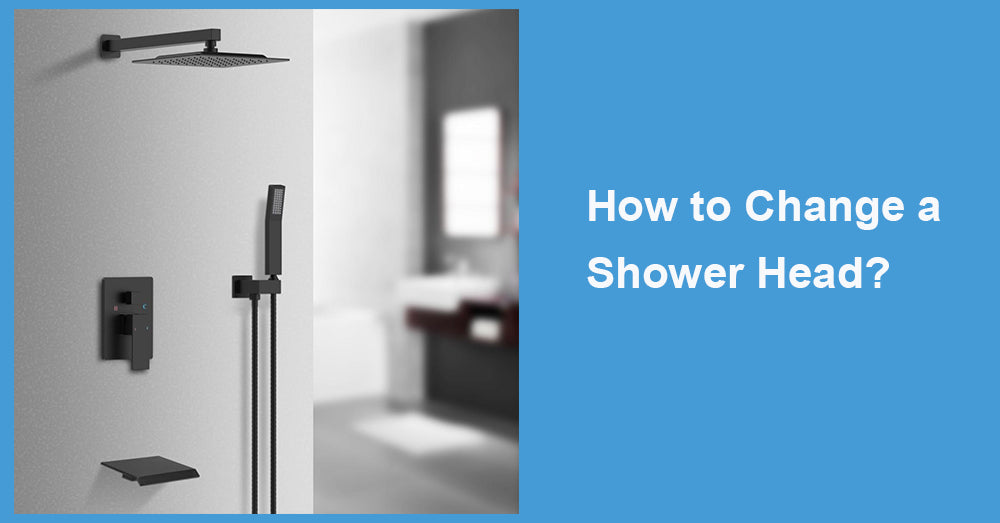
Replacing your shower head can instantly upgrade your bathroom, making it more functional and stylish. Whether you're looking to refresh your space with a modern touch like a black shower faucet or simply improve water flow, swapping out a shower head is one of the easiest DIY projects you can tackle.
In this article, we’ll discuss the process of changing a shower head step by step. By the end, you'll have a sleek new shower head installed and ready for use!
Why You Should Change Your Shower Head
Over time, shower heads can become clogged with mineral deposits, affecting water pressure and the quality of your showers. Or maybe you're updating your bathroom’s style and want to match everything, from the shower head to the black shower faucet and other fixtures.
Here are a few common reasons to change your shower head:
-
Better water pressure: A new shower head can improve the flow and make showers more enjoyable.
-
Style upgrade: Modern designs, such as matte black fixtures, can give your bathroom a contemporary feel.
-
Water conservation: Many new shower heads are designed to save water without sacrificing pressure.
-
Easy maintenance: Newer shower heads are often easier to clean and maintain, reducing the build-up of lime and grime.
Tools You’ll Need
Before you start, gather the tools needed to make the process smooth:
-
Adjustable wrench or pliers
-
Teflon (plumber’s) tape
-
Old towel or cloth
-
New shower head (whether it's a traditional model or ablack shower faucet style
Step-by-Step Guide to Changing a Shower Head

Step 1: Turn Off the Water
While it’s not necessary to shut off the entire house’s water supply, it’s a good idea to turn off the water to the shower. This will prevent any unnecessary splashing or leaks while you work.
-
Tip: Some older shower systems may require shutting off the water supply if the shut-off valve is not directly accessible.
Step 2: Remove the Old Shower Head
First, remove the old shower head by turning it counter clockwise. You can often do this by hand, but if it’s stuck, use an adjustable wrench or pliers.
-
Wrap the old shower head: Place a towel or cloth around the old shower head before using the wrench to prevent scratches or damage to the fixture.
-
Apply gentle pressure: Loosen the shower head carefully. Don’t force it too hard to avoid damaging the pipe.
Once you’ve removed the old head, inspect the shower arm (the pipe extending from the wall) to ensure there’s no damage or rust.
Step 3: Clean the Shower Arm
Before installing the new shower head, clean the threads of the shower arm. Old tape or residue might be left behind from the previous installation, so gently wipe it away with a cloth.
-
Why this matters: Clean threads ensure a tight, leak-proof connection when you install the new shower head, especially when using modern designs like ablack shower faucet.
Step 4: Apply Teflon Tape
Cover the Teflon (plumber's) tape around the threads of the shower arm. This assists in forming a secure seal and preventing any leaks after the installation of the new shower head.
-
How to apply: Rotate the tape in a clockwise direction around the threads 2-3 times, making sure it is evenly wrapped. Use your fingers to gently flatten it down to ensure it is secure.
Step 5: Install the New Shower Head
Now comes the fun part—installing the new shower head! Whether you're installing a sleek, black shower faucet style or another design, the process is straightforward:
-
Twist the new shower headonto the shower arm in a clockwise direction using your hand. It should be simple to rotate with minimal pushback.
-
Hand-tightenuntil secure. You can also use a wrench to give it a final twist, but don’t overtighten as this can damage the threads.
-
Check alignment: Make sure the shower head is positioned correctly and pointing in the direction you want before finishing.
Step 6: Test for Leaks
After installing your new shower head, remember to turn the water on again. Allow the water to flow for a minute or two, and thoroughly inspect the connection for any signs of leaks.
-
Fixing minor leaks:If water is dripping from where the shower head connects, either tighten it slightly with a wrench or add more Teflon tape for a better seal.
Step 7: Enjoy Your New Shower Head
Congratulations! You’ve successfully changed your shower head. Now, it’s time to enjoy the improved water pressure and style upgrade. If you opted for a black shower faucet design, your bathroom will have that extra modern touch you were looking for.
Choosing the Right Shower Head for Your Bathroom
When upgrading your bathroom, the right shower head makes all the difference. Here are some things to consider when selecting your new fixture:
1. Style and Finish
If you want to create a cohesive look in your bathroom, matching your shower head to the other fixtures is key. A black shower faucet is a popular choice for modern, minimalist bathrooms. It pairs well with other black fixtures or contrasting white tile.
-
Chrome: For a timeless, shiny look.
-
Brushed nickel: Offers a softer, matte finish.
-
Matte black: A trendy and bold option for contemporary spaces.
2. Water Pressure and Flow Rate
Shower heads come with different flow rates. If you want a strong, refreshing stream, opt for a shower head that offers high water pressure. However, if you're concerned about water conservation, look for eco-friendly models designed to save water while maintaining good pressure.
3. Features
Modern shower heads, like those featuring black shower faucets, often come with extra features like multiple spray settings, handheld attachments, or even LED lighting.
-
Rainfall shower heads: Provide a luxurious, spa-like experience with a gentle water flow.
-
Handheld shower heads: Offer flexibility and ease, especially for cleaning or washing children and pets.
-
LED lighted shower heads: Add a fun and modern twist, perfect for a high-tech bathroom upgrade.
Takeaway
Changing a shower head is a simple and effective way to update your bathroom. With just a few tools and a bit of time, you can improve your water pressure, modernize your space, and enhance your daily shower experience. Whether you're installing a sleek black shower faucet or upgrading to a rainfall-style head, the steps outlined here will help you complete the job with ease.







Leave a comment
This site is protected by hCaptcha and the hCaptcha Privacy Policy and Terms of Service apply.