Replacing a bathroom vanity and sink can significantly enhance the functionality and aesthetics of your bathroom. Whether you’re updating an outdated design or simply looking to add a touch of style, this project can be rewarding and manageable with the right approach. This comprehensive guide will walk you through the steps necessary to replace your bathroom vanities effectively, ensuring you achieve professional results.
Why Replace Your Bathroom Vanity and Sink?
Before we delve into the details, it’s essential to understand why replacing your bathroom vanity and sink is worthwhile:
-
Improved Functionality: A new vanity often has better storage options and a more efficient layout.
-
Enhanced Style: Making updates to your vanity and sink can greatly transform the appearance of your bathroom, creating a more welcoming atmosphere.
-
Increased Value: A modern, stylish bathroom can boost your home’s resale value and appeal to potential buyers.
Tools and Materials You’ll Need
Before starting the project, gather all the necessary tools and materials. Here’s a list to get you started:
Tools
-
Adjustable wrench
-
Screwdrivers (flathead and Phillips)
-
Utility knife
-
Level
-
Tape measure
-
Plumber's putty
-
Caulk gun
-
Bucket (to catch water)
Materials
-
New bathroom vanity
-
New sink (drop-in or undermount)
-
Faucet (if not reused)
-
Plumbing supplies (supply lines, P-trap, etc.)
-
Wood shims (if needed)
-
Silicone caulk
Step-by-Step Guide to Replacing a Bathroom Vanity and Sink

Step 1: Prepare Your Bathroom
Before you begin, it’s crucial to prepare your bathroom for the project:
-
Clear the Area: Remove all items from the vanity, including toiletries and decor.
-
Turn Off the Water Supply: Locate the shut-off valves under the sink and turn them off. If there are no individual valves, shut off the main water supply for your home.
-
Drain the Plumbing: Open the faucet to allow any remaining water in the pipes to drain out.
Step 2: Remove the Old Vanity
With everything cleared out, it’s time to take out the old vanity:
Disconnect the Plumbing: Utilize the adjustable wrench to detach the water supply lines from the faucet. Use a wrench to take out the P-trap (the curved pipe) from the drain. Expect some extra water to overflow into the pail.
Remove the Vanity: If your vanity is attached to the wall, check for screws or brackets securing it in place. Gently pull the vanity away from the wall. Use a utility knife to cut any caulk or adhesive if it's stuck. Take care to avoid damaging the wall or flooring during this process
Remove the Old Sink (if applicable): If the sink is separate from the vanity, carefully remove it by disconnecting any clips or brackets holding it.
Step 3: Install the New Vanity
Now that the old vanity is out, it’s time to install the new one:
Position the New Vanity: Place the new vanity in the desired location. Use a level to ensure it’s even. If necessary, adjust with wood shims.
Secure the Vanity: If the vanity has mounting brackets, secure them to the wall to keep it stable.
Step 4: Install the Sink
The next step is to install the sink on your new vanity:
Prepare for the Sink: If you’re using a drop-in sink, apply a bead of plumber's putty around the edge of the sink opening.
Set the Sink in Place:
-
Carefully position the sink into the vanity.
-
Press down gently to ensure a good seal.
-
For under-mount sinks, follow the manufacturer’s instructions for installation, typically involving clips and adhesives.
Secure the Sink: If required, install brackets or clips to secure the sink properly.
Step 5: Install the Faucet
With the sink in place, it’s time to install the faucet:
Attach the Faucet: Follow the manufacturer’s instructions to install the faucet on the sink. Secure it tightly to prevent leaks.
Connect the Supply Lines: Attach the water supply lines to the faucet. Ensure you tighten them properly using a wrench, but avoid over-tightening.
Step 6: Bridge the Drain
Next, you’ll Bridge the drain to complete the plumbing:
Place the Drain Assembly:Place the drain in the sink and fasten it as per the guidelines provided by the manufacturer. Apply plumber's glue to make sure there is a secure seal against water.
Connect the P-Trap: Reattach the P-trap to the drain. Ensure all connections are snug and leak-free.
Step 7: Caulk and Seal
With everything connected, it’s essential to caulk and seal:
Apply Silicone Caulk: Use a caulk gun to apply silicone caulk around the edges of the sink where it meets the vanity. This will help prevent water damage and mold.
Final Touches: Clean excess caulk and allow it to dry according to the manufacturer’s instructions.
Step 8: Turn on the Water Supply
Now it’s time for the moment of truth:
Turn On the Water: Slowly turn the water supply back on. Check for leaks around the faucet and drain.
Test the Sink: Run water through the faucet to ensure everything works correctly. Make sure to check under the sink for any leaks.
Step 9: Style Your New Vanity
Now that your new bathroom vanities and sink are installed, it’s time to add some personal touches:
-
Add Decor: Place toiletries, decorative items, and storage baskets on the countertop.
-
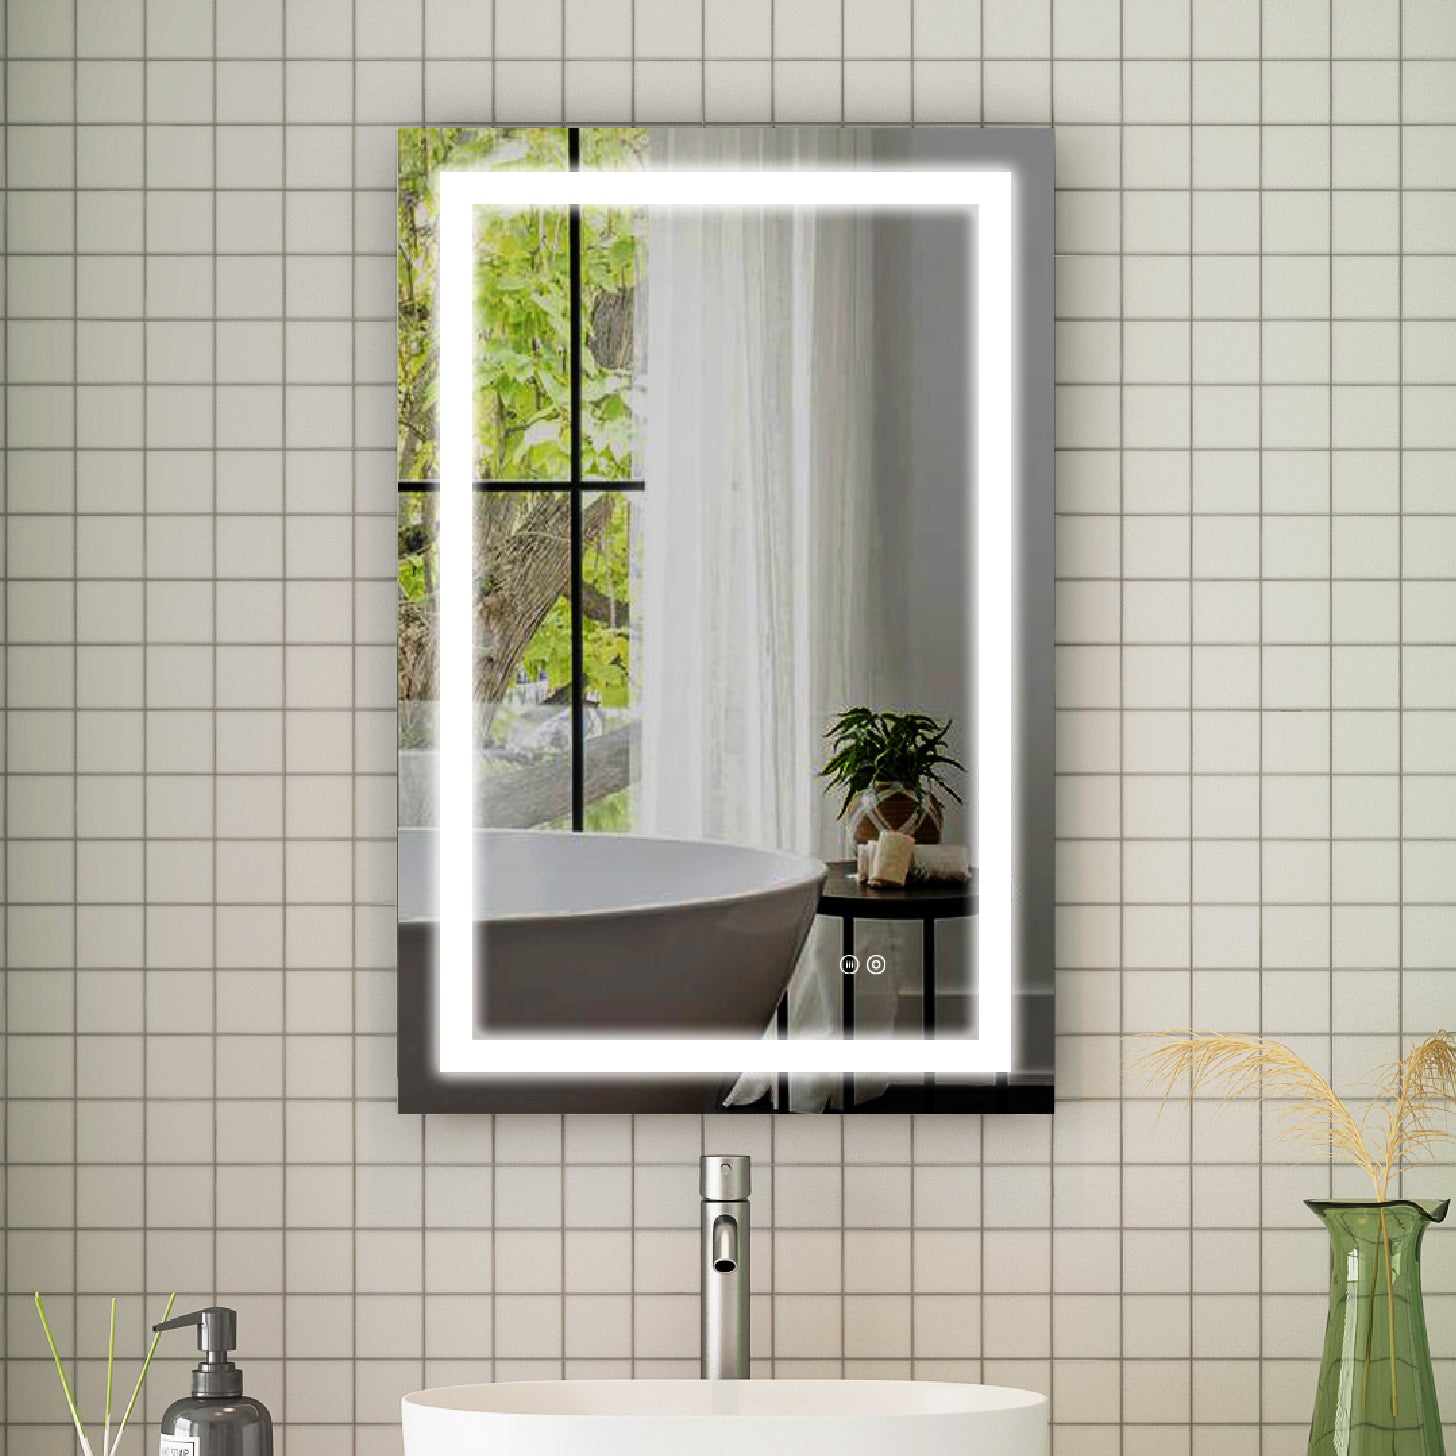
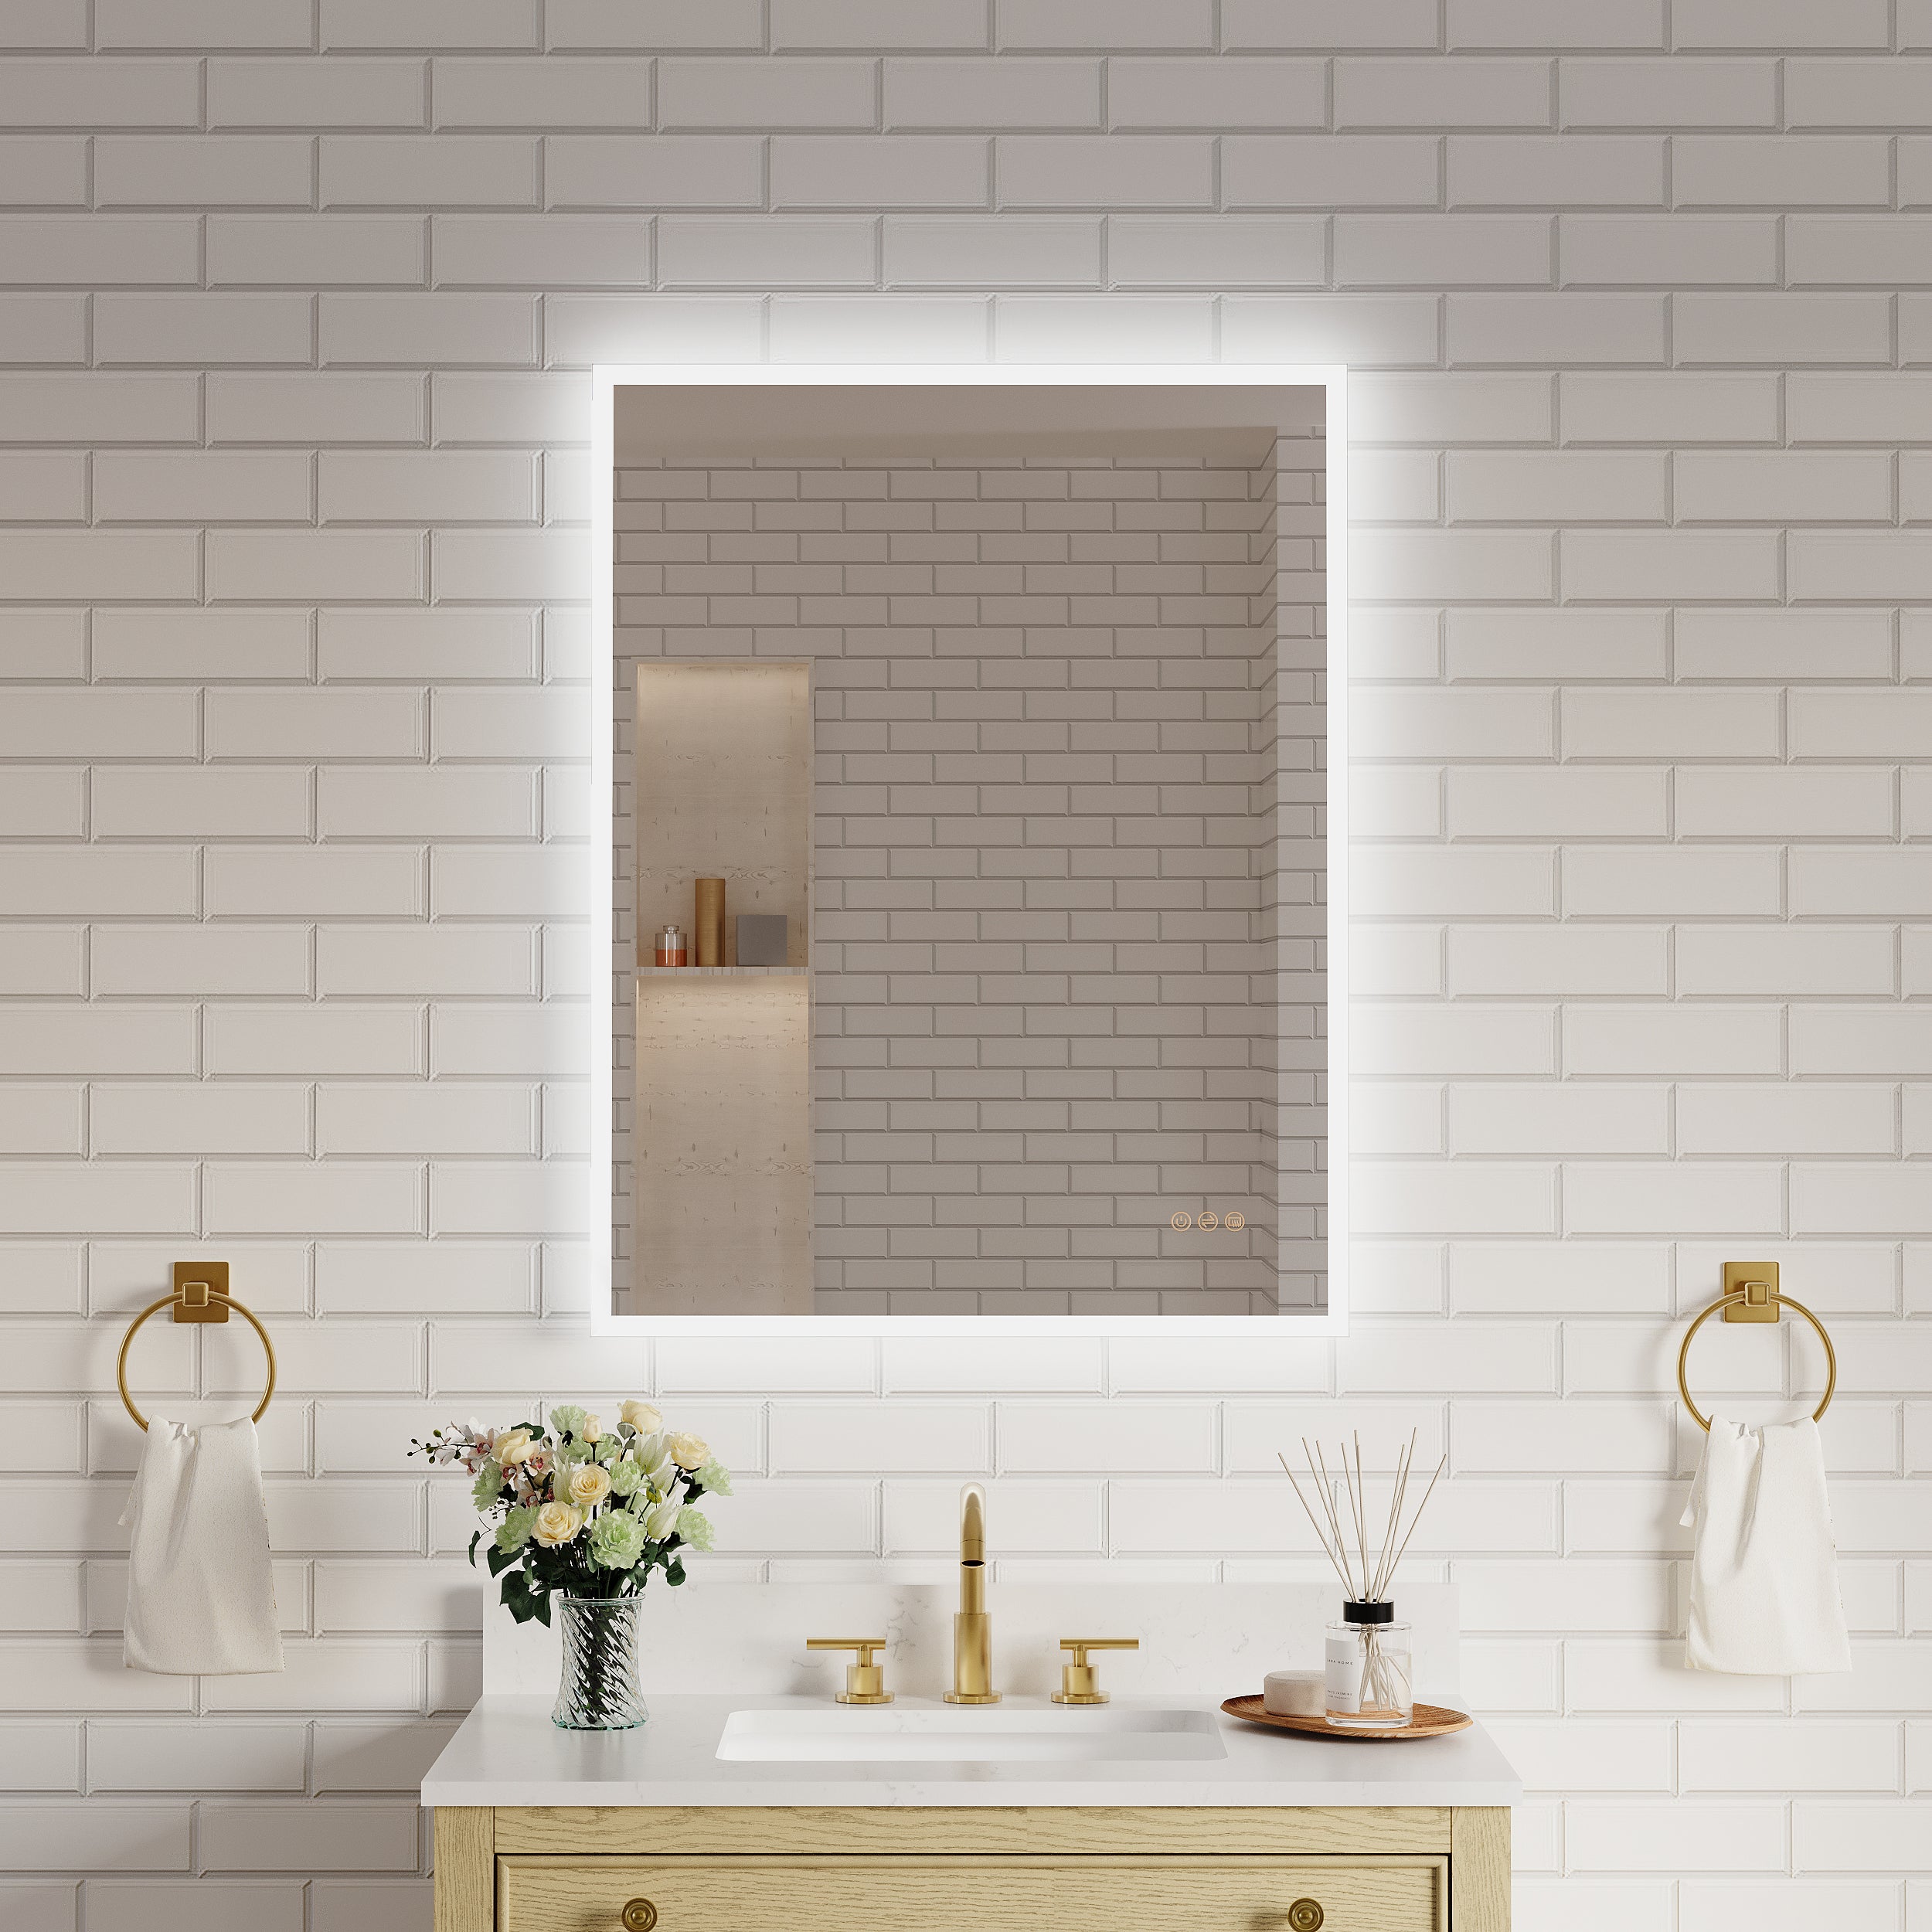
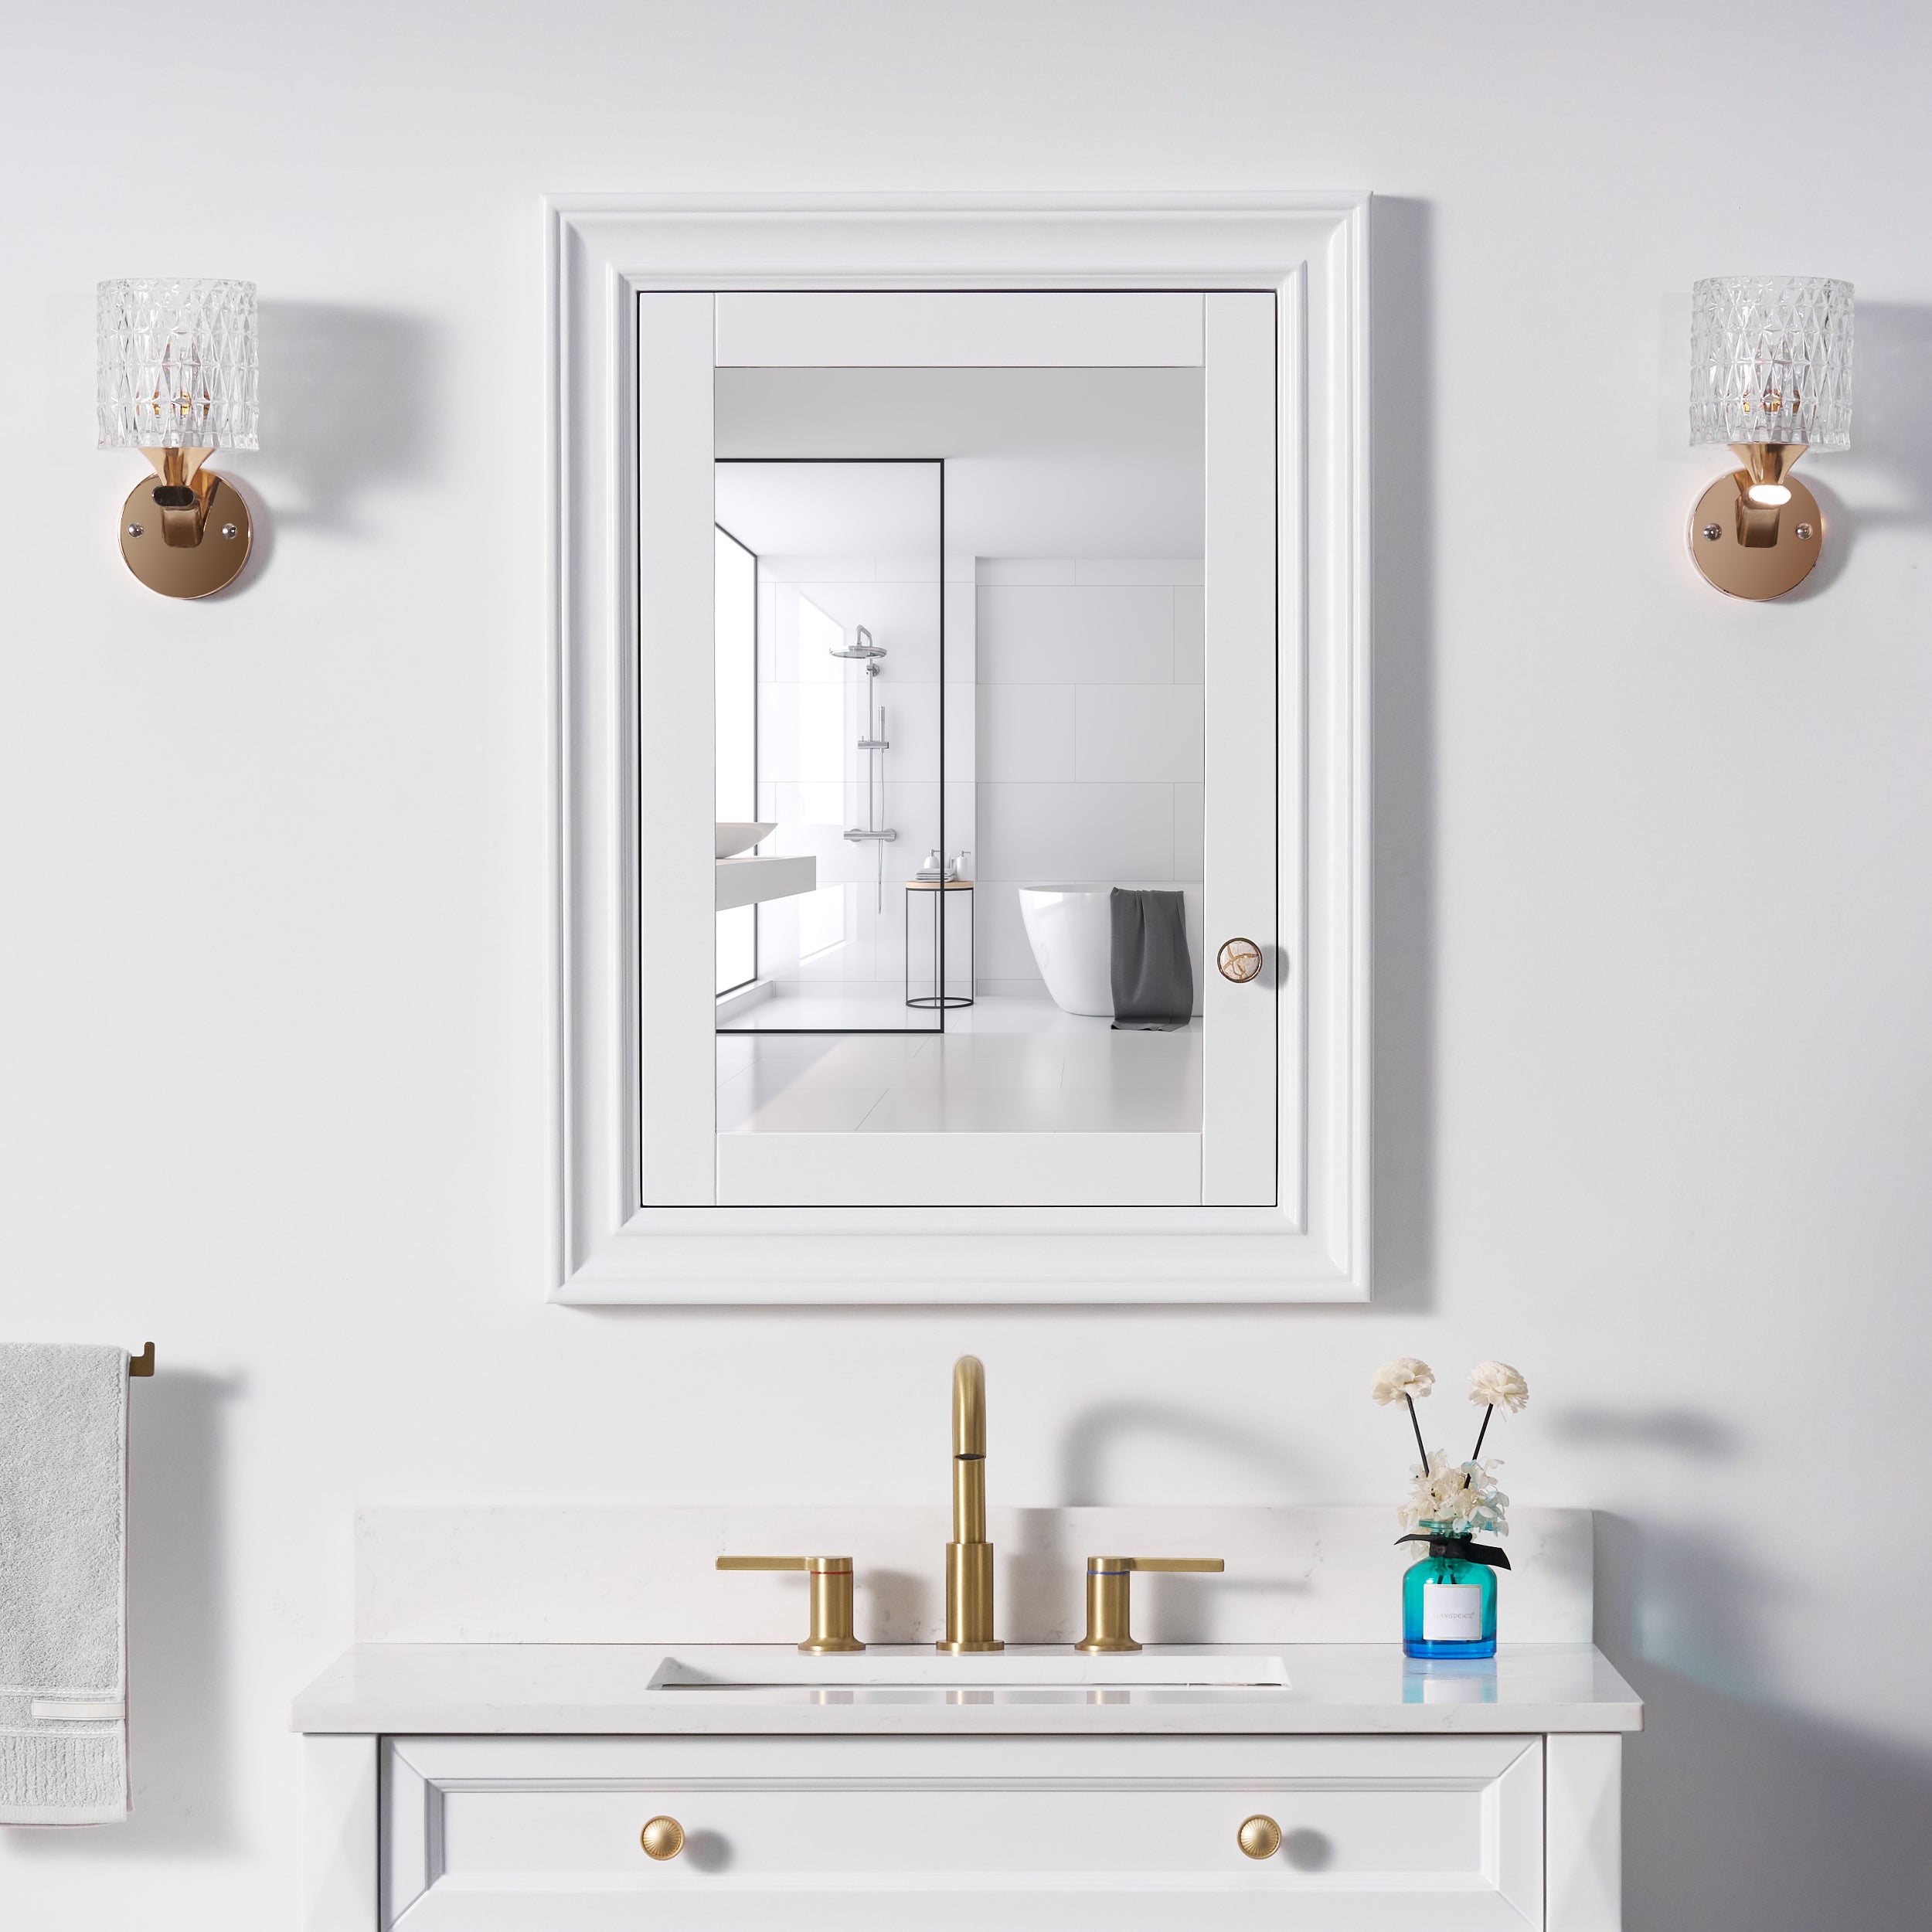
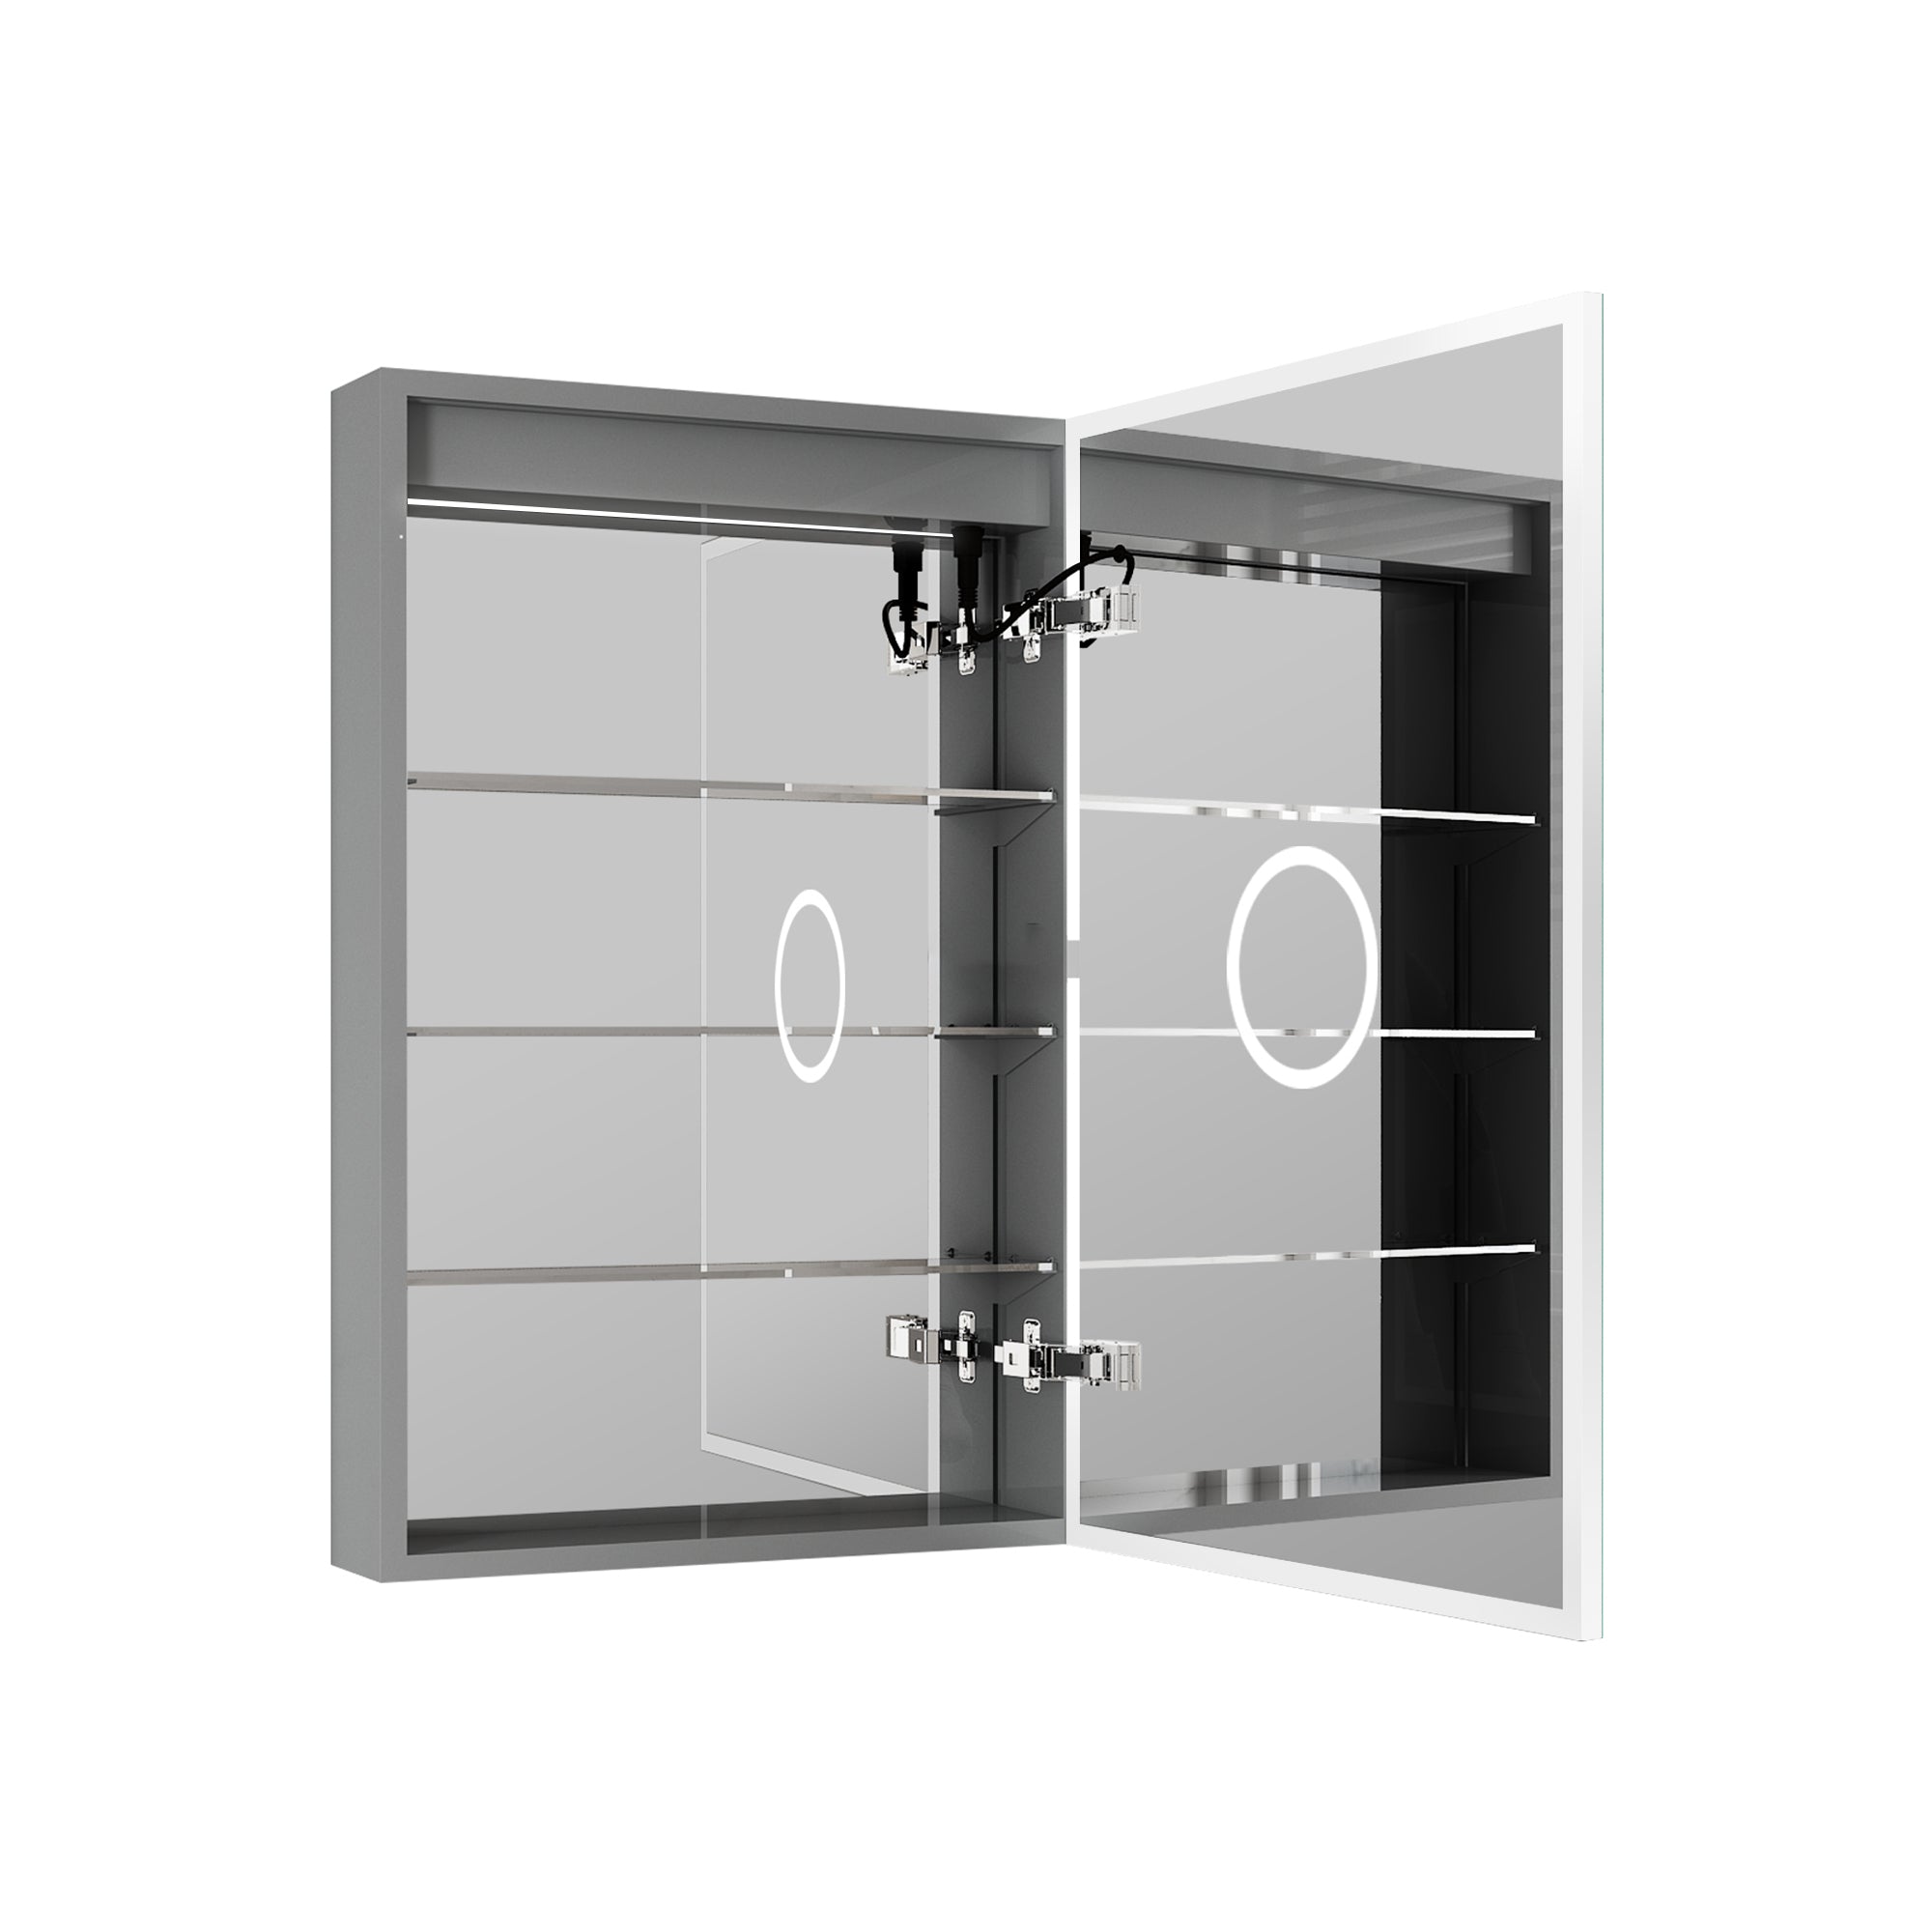
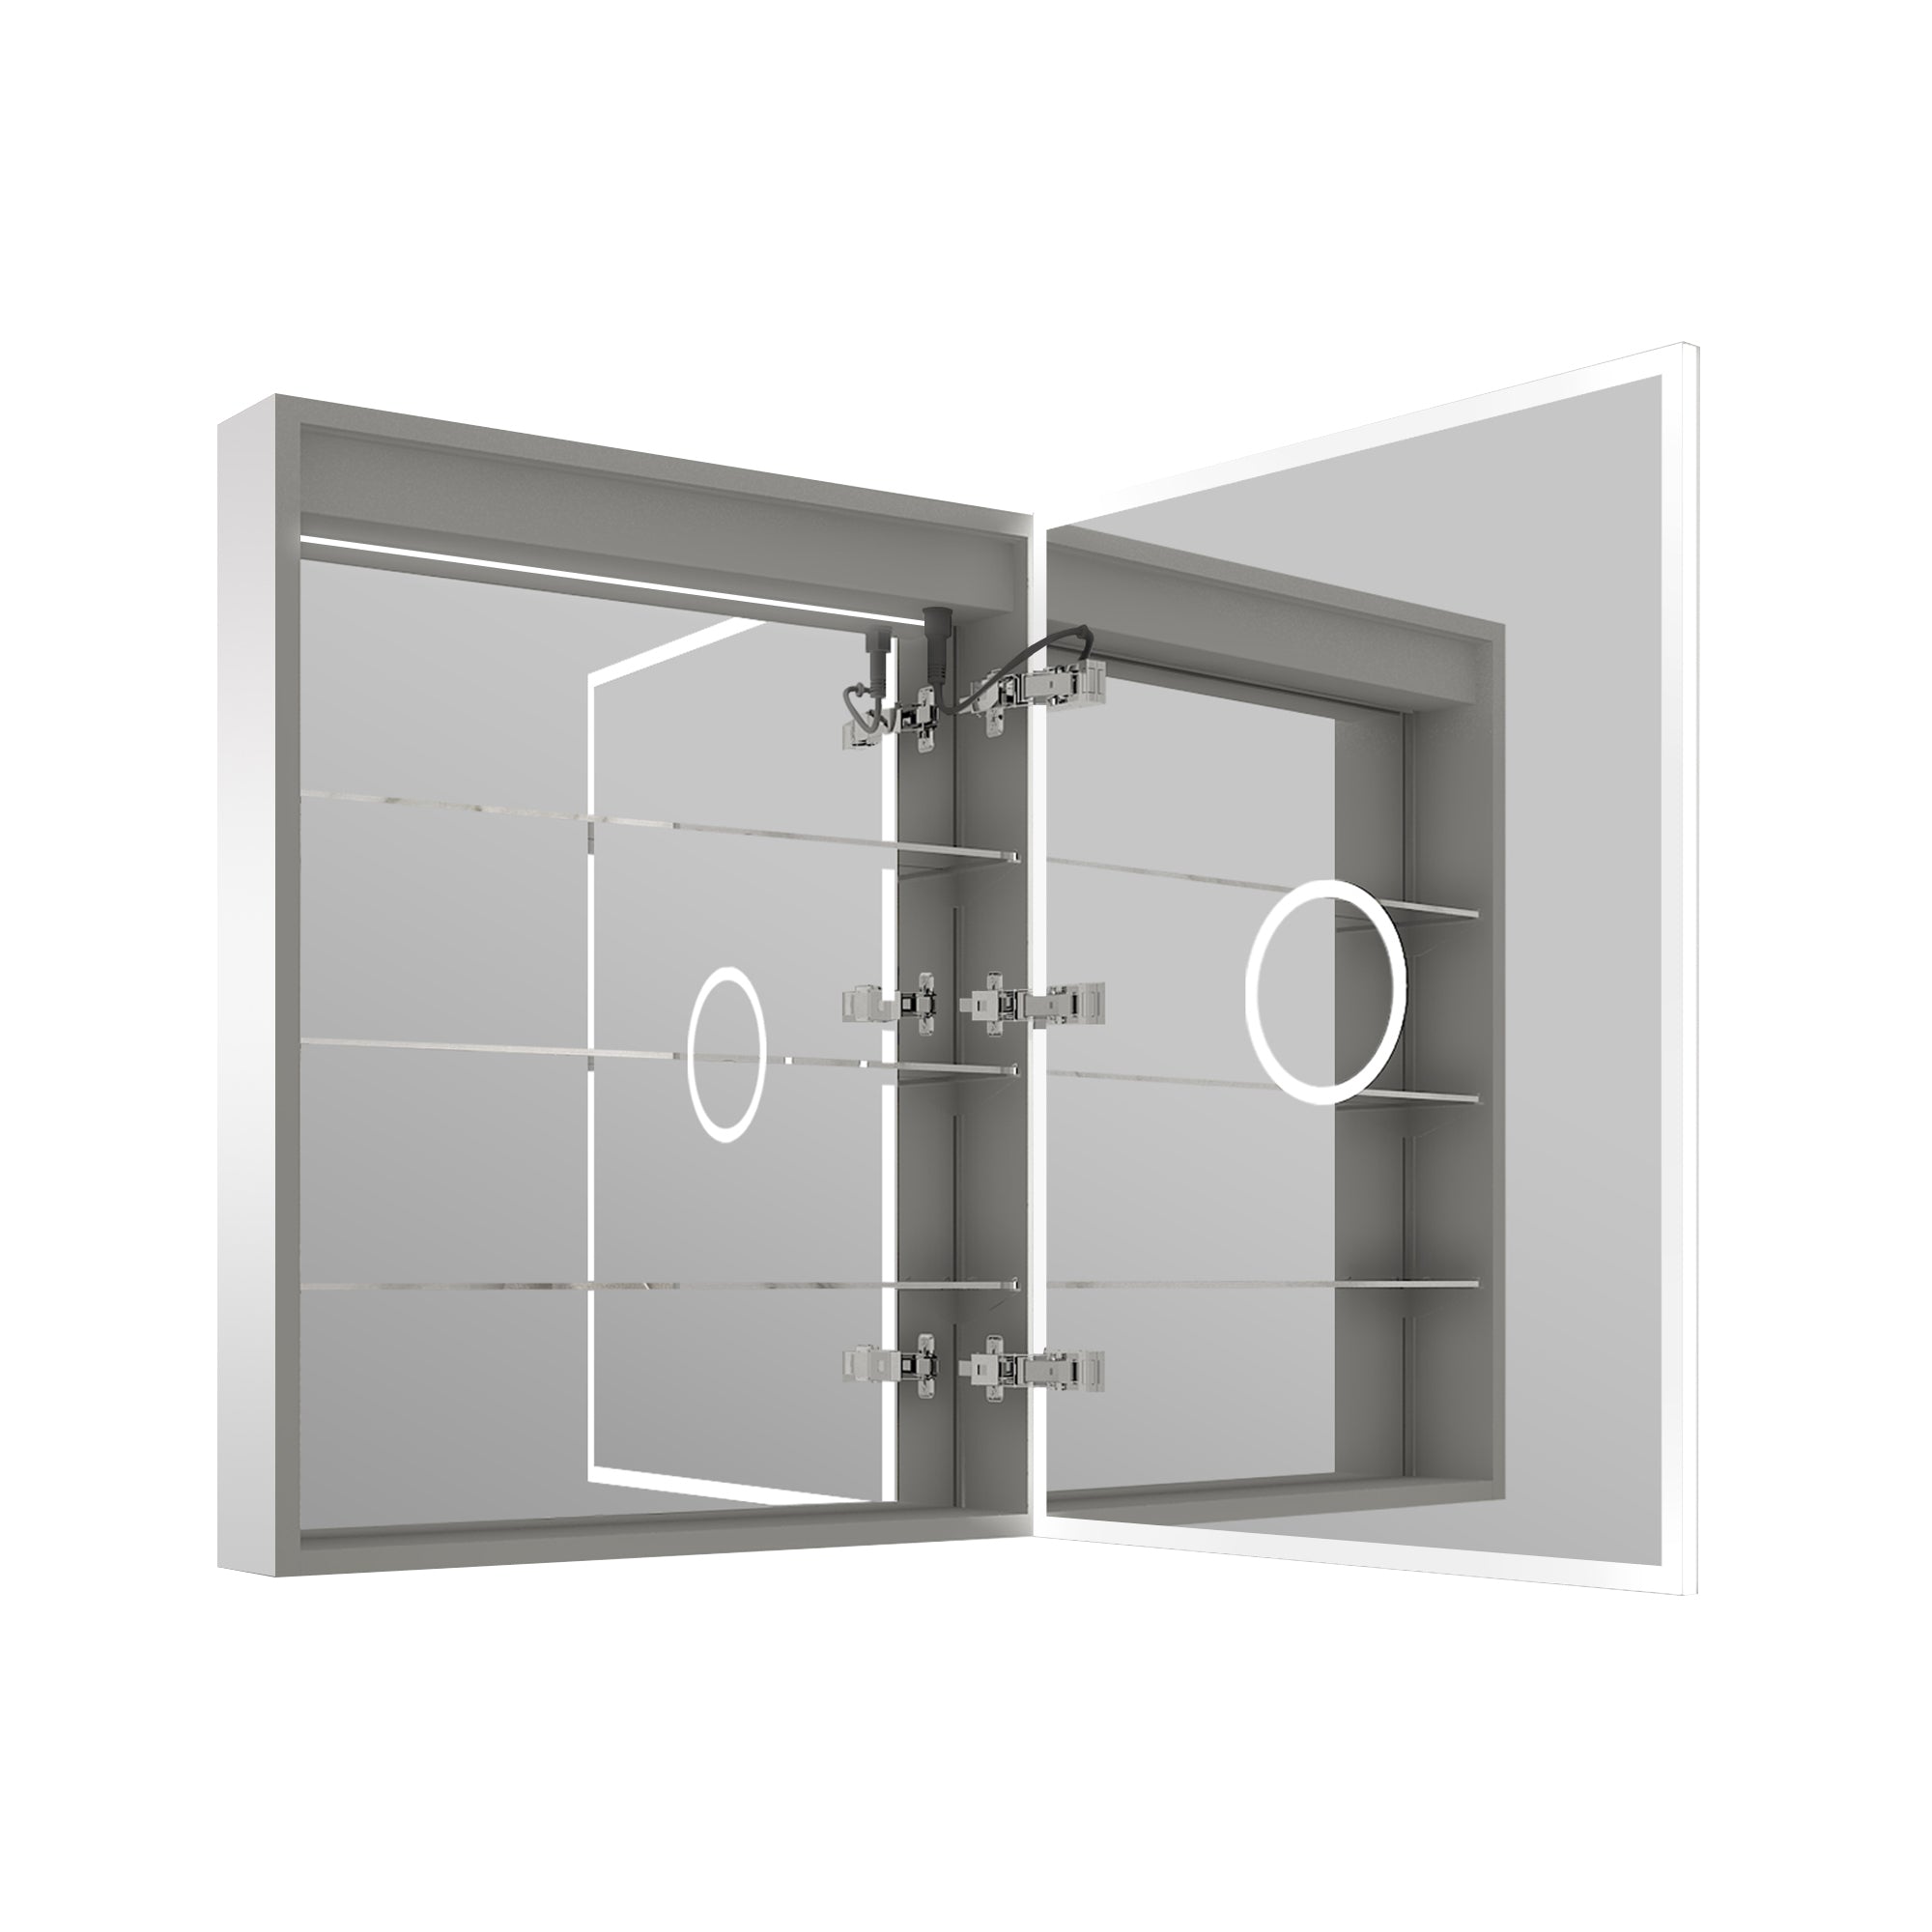
Hang a Mirror: Add a stylish mirror above the vanity to enhance the space.
-
Lighting: If your vanity doesn’t have built-in lighting, consider adding sconces or a stylish overhead fixture for better visibility.
Final Thoughts
Replacing a bathroom vanity and sink may seem daunting, but it can be a manageable DIY project with the right tools and steps. Not only will you improve the functionality and style of your bathroom, but you’ll also enjoy the satisfaction of completing a project yourself.
Remember, preparation is critical—take your time to measure, plan, and execute each step carefully. By following this guide, you’ll create a beautiful, updated space that reflects your style. Enjoy your new bathroom vanity and sink, and revel in your bathroom transformation!











Leave a comment
This site is protected by hCaptcha and the hCaptcha Privacy Policy and Terms of Service apply.