
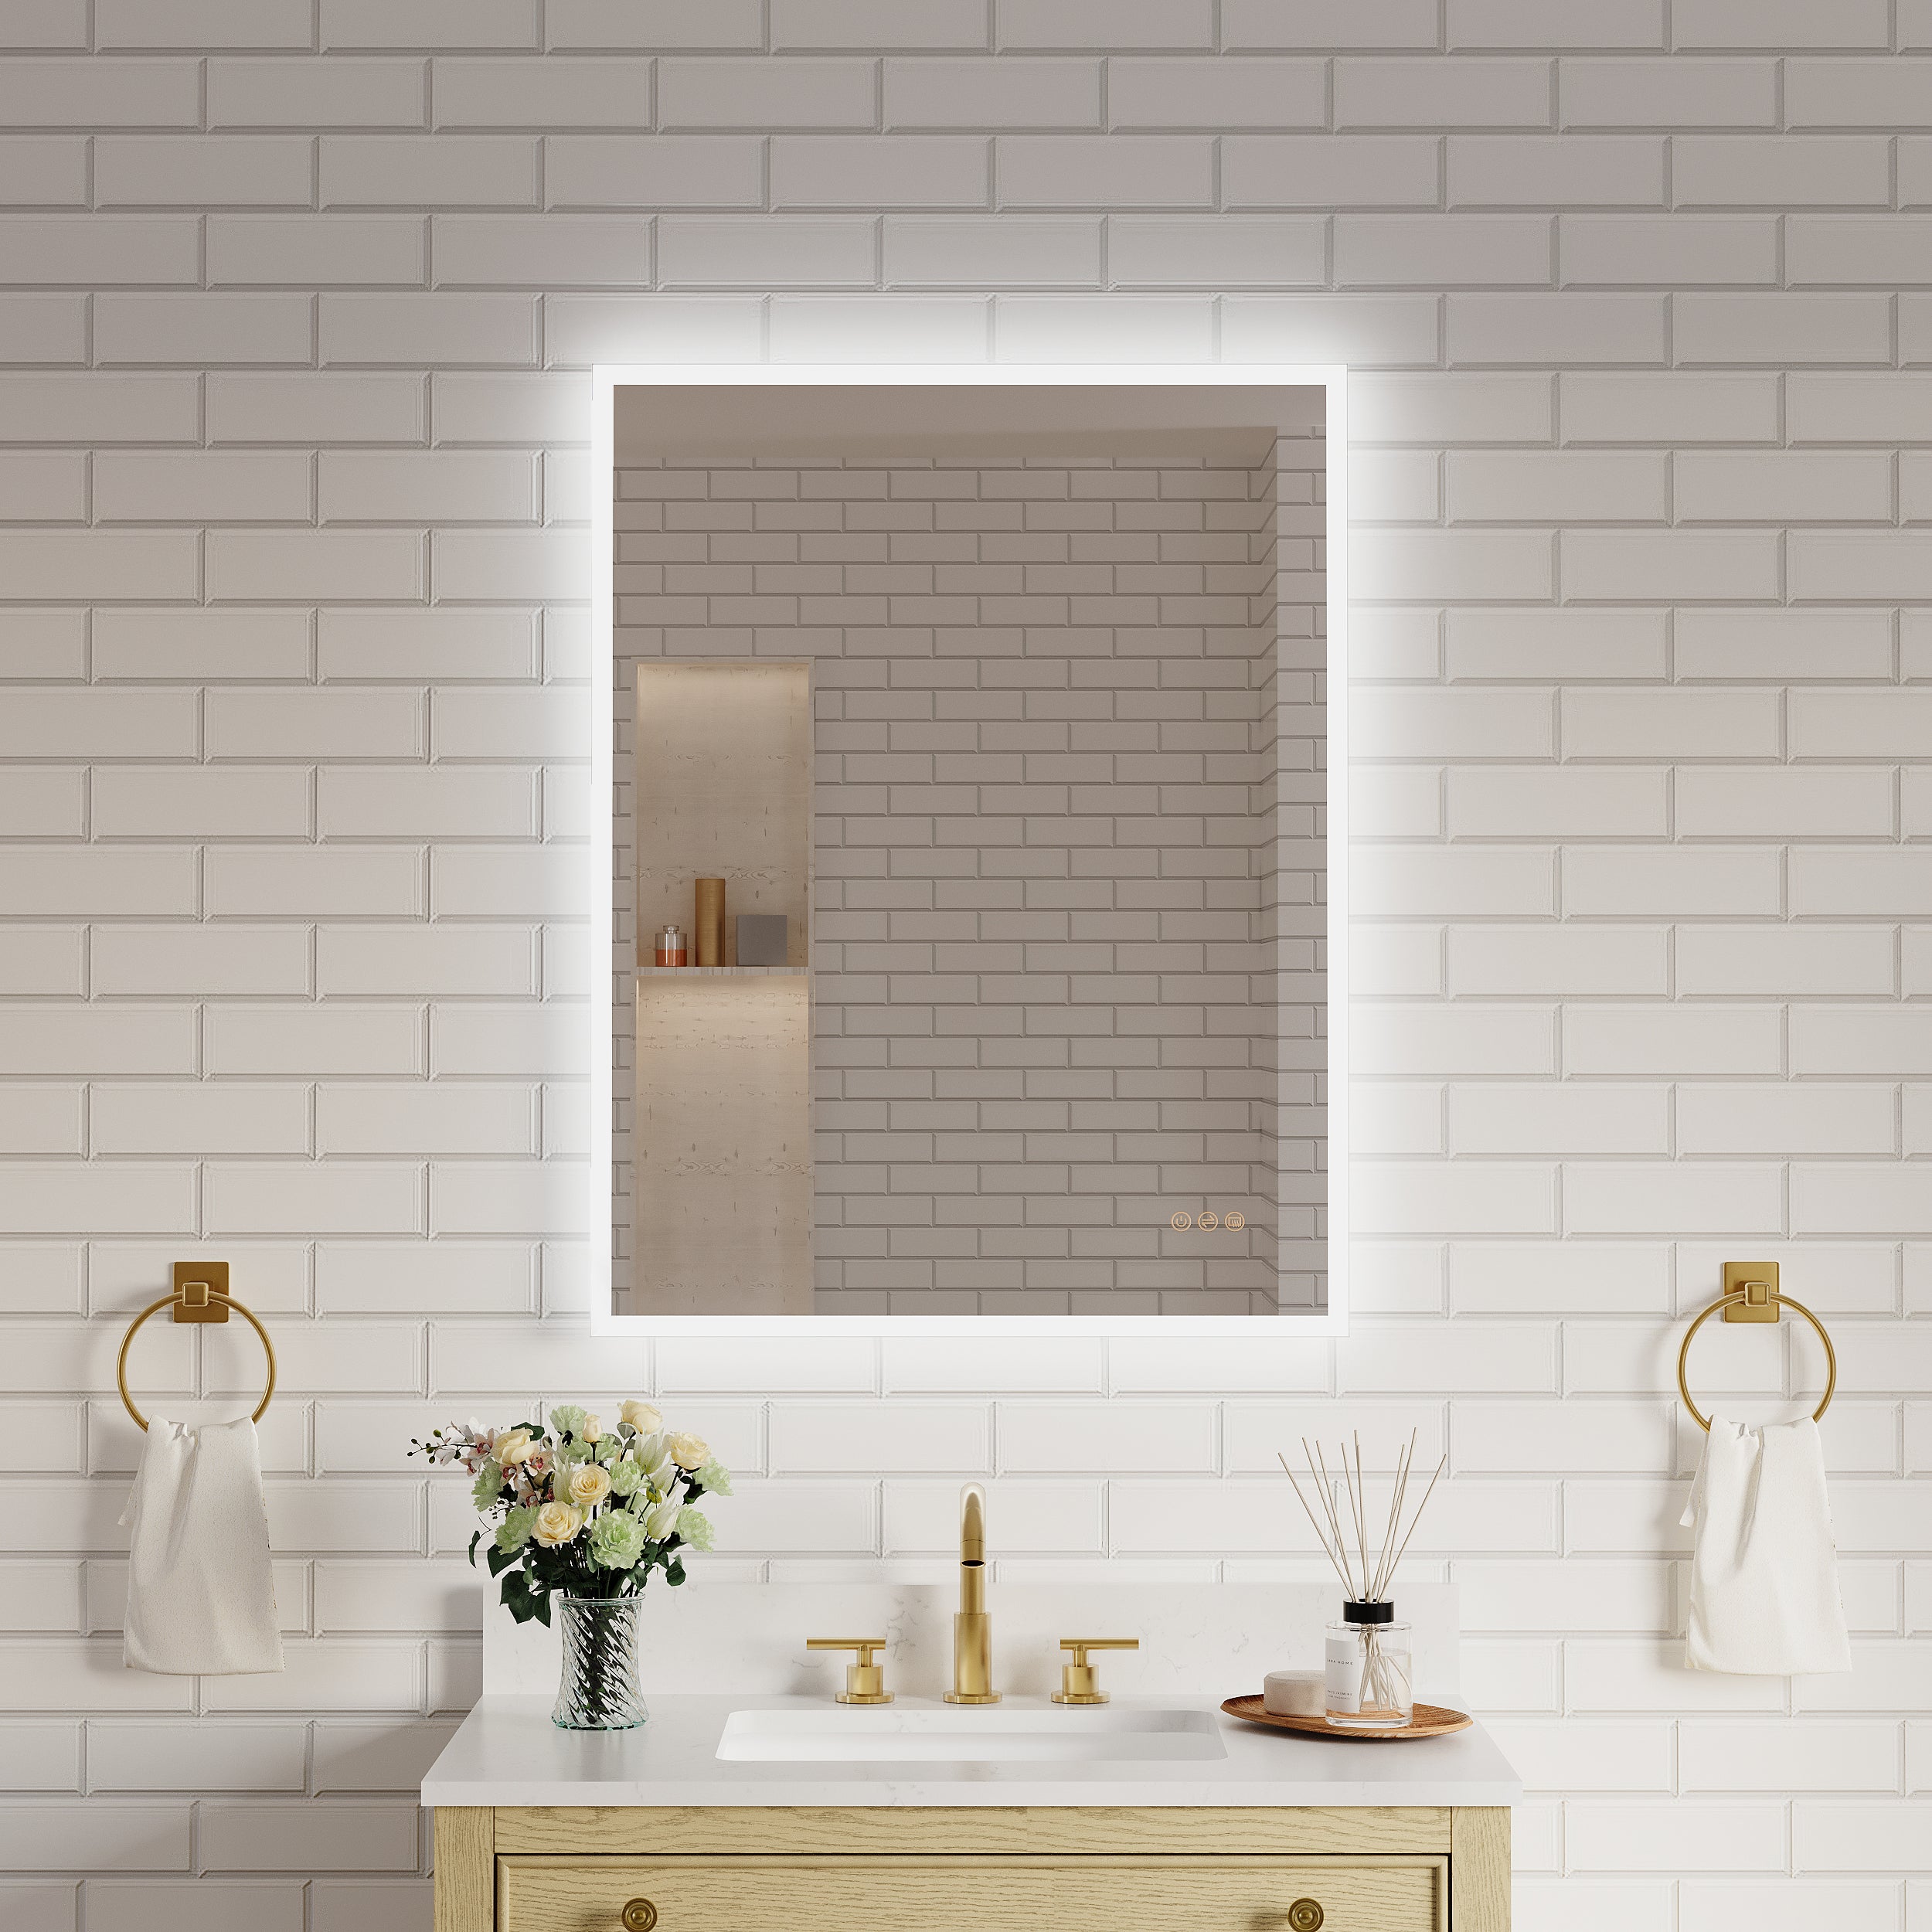
When it comes to designing a stylish and functional bathroom or vanity, one fixture stands out as a modern favorite—the LED mirror. Not only does an LED mirror provide great lighting for your daily routine, but it also adds a sleek and contemporary touch to your space. However, there’s one little challenge many of us face when installing these beauties: what to do with the power supply and wires?
l Introduction
l Key Features of LED Mirrors
l Installation Guide
l Styling Your Space with LED Mirrors
l Additional Tips & FAQs
You want your new LED mirror to be the centerpiece, not overshadowed by messy, unattractive cords. The good news? Concealing a power supply behind a mirror is easier than you might think, and we’re here to guide you every step of the way.
This detailed guide will take you through all the steps, tips, and tricks to make sure your mirror installation is perfect, seamless, and stress-free. Whether you’re renovating your bathroom or adding a vanity to your bedroom, we’ve got you covered!
Benefits of Concealing the Power Supply for Your LED Mirror
1. Enhanced Aesthetics
Exposed cords and outlets can quickly ruin the clean, modern look of an LED mirror. By concealing the power supply, you achieve a polished appearance that highlights the mirror’s design and functionality.
2. Improved Safety
Loose wires can pose a safety hazard, especially in bathrooms where water is involved. Hiding the cords securely minimizes the risk of accidents.
3. Easier Cleaning
No unsightly cords means no tricky surfaces to clean. Dust, dirt, and grime won’t tangle around wires, keeping your setup neat and hygienic.
4. Home Value
A professionally installed LED mirror with hidden wiring looks far more appealing to homebuyers if you’re considering selling your property later.
What You’ll Need
Before you start concealing the power supply for your LED mirror, make sure you’ve got these essential tools and materials on hand:
· LED mirror (of course!)
· A measuring tape
· Screwdriver set
· Wire connectors
· Cord covers or raceways
· Drywall anchors (if mounting on drywall)
· Stud finder
· Wall-mounted outlet box (for rerouting power)
· Double-sided adhesive for cable management
· Cable ties
Important Note: If you’re not comfortable working with electrical wiring, hire a qualified electrician for your safety.
6 Steps to Hide the Power Supply Behind Your LED Mirror
Step 1: Pick the Perfect Spot
The first step to creating a sleek LED mirror setup is choosing the right spot on the wall. Whether it’s above your bathroom sink or in a dressing area, find a location near an existing power source.
· Use a stud finder to ensure the wall can support the weight of the mirror.
· Consider how the light from the mirror will affect the space—natural lighting is a big bonus!
· Mark the location with a pencil for accuracy.
Step 2: Install an Electrical Outlet (If Needed)
If your LED mirror doesn’t have a nearby outlet, it’s time to install one. This can be done behind the mirror or at a side location where the wires can be easily routed.
· For a completely hidden connection, place the electrical outlet behind the mirror itself.
· You’ll need to shut off the power at your circuit breaker and follow safety practices for wiring or have your electrician do this for you.
Pro Tip: Consider using a recessed outlet box to keep the plug flush with the wall. This will make it easier to hang the mirror without cords getting in the way.
Step 3: Prep the Wall
Once your outlet is ready, prep the wall by clearing the work area.
· Drill pilot holes where the mirror’s mounting brackets will go.
· If mounting on drywall, use anchors to ensure the setup is stable and secure.
Step 4: Route the Wires
Now it’s time to tackle the wiring. Use cord covers or raceways to route wires in a clean, organized way to the power outlet.
· Run the cords vertically or horizontally along the wall, depending on your placement. Raceways or cord covers can be painted to match your wall color for a seamless look.
· If your mirror includes pre-installed wire guides, follow the manufacturer’s instructions carefully.
Step 5: Mount Your LED Mirror
With the power supply routed and secured, it’s time to mount your LED mirror.
· Attach the mounting brackets to the wall first, double-checking they’re level.
· Carefully place the mirror onto the brackets, making sure it securely locks into place.
· Plug the cord into the concealed power outlet.
Pro Tip: If there’s extra cord length, neatly bundle it with cable ties and secure it behind the mirror where it won’t show.
Step 6: Add the Finishing Touches
To complete the sleek look, check the mirror’s alignment, clean the surface, and test the lights.
· Adjust any imperfections in alignment.
· Give the LED mirror a quick clean to remove fingerprints or dust.
· Turn the power back on and test those gorgeous lights!
Advanced Techniques

Option 1: Hardwiring the Mirror
For a truly seamless appearance, consider hardwiring your LED mirror directly to an electrical circuit. This method eliminates visible plugs and cords entirely.
Option 2: Recessed Mirrors
For added sophistication, install the mirror into a recessed area on your wall. This creates a built-in look that’s perfect for minimalist spaces.
Option 3: Bluetooth Mirrors with Hidden Speakers
Some LED mirrors come with integrated Bluetooth speakers—perfect for music lovers. Follow the same steps for installation while ensuring space for any additional components.
Tips for Success
· If you’re renting and can’t make permanent modifications, use removable adhesive cable clips to keep wiring discreet.
· Add smart plugs to control the LED lighting with your voice or phone.
· Whether you’re hiding wires in a bathroom or a bedroom, always prioritize safety, especially around water sources.
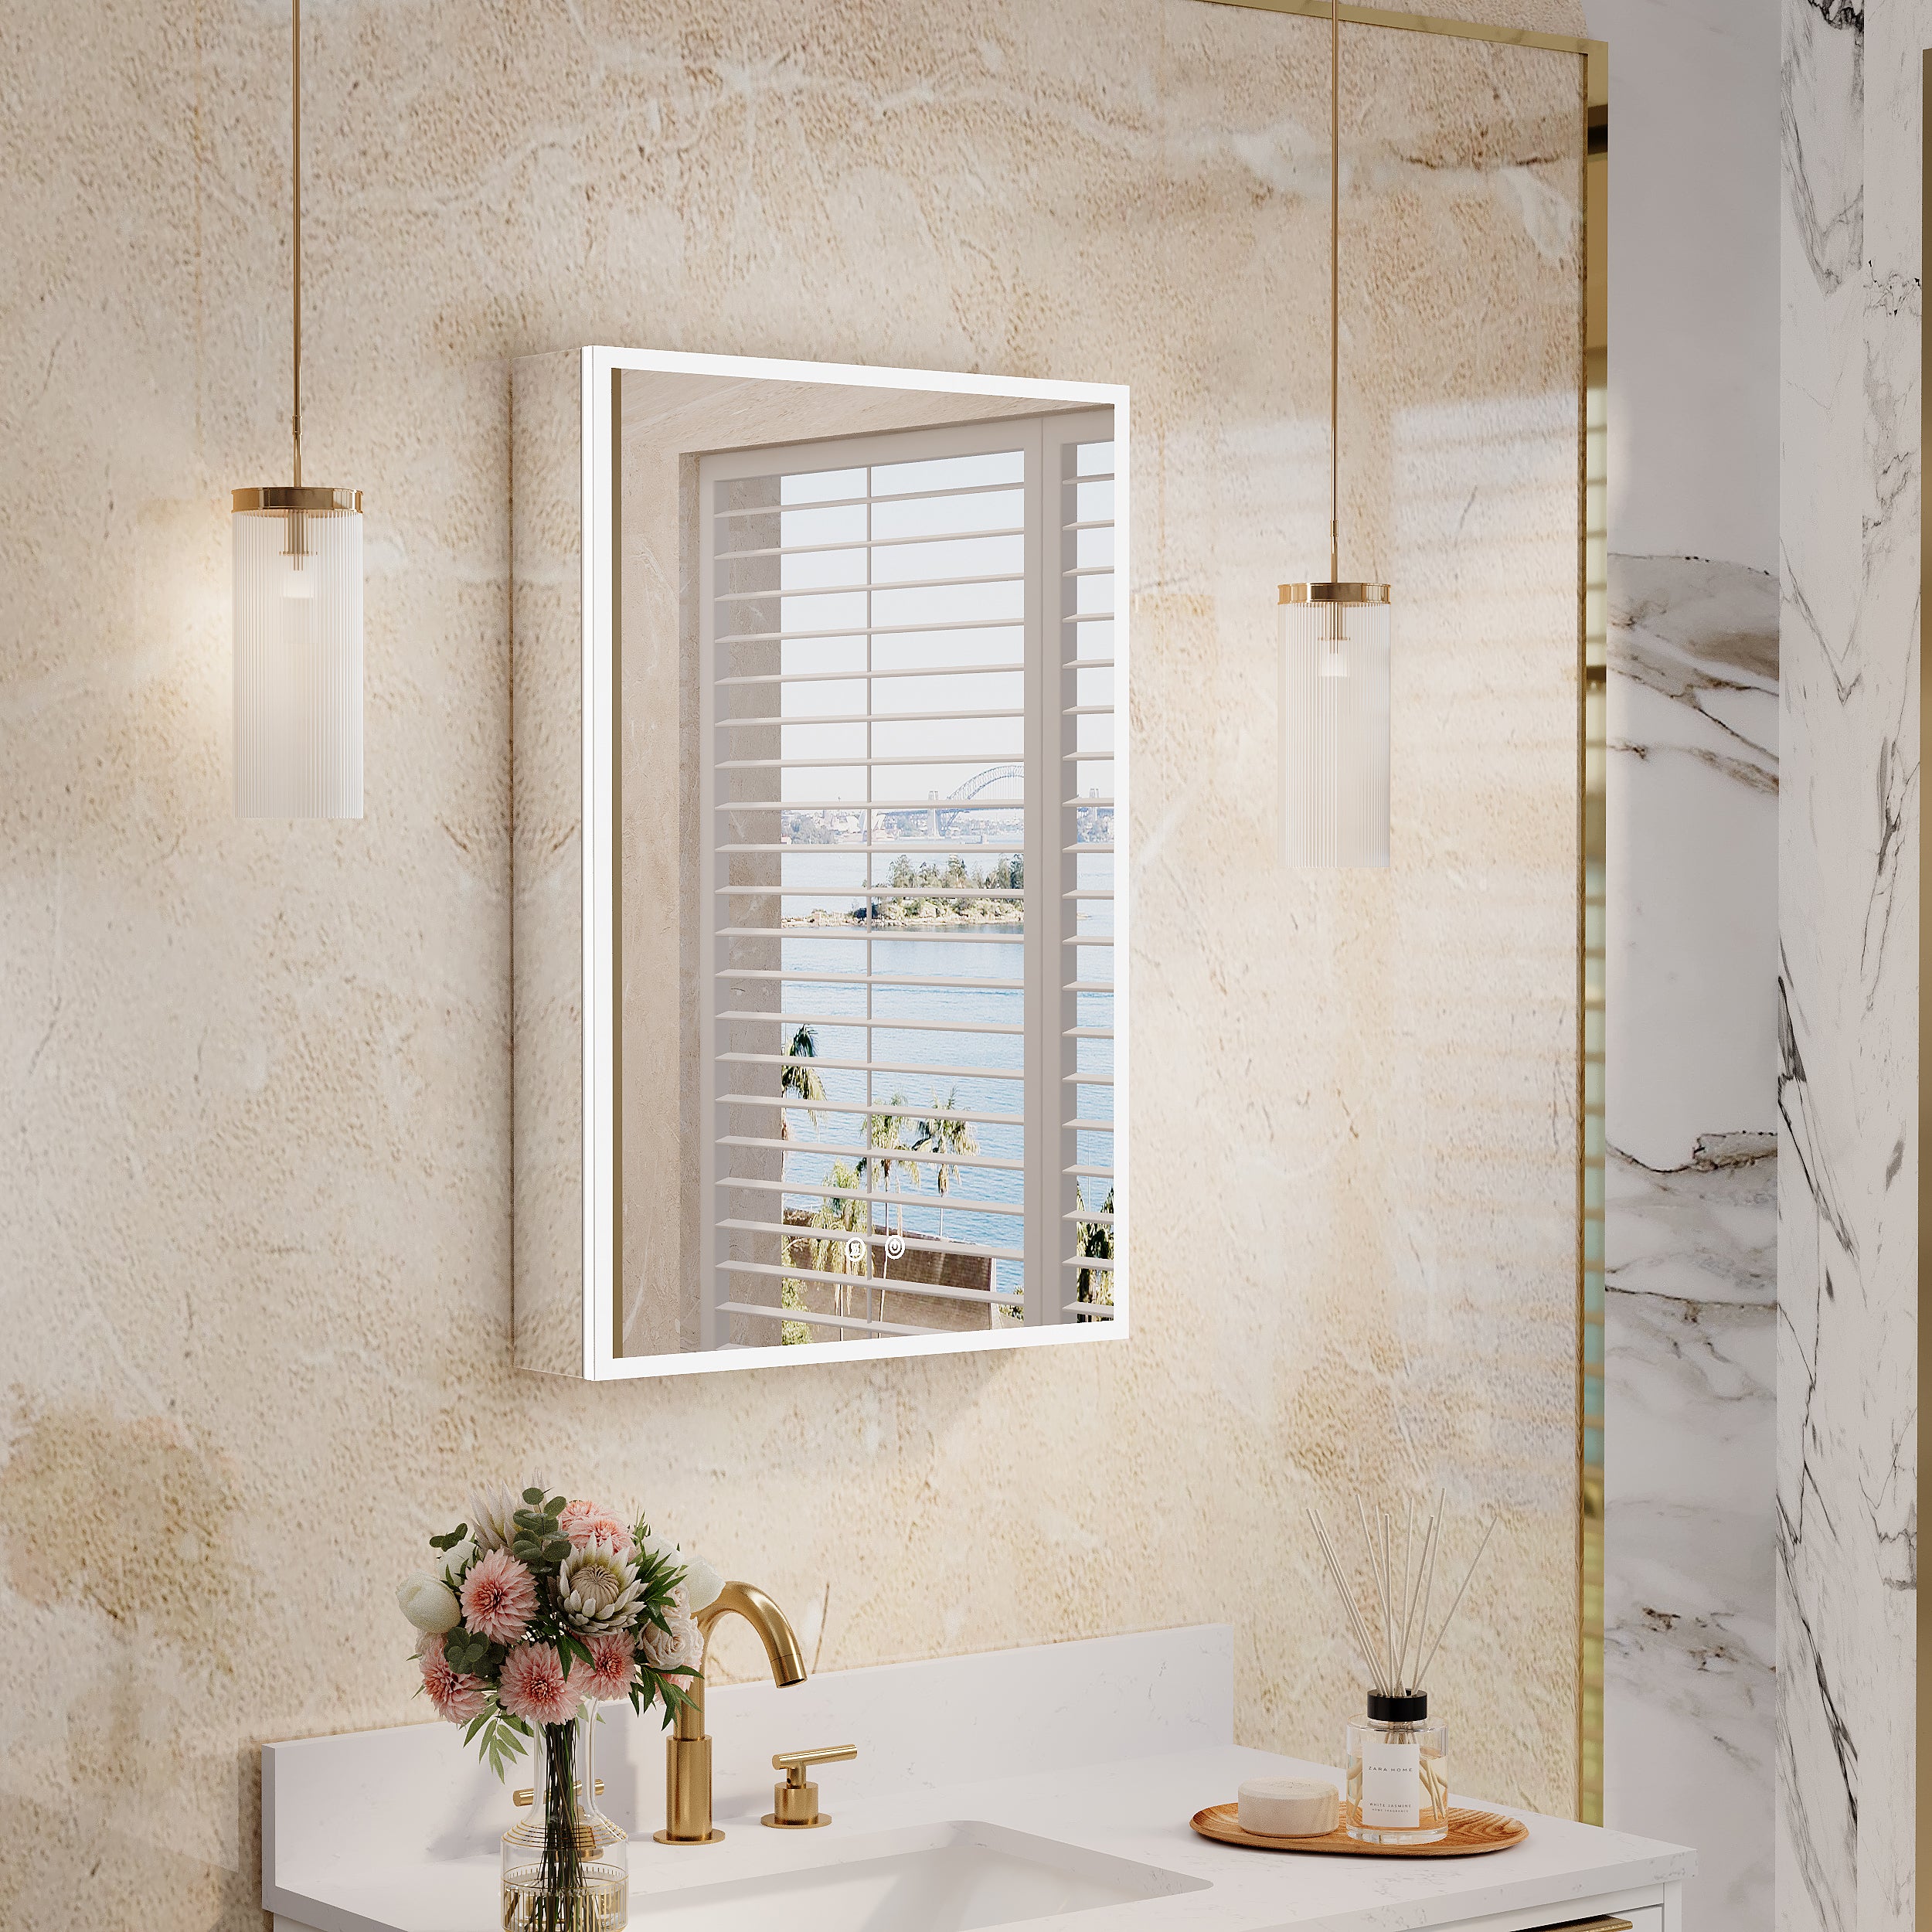
Why Go for an LED Mirror?
An LED mirror is more than just a functional fixture—it’s a lifestyle upgrade! Here are some added perks:
· Energy Efficiency: Save on electricity bills with LEDs.
· Customizable Lighting: Adjust brightness or color temperature for the perfect mood.
· Eco-Friendly: LEDs last longer and use less energy than traditional bulbs.
· Modern Style: Minimalist, chic, and available in various shapes and sizes.
Hiding the power supply behind your LED mirror doesn’t have to be daunting. By following these straightforward steps—choosing the right spot, managing wires, and mounting properly—you’ll enjoy a polished, clutter-free look in no time.
Want to upgrade your lighting game even more? Add smart features like touch dimmers or Bluetooth connectivity for the ultimate modern mirror experience.
Get ready to transform your space into a haven of style and functionality! Have questions or installation tips of your own? We’d love to hear from you in the comments. Your feedback makes our community even brighter.


Leave a comment
This site is protected by hCaptcha and the hCaptcha Privacy Policy and Terms of Service apply.