
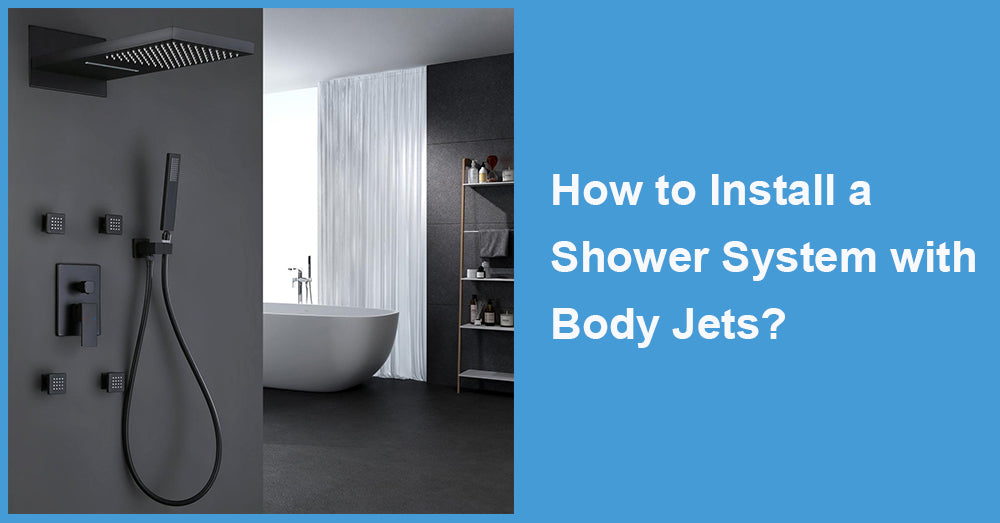
Installing a shower system with body jets can transform your daily shower routine into a luxurious spa-like experience. Body jets provide a relaxing and invigorating water flow that can ease muscle tension and elevate your overall well-being. This comprehensive guide will walk you through the installation process, ensuring you achieve optimal results while keeping the project manageable and straightforward.
Understanding the Components of a Shower System with Body Jets
Before diving into the installation process, it’s essential to familiarize yourself with the various components involved in a shower system with body jets. Here are the key elements:
Shower Faucet with Jets: Shower Faucet with Jets is the main unit that controls the water flow and temperature. It typically includes controls for both the main showerhead and the body jets.
Body Jets: These are installed on the wall and can be adjustable for a customized shower experience. The number of jets can vary based on your preference and available space.
Showerhead: The overhead showerhead provides a traditional shower experience and often complements the body jets.
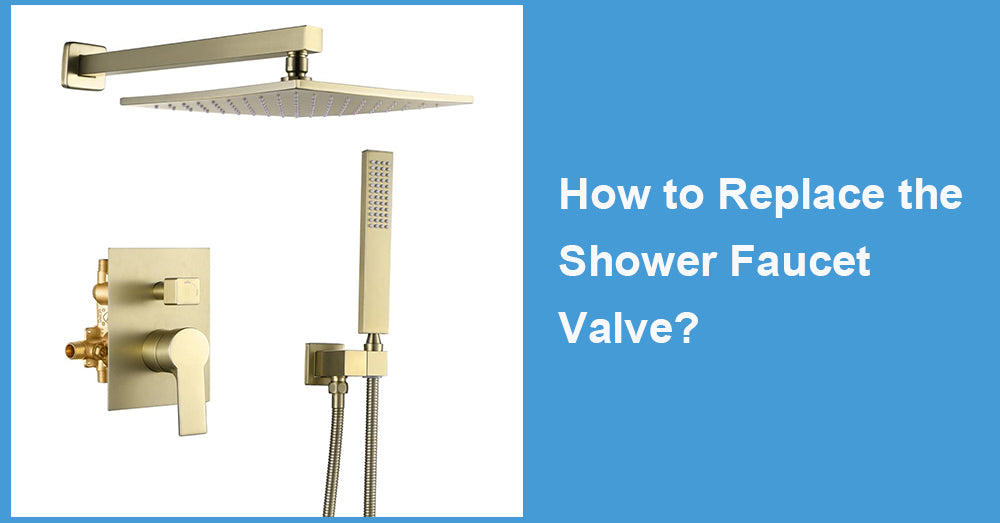
Shower Valve: This component regulates the water flow and temperature. It's crucial for ensuring an even distribution of water to both the showerhead and body jets.
Plumbing Supplies: These include pipes, connectors, and fittings necessary for the installation.
Tools: Standard plumbing tools such as a wrench, screwdrivers, a drill, and Teflon tape.
Preparing for Installation
1. Gather Your Materials
Before you start, ensure you have all the necessary materials and tools. Here’s a checklist:
-
Shower faucet with jets
-
Body jets (quantity based on preference)
-
Showerhead
-
Shower valve
-
PEX or copper piping
-
Connectors and fittings
-
Teflon tape
-
Pipe insulation (optional)
2. Turn Off Water Supply
Before beginning any plumbing work, it’s vital to turn off the water supply to avoid leaks and water damage. Locate the main water shutoff valve and turn it off. Open the existing shower valve to drain any remaining water from the pipes.
3. Prepare the Shower Area
Remove the existing shower fixtures, including the old showerhead and valve. Depending on the condition of your walls, you may need to patch any holes or apply a fresh coat of paint.
Installation Steps

1. Install the Shower Valve
The shower valve is the heart of your shower system. Follow these steps to install it:
Position the Valve: Place the valve in a location that is easily accessible. It should be at a comfortable height for adjusting temperature and flow.
Secure the Valve: Use screws to secure the valve in place, ensuring it is level. Connect the hot and cold water lines to the corresponding inlets on the valve.
Test for Leaks: Before proceeding, turn the water supply back on temporarily and check for leaks around the valve connections. If there are no leaks, proceed to the next step.
2. Install the Body Jets
Installing body jets requires careful positioning for optimal water flow. Here’s how to do it:
Mark the Locations: Decide on the number of jets you want to install and mark their locations on the wall. Ensure they are evenly spaced and at a comfortable height for users.
Drill Holes: Use a drill to create holes in the marked locations, ensuring they are the correct size for the body jets.
Connect the Jets: Follow the manufacturer’s instructions to connect the jets to the plumbing. Typically, this involves attaching a pipe to the inlet of each jet.
Secure the Jets: Once connected, secure the jets to the wall using screws or anchors as recommended by the manufacturer.
3. Install the Showerhead
Installing the showerhead is usually straightforward:
Attach the Shower Arm: If you are replacing the showerhead, remove the existing arm and replace it with a new one if needed.
Connect the Showerhead: Use Teflon tape on the threads of the shower arm and screw the showerhead onto it. Ensure it’s tight but not overly so, as this can cause damage.
4. Final Connections and Testing
Once all components are installed, it’s time for the final connections:
Connect the Water Lines: Ensure all pipes leading to the shower faucet, body jets, and showerhead are securely connected.
Turn on the Water Supply: Gradually turn on the water supply and check for leaks in all areas of installation. Make necessary adjustments if you notice any drips or leaks.
Test the System: Test each component by turning on the shower faucet and checking the functionality of both the showerhead and body jets. Adjust the controls to ensure a comfortable temperature and flow.
Maintenance Tips for Your Shower System
To keep your shower system with body jets functioning optimally, regular maintenance is essential. Here are a few tips:
Clean the Jets: Regularly check the body jets for mineral buildup and clean them to ensure even water flow.
Inspect for Leaks: Periodically inspect all connections and seals for signs of leaks, especially after heavy usage.
Adjust Water Pressure: If you notice a decrease in performance, check the water pressure in your home. Adjustments may be necessary to maintain optimal performance.
Conclusion
Installing a shower system with body jets can significantly enhance your shower experience, making it both enjoyable and rejuvenating. By following this guide, you can confidently undertake the installation process yourself. Remember, while it can be a manageable DIY project, don’t hesitate to consult a professional plumber if you encounter any challenges. Enjoy your new luxurious shower system, and embrace the relaxation it brings to your daily routine!


Leave a comment
This site is protected by hCaptcha and the hCaptcha Privacy Policy and Terms of Service apply.