
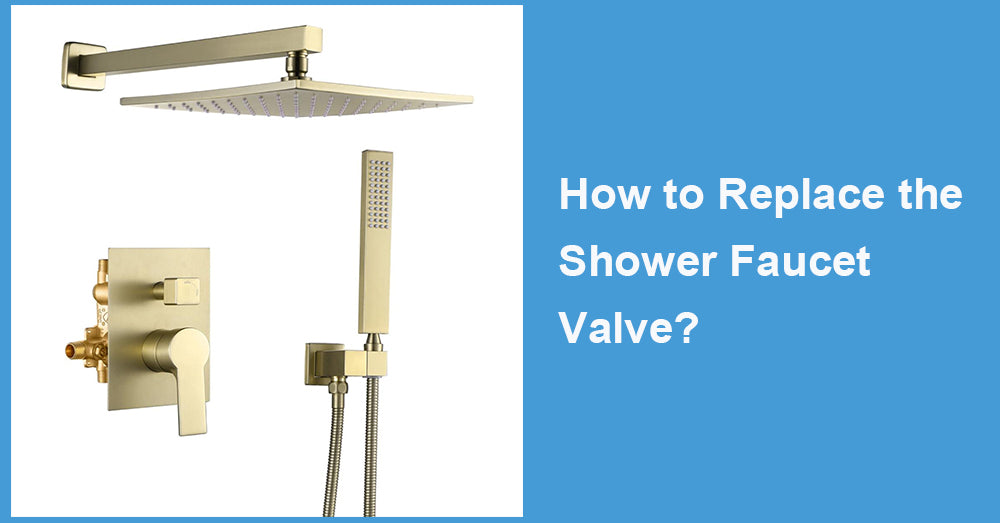
If your shower faucet leaks or simply doesn't work like it used to, then maybe it is time to replace the valve of your shower faucet. You can save a few bucks and feel good about fixing things yourself by doing it on your own. Whether you're upgrading to that very 'in' brushed gold shower faucet or just replacing the old valve, this post will take you through the process.
Why Replace a Shower Faucet Valve?
Because the valves can make us regulate the temperature of the water and the flow of it, the shower faucet is very important. After some time, it is quite common that valves wear out and may cause problems such as leaking, poor water pressure, or fluctuating water temperatures. Replace the defective valve with a view to upgrading your shower experience and saving water to save your bills.
It will replace the old valve, adding style to your bathroom with the Brushed Gold Shower Faucet in a very modern and fashionable way. It increases functionality and improves aesthetics for your space.
Tools You’ll Need
Before diving into the process, ensure you have the necessary tools and materials:
- A replacement shower faucet valve (ensure it's compatible with your system)
- Adjustable wrench or basin wrench
- Phillips screwdriver
- Needle-nose pliers
- Plumber’s tape (also known as Teflon tape)
- A small flathead screwdriver
- A towel or bucket to catch excess water
- Penetrating oil (for stuck or corroded parts)
Optional but recommended:
- Silicone sealant
- Putty knife (to remove old sealant)
Step-by-Step Guide to Replacing Your Shower Faucet Valve
1. Turn Off the Water Supply
The first step in any plumbing task is to turn off the water. Locate the water shut-off valve, typically found near the water heater or under the sink, and switch it off. Open your shower faucet to drain any residual water in the pipes.
2. Remove the Faucet Handle
Start by unscrewing the shower faucet handle. Most handles are secured with screws located under a cap on the front of the handle. Use a flathead screwdriver to pry the cap off, revealing the screw underneath. Remove the screw with a Phillips screwdriver and pull the handle off.
If the handle is stuck due to mineral deposits or corrosion, apply some penetrating oil and gently wiggle it until it loosens.
3. Remove the Trim Plate
Once the handle is off, you’ll see a trim plate or escutcheon surrounding the valve. Unscrew this plate and remove it from the wall. If there's silicone sealant around the edges, use the putty knife to carefully cut and peel it away.
4. Remove the Old Valve
With the trim plate removed, you'll have access to the valve. Use your wrench to unscrew the valve from the pipe. Keep a towel or bucket handy to catch any remaining water that might drain from the pipe.
For older valves that are rusted or corroded, you may need extra muscle or more penetrating oil to loosen the connections.
5. Install the New Valve
Take your replacement valve and wrap the threads with plumber's tape to ensure a watertight seal. Carefully screw the new valve into the pipe using the wrench. Make sure it’s securely fastened but be careful not to over-tighten it, as this can damage the pipe.
6. Reattach the Trim Plate and Handle
Once the new valve is in place, reinstall the trim plate and handle. Secure the trim plate with screws and apply silicone sealant around the edges if necessary. Reattach the faucet handle and screw it back into place.
7. Turn the Water Back On and Test
Turn your water supply back on and slowly test the shower faucet to ensure there are no leaks and that the valve is functioning correctly. If the water pressure and temperature are in order, you’ve successfully replaced your shower faucet valve.
Why Opt for a Brushed Gold Shower Faucet?

Besides this, for making the looks of your bathroom more tempting, one option can be a brushed gold shower faucet. Its finish has a very elegant and luxurious look while being durable enough to not tarnish. It easily can be the central piece of your bathroom while adding sophistication and modernity that easily can complement different design tastes.
Maintenance Tips for a Brushed Gold Shower Faucet
Once you’ve upgraded to a brushed gold shower faucet, it’s essential to keep it looking pristine. Here are a few maintenance tips:
Clean with mild soap and water: Avoid abrasive cleaners that could damage the finish. Use a soft cloth to wipe away water spots or soap scum.
Dry after use: Wipe down the faucet after every shower to prevent mineral deposits and water stains.
Use a non-abrasive polish: If the gold starts to lose its shine, use a non-abrasive polish to restore its luster.
When to Call a Professional
While replacing a shower faucet valve is a manageable DIY task for those comfortable with basic plumbing, there are instances where you might want to call in a professional:
If you notice significant corrosion or damaged pipes, it’s best to have a plumber assess the situation.
If you aren’t sure which replacement valve is compatible with your plumbing system, a professional can help you choose the right one.
If you're upgrading to a more complex system (such as thermostatic or pressure-balance valves), professional installation may be necessary.
Takeaway
Replacing the valve of your shower faucet can upgrade not only its functionality but also its look, especially if you're after something a bit fancier, like a brushed gold shower faucet. With a few basic tools and some patience, you should be able to do a pretty good job on this DIY task. This guide would save you from very pricey fees charged by plumbers and definitely give you empowerment to take matters into your hands regarding your home improvements.


Leave a comment
This site is protected by hCaptcha and the hCaptcha Privacy Policy and Terms of Service apply.