

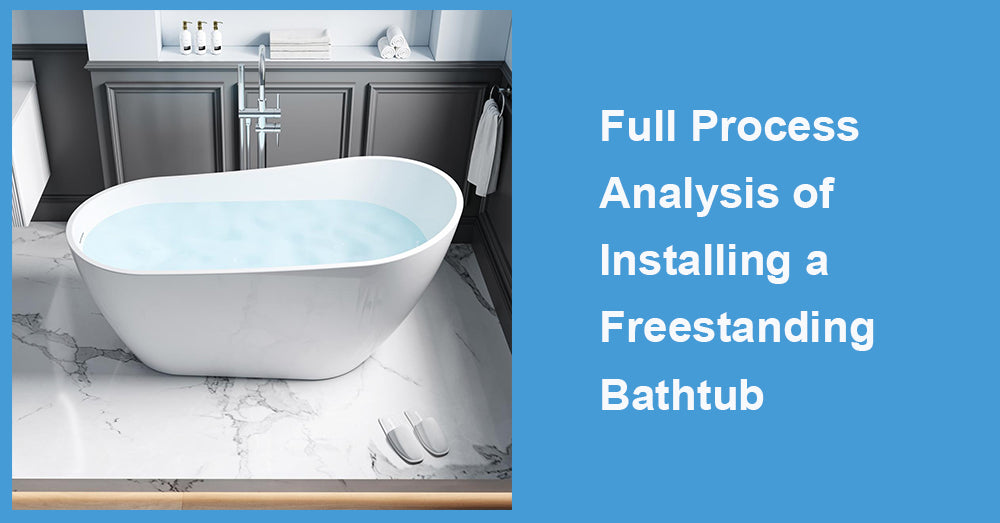
Freestanding bathtubs have become the centerpiece of modern bathrooms, elevating both functionality and aesthetic appeal. These elegant fixtures are perfect for anyone seeking a spa-like experience in the comfort of their home. However, proper installation is essential to ensure long-term performance and safety. This guide will take you through the skills and precautions needed to seamlessly install a freestanding bathtub.
Whether you’re a DIY enthusiast or planning to hire a professional, read on to equip yourself with all the necessary insights.
Why Choose a Freestanding Bathtub?
Before we get into the specifics of installation, let's first understand why freestanding bathtubs are a popular choice:
· Versatile Design: Freestanding tubs complement all bathroom styles, from minimalist to vintage.
· Easy Placement: They can be installed almost anywhere, as long as there’s proper plumbing access.
· Spa-Like Feel: With their sculptural beauty, freestanding bathtubs create a luxurious focal point.
· Durability: Many freestanding tubs are constructed from high-quality materials like acrylic, cast iron, or stone resin.
Investing in a freestanding bathtub is more than just upgrading a bathroom—it's about adding personality and value to your home.
Preparing for Installation
Proper preparation is key. Here’s how you can get started:
1. Plan the Placement
Freestanding bathtubs offer flexibility, but you should carefully choose their placement. Consider the following:
· Space: Ensure there’s sufficient space around the tub for easy movement and cleaning.
· Flooring: Double-check that the floor supports the tub’s weight, especially for heavy materials like cast iron.
· Plumbing Accessibility: The water supply lines and drainage system must align correctly with the tub's position.
2. Gather Tools & Materials
Once you’ve identified the placement, assemble all the necessary tools and materials:
· Measuring tape
· Adjustable wrench
· Screwdrivers
· Sealant and adhesive
· Level
· Supply line and drainpipe fittings
· Safety goggles and gloves
Having the right tools ensures smoother installation and reduces the risk of errors.
3. Consult Manufacturer Instructions
Every freestanding bathtub model is different. Always read the manufacturer’s manual for specific installation guidelines, as it may contain detailed requirements for your chosen tub.
Installation Skills You’ll Need

While installing a freestanding bathtub may seem simple, it demands certain skills and knowledge. Below are the key skills you or your installer will need:
1. Understanding Basic Plumbing
Freestanding bathtubs require a connection to the plumbing system. Ensure familiarity with:
· Connecting the supply lines for hot and cold water.
· Attaching the drainpipe to prevent leaks.
2. Precision Leveling
Proper leveling of your bathtub is crucial. Freestanding tubs must be perfectly balanced to prevent water from collecting unevenly and causing stress on the structure.
3. Sealing and Waterproofing
Sealing gaps around the water supply and drain is essential to avoid leakage. Use high-quality waterproof sealants and ensure they are applied evenly.
4. Handling Heavy Items
Some freestanding tubs, like those made of cast iron or stone, can be extremely heavy. Proper lifting techniques or equipment will be necessary to handle these tubs without damaging floors or causing injury.
Step-by-Step Installation Guide
Follow these steps for a successful installation:
Step 1. Prepare the Plumbing Connections
· Locate the water supply lines and drain connections.
· Shut off the water supply before proceeding.
· Use a measuring tape to double-check the alignment of the plumbing connections relative to the bathtub's placement.
Step 2. Position the Tub
· Carefully position the freestanding tub at the desired location.
· Check that the tub is level using a spirit level. Adjust the feet, if adjustable, until the tub sits evenly.
Step 3. Connect the Drain
· Align the tub’s drain outlet with the plumbing drain. Use a drainpipe connector if necessary.
· Secure all connections with an adjustable wrench and apply sealant to prevent leakage.
Step 4. Attach Water Supply Lines
· Connect the hot and cold water supply lines to their respective inlets on the tub.
· Tighten all fittings to create a secure connection.
Step 5. Test for Leaks
· Turn the water supply back on and test the tub for leaks at all connection points.
· Check both the water supply lines and the drainpipe to ensure everything is functioning correctly.
Step 6. Secure the Tub in Place (Optional)
· For extra stability, some bathtubs may be secured to the floor using brackets or adhesive as instructed by the manufacturer.
· Avoid drilling directly into the floor unless absolutely necessary, and always follow the manufacturer's guidelines.
Precautions to Keep in Mind
While it’s tempting to rush into installation, observing the following precautions is crucial:
1. Ensure Proper Support for Heavy Tubs
Freestanding tubs made of cast iron or stone are incredibly heavy even before they're filled with water. Ensure the floor structure is reinforced to handle the additional weight.
2. Use Careful Measurements
Mismeasuring plumbing connections or the placement of the tub can lead to wasted effort and costly adjustments. Always measure twice to ensure accuracy.
3. Avoid DIY if You’re Unsure
Plumbing mistakes can lead to leaks, water damage, or poor drainage. If you don’t feel confident in your skills, hire a professional plumber.
4. Protect Your Floors
Freestanding bathtubs can scratch or damage delicate flooring materials. Use protective pads on the tub feet or a mat during installation.
5. Stay Safe with Heavy Lifting
When lifting or positioning the bathtub, use proper lifting techniques or enlist the help of another person to avoid injury.
Maintaining Your Freestanding Bathtub
Once your freestanding bathtub is installed, keeping it in pristine condition is easy:
· Regular Cleaning: Use mild, non-abrasive cleaners suited to your tub’s material (acrylic, cast iron, etc.) to avoid damage.
· Inspect Connections: Occasionally check for leaks in the plumbing lines and drainage system.
· Polish for Aesthetic Appeal: For tubs with a glossy finish, polish the surface every few months to maintain its shine.
Final Thoughts
Freestanding bathtubs are a timeless addition to any bathroom, offering both style and functionality. With the right preparation, skills, and safety precautions, installing one can be a straightforward and rewarding experience. Whether you're soaking after a long day or simply admiring its elegance, there's no doubt that this luxurious fixture will become the highlight of your home.
If you’re unsure about installation or choosing the right model for your bathroom, consult with a professional plumber or designer. Taking the time to do it right will ensure years of enjoyment.
Get started today and transform your bathroom into a stunning retreat with a freestanding bathtub as its centerpiece!


Leave a comment
This site is protected by hCaptcha and the hCaptcha Privacy Policy and Terms of Service apply.