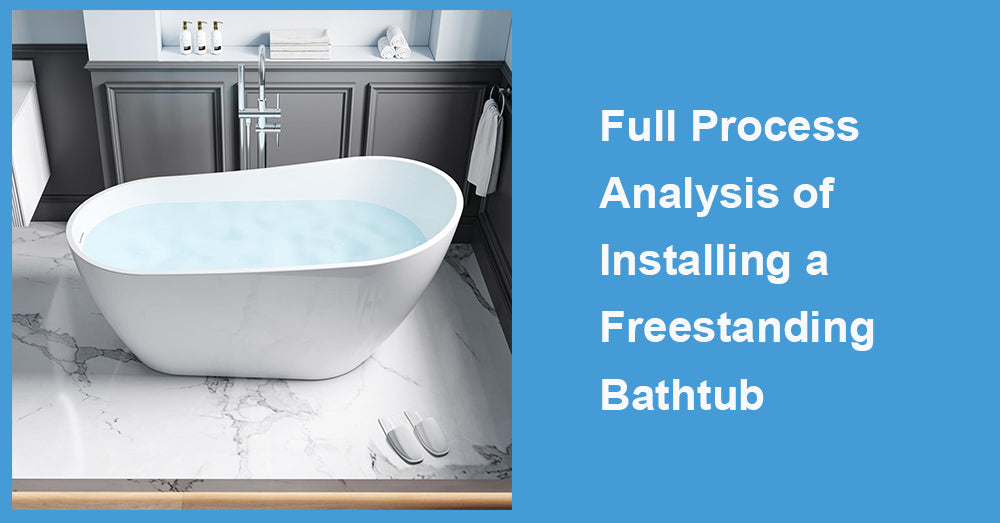
Freestanding bathtubs have recently been one of the most sought-after features of homes in the United States and throughout the world due to their sleek-looking style and versatility. They promise an indulging experience, further redefining the look and feel of your bathroom. Without an understanding of what to expect from the installation of a freestanding bathtub, it would look uphill-or not so easy.
It describes in detail all the steps necessary to install a freestanding tub-from the basic and technical information down to some pretty nitty-gritty advice-to make your project a complete success.
Why Choose a Freestanding Bathtub?
Before we jump into the installation process, it’s important to understand why freestanding bathtubs are so popular.
Benefits of Freestanding Bathtubs
· Design Versatility: With various shapes, sizes, and finishes, freestanding bathtubs can fit seamlessly into any bathroom style, whether modern or traditional.
· Space Optimization: Unlike built-in tubs, freestanding tubs can be installed anywhere, offering flexibility for creative bathroom designs.
· Aesthetic Appeal: These bathtubs add an air of elegance, instantly making your bathroom a centerpiece of comfort and style.
· Easy Maintenance: Without surrounding walls or tiles, cleaning around a freestanding bathtub is often simpler.
Considerations Before Getting Started
While freestanding bathtubs offer several benefits, it’s crucial to plan the installation in advance. Consider the following before you proceed:
· Can your floor support the weight of the bathtub, especially if filled with water?
· Do you have access to plumbing connections in the chosen location?
· What is the size of the bathtub compared to your bathroom space?
Once you’ve addressed these considerations, you’re ready to begin.
Tools and Materials You’ll Need
Installing a freestanding bathtub requires specific tools and materials. It’s always best to gather these in advance to avoid disruptions during the project.
Tools
· Adjustable wrench
· Screwdrivers
· Measuring tape
· Level
· Plumber’s putty or silicone caulk
· Bucket or towels for water spills
Materials
· Freestanding bathtub
· Freestanding faucet (if not included)
· Tub drain kit
· Water supply lines
· Flex hoses (optional)
Having these essentials handy will make the installation process smooth and efficient.
Step-by-Step Guide to Installing a Freestanding Bathtub

Installing a freestanding bathtub involves several key steps. Follow this guide carefully for the best results.
Step 1: Measure Your Space
Prior to beginning the installation, take measurements of your bathroom area to confirm that the tub will fit adequately. Make sure there is sufficient space around the bathtub for convenient access and maintenance.
Pro Tip: Leave at least 4 inches of space between the tub and walls to make cleaning easier.
Step 2: Prepare the Floor
Freestanding tubs are heavier than standard built-in options, especially when filled with water. Check that your floor is strong enough to support the weight.
· Reinforce the floor if necessary, particularly for homes with wooden subfloors.
· Clean the area where the tub will be installed; the surface should be level and free of debris.
Pro Tip: Use a level to ensure the installation site is perfectly flat, as even slight inclines can impact the tub’s stability.
Step 3: Install the Faucet (If Applicable)
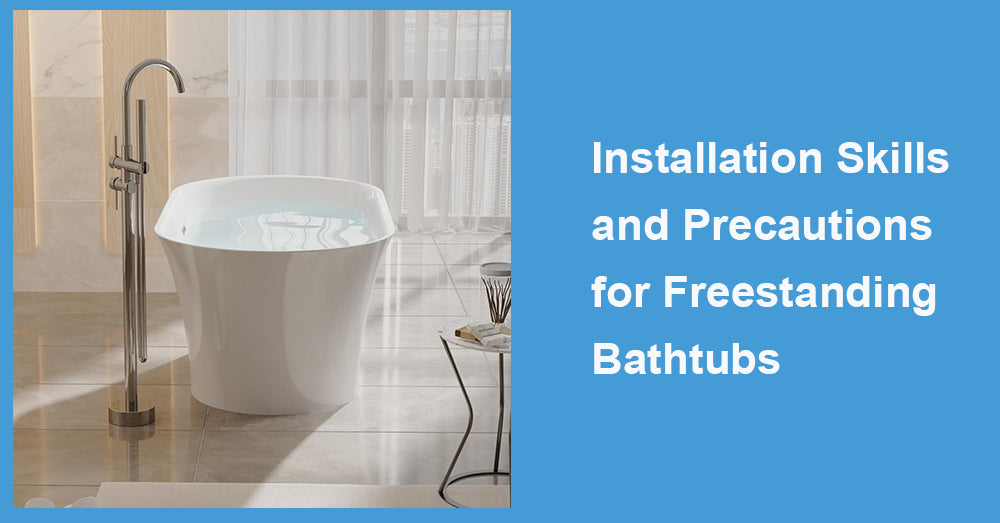
If you’re using a freestanding faucet, it’s best to install it before placing the bathtub in its final location.
· Attach the freestanding faucet to the designated pipes or water supply lines.
· Ensure it is securely fastened and doesn’t wobble, as this could lead to leaks later.
Step 4: Assemble and Attach the Drain
Proper drainage installation is critical to avoid leaks.
· Attach the drain pipe to the bathtub using plumber’s putty or silicone caulk to create a watertight seal.
· Connect the drain to the existing floor or wall plumbing.
Pro Tip: Test the drainage system for any leaks before proceeding to the next step.
Step 5: Position the Bathtub
Now comes the exciting part—placing your freestanding bathtub!
· Carefully lift the bathtub into position. This might require at least two people, as most freestanding tubs are quite heavy.
· Align the tub’s drain with the floor drain. Use a level to ensure the tub is sitting evenly on the floor.
Step 6: Connect the Plumbing
Once the tub is in place, it’s time to connect the water supply lines and finalize the plumbing.
· Attach the water supply lines (hot and cold) to the freestanding faucet.
· If your freestanding tub has a handheld showerhead, make sure it’s properly connected.
· Turn on the water to check for proper flow and ensure there are no leaks.
Step 7: Finishing Touches
After the plumbing is secured, perform some final checks:
· Apply silicone caulk around the base of the tub to seal it to the floor (if desired for stability).
· Polish the bathtub’s surface to remove any fingerprints or dirt accumulated during installation.
· Add decorative elements like bath mats, candles, or towel racks to complete the look.
Common Challenges and Solutions
Even with careful planning, issues can arise during the installation of a freestanding bathtub. Here are some common challenges and how to address them:
1. Uneven Floors
If your floor isn’t level, place adjustable leveling shims under the tub’s base for stability.
2. Improper Drain Alignment
If the bathtub’s drain doesn’t align perfectly with the floor drain, use flex pipes to bridge the gap.
3. Faucet Leaks
Ensure all connections are tightened securely and use Teflon tape for added leak protection.
Maintenance Tips for Your Freestanding Bathtub
To keep your freestanding bathtub looking pristine and functioning perfectly, follow these maintenance tips:
· Clean Regularly: Use non-abrasive cleaners and a soft cloth to avoid scratching the surface.
· Check for Leaks: Periodically inspect the connections and faucets for signs of leaks.
· Protect Against Damage: Avoid dropping heavy or sharp objects into the tub, as this can lead to chips or cracks.
Transform Your Bathroom with a Freestanding Bathtub
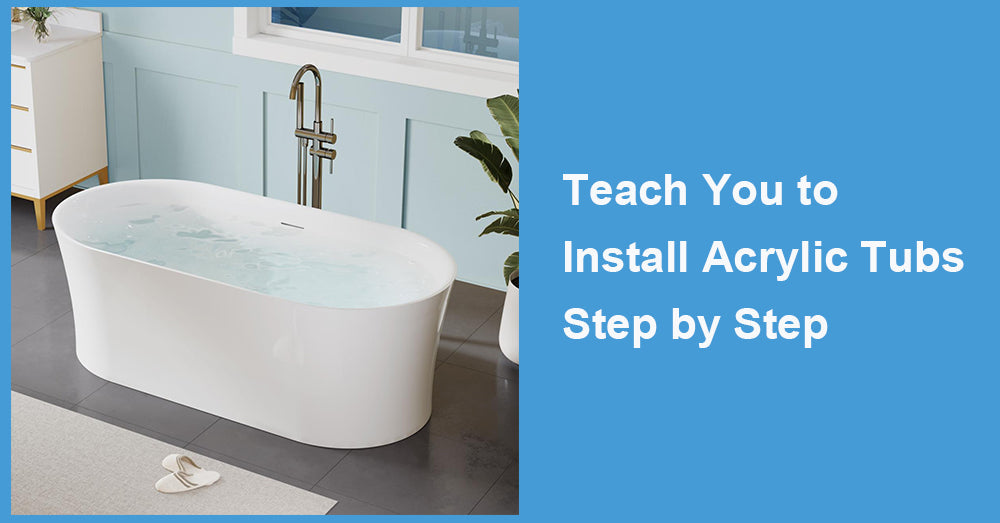
Installing a freestanding tub can be a rewarding DIY task; it's truly going to transform your bathroom into an ultra-luxurious retreat. Follow this step-by-step guide to make it like a pro and save your time and effort for professional results.
If you’re ready to elevate your bathing experience, now’s the time to invest in a freestanding bathtub. Whether you’re aiming for a contemporary aesthetic or a vintage charm, the right tub can turn your bathroom into a relaxing haven.
Apply today to see the comfort and elegance a free standing bathtub can give you!







Leave a comment
This site is protected by hCaptcha and the hCaptcha Privacy Policy and Terms of Service apply.