
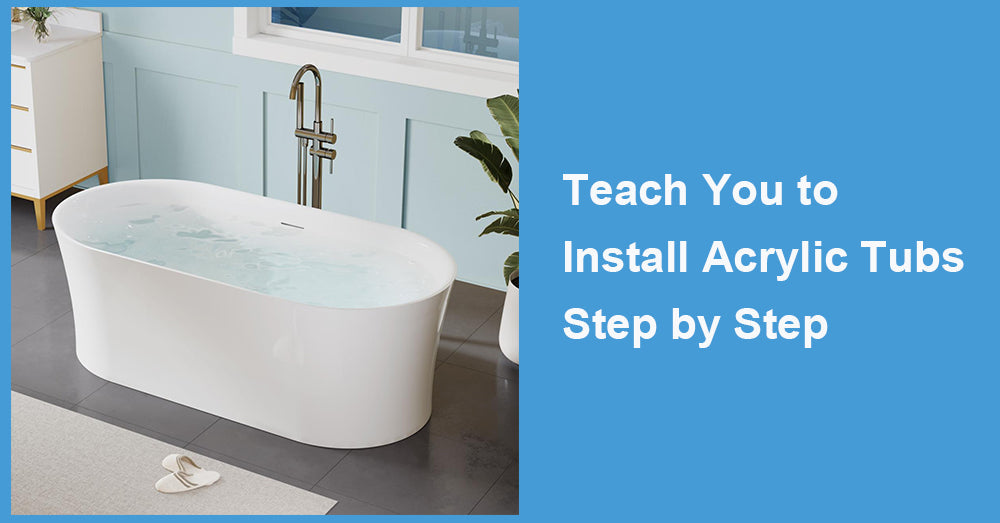
If you’re considering upgrading your bathroom with sleek and durable acrylic tubs, you’ve made a fantastic choice. Acrylic tubs are lightweight, easy to maintain, and come in various styles and designs, making them a popular choice among homeowners in the United States. But the process of installing an acrylic tub may feel daunting if you’ve never tackled this type of project.
Fear not! This blog will walk you through a step-by-step guide to install an acrylic tub. By the end of this article, you'll be ready to roll up your sleeves and give your bathroom the makeover it deserves.
Why Choose an Acrylic Tub?
Before we get started, let's talk about why acrylic tubs are such a great option. Understanding their benefits will not only help you appreciate your tub more but also ensure that you maintain it properly.
Benefits of Acrylic Tubs
· Lightweight yet Durable: Acrylic tubs are much lighter compared to cast iron or steel tubs, making them easier to maneuver during installation. Despite their lighter weight, they are highly durable.
· Non-Porous Surface: The smooth, non-porous surface resists stains, mildew, and bacteria, ensuring a hygienic bathing experience.
· Heat Retention: Acrylic tubs retain heat well, making long baths warm and relaxing.
· Variety of Styles: They come in various sizes, shapes, and designs to suit any bathroom aesthetic.
· Affordable: Compared to other materials, acrylic tubs are budget-friendly while offering a high-end look.
Tools and Materials You’ll Need

Before starting the installation process, gather all the necessary tools and materials to make the process seamless.
Tools Required
· Tape measure
· Spirit level
· Screwdriver
· Drill and bits
· Crescent wrench
· Pipe wrench
· Utility knife
· Caulk gun
· Hammer
· Putty knife
Materials Required
· Acrylic tub
· Drain and overflow assembly
· P-trap assembly
· Plumber’s putty
· Silicone caulk (for waterproofing)
· Wood shims
· Screws and nails
· Mortar or leveling compound (if necessary)
Pre-Installation Preparations
Step 1: Measure Your Space
Measure the dimensions of your bathroom to ensure your new acrylic tub will fit. Standard tubs are usually 60 inches long and 30 inches wide, but sizes may vary depending on the design. Don’t forget to measure doorway widths to ensure the tub can pass through easily.
Step 2: Turn Off Water Supply
Shut off the water supply to the bathroom to avoid any unexpected leaks during the installation process.
Step 3: Remove the Old Tub
If you’re replacing an old tub, start by removing it. Here’s how:
1. Disconnect the existing plumbing, including the drain pipe and water lines.
2. Unscrew and detach the overflow cover.
3. Cut away the old caulking using a utility knife.
4. Carefully pry the old tub away from the wall using a putty knife or crowbar.
Dispose of the old tub according to your local municipality's guidelines.
Step 4: Check the Plumbing
Inspect the plumbing to ensure everything is in proper condition. Replace old or damaged parts like the P-trap or drain assembly to avoid leaks down the road.
Step-by-Step Installation of an Acrylic Tub
Step 1: Dry-Fit the Tub
Before securing the tub, perform a dry fit to check the alignment with the plumbing. Place the tub in the designated area without attaching anything. Ensure that the tub lies flat against the floor and sits level.
· If the floor is uneven, use wood shims to level the tub. Alternatively, spread a layer of mortar or leveling compound to provide a stable base.
Step 2: Install the Drain and Overflow Assembly
Attach the drain and overflow assembly to your tub before setting it permanently in place.
· Apply plumber putty around the bottom surface of the drainage flange and insert it into the drainage hole. Use a wrench to tighten it.
· Assemble the overflow pipe and connect it to the overflow hole of the bathtub. Please follow the manufacturer's instructions for specific details.
Step 3: Secure the Tub
Once the tub is in position and level, secure it to the wall studs.
· Drill pilot holes through the flange of the acrylic tub (the part that rests against the wall). Use screws to attach the flange to the wall studs, ensuring the tub is stable and won’t move.
Step 4: Connect the Plumbing
Reconnect the plumbing, including the drain pipe, P-trap, and overflow pipe. Measure and cut pipes if necessary to align everything perfectly. Use a pipe wrench to tighten connections, but avoid over-tightening to prevent cracks.
Step 5: Apply Silicone Caulk
Use waterproof silicone caulk to seal the edges where the tub meets the walls. This step is essential to prevent water from seeping behind the tub, which could lead to mold and water damage.
TIP ✨ Allow the caulk to dry for at least 24 hours before you use the tub.
Step 6: Test Everything
Turn the water supply back on and test the tub for leaks. Fill the tub with water and check all plumbing connections and seals. Tighten any loose fittings and reapply caulk as needed.
Post-Installation Maintenance Tips
Congratulations—your acrylic tub is now installed! To keep it in pristine condition for years, follow these maintenance tips:
· Clean Regularly: Use mild soap and a soft sponge to clean the tub. Avoid abrasive scrubbers or harsh cleaning agents that could scratch the surface.
· Prevent Stains: Rinse the tub thoroughly after each use to prevent soap scum and mineral build-up.
· Inspect Seals: Check the caulk seal periodically and reseal if you notice any cracks or gaps.
· Avoid Heavy Impacts: While acrylic is durable, it’s not entirely impact-proof. Avoid dropping heavy objects to prevent cracks.
Final Thoughts
Installing an acrylic tub can seem like a daunting task, but with the right tools, preparation, and instructions, it’s entirely achievable—even for beginners. Not only is a do-it-yourself installation cost-effective, but it also gives you a sense of accomplishment.
Now that you know exactly how to install an acrylic tub, are you ready to give your bathroom that much-needed upgrade? If you found this guide helpful, be sure to share it with friends or family who are planning a bathroom renovation.


Leave a comment
This site is protected by hCaptcha and the hCaptcha Privacy Policy and Terms of Service apply.